Today is my 31st birthday. I'd really love if someone would come over and bake me this cake. Isn't it the prettiest cake ever?
I'm keeping this birthday a bit low key. Erik and I are going to dinner this evening and all I want is a burger, fries and a cold beer. I realize I kind of sound like a dude saying that.

Moist yellow cake (recipe via
Bakerella)
1 cup (2 sticks) of butter (room temperature)
2 cups of sugar
4 eggs (room temperature)
3 cups of sifted self-rising flour
1 cup of whole milk (room temperature)
1 teaspoon pure vanilla extract
1/2 teaspoon
butter flavoring Preheat oven to 350 degrees.
Grease and flour (3) 8 inch cake pans.
Using a mixer, cream butter until fluffy.
Add sugar and continue to cream for about 7 minutes.
Add eggs one at a time. Beat well after each egg is added.
Add flour and milk (alternating to creamed mixture), beginning and ending with flour.
Add vanilla and butter flavoring to mix; until just mixed.
Divide batter equally into three cake pans.
Hold each layer about 3 inches above your counter and carefully drop the pans flat onto counter several times to ensure release of any air bubbles. This will help you have a more level cake.
Bake for 25 – 30 minutes (depending on your oven) until done.
Cool in pans for 5 – 10 minutes.
Remove and immediately wrap each layer in plastic wrap to seal in moisture. Cool completely on wire racks.
Once cooled, you are ready to assemble your cake.
Here’s a little trick to add moisture into your layers:
Combine 1 cup of sugar and 2 cups of water.
Bring to boil and boil for approximately 3 minutes. Let cool.
Pour liquid into a spray bottle or pouring bottle.
Cake assembly:
Unwrap first layer and using a serrated knife, level off the top of your cake.
Place layer onto your dish. Take a straw and poke holes into the layer. Using your spray bottle, spray top of layer several times; enough to give it a little moisture. Be careful – don’t add too much.
Add a layer of frosting to your bottom layer. Repeat on second and third layers.
Frost the sides.
Easy Buttercream Frosting
1 cup (2 sticks) butter (room temperature)
1 teaspoon pure vanilla extract
1 1b. 10X powdered sugar
1-3 teaspoons milk, half and half or cream
Using a mixer, cream softened butter and vanilla until smooth.
Add sugar gradually, allowing butter and sugar to cream together before adding more.
If you want your frosting a little creamier, add a teaspoon of milk at a time and beat on high until you get the right texture.
Then, just use icing colors to tint the frosting the color of your choice.
This is usually just enough for a 2-layer cake, so double this for a three-layer.
Unfortunately, my hubs and I have had some bad luck at our house lately (a little thing called ice dams) but we'll save that story for another day, a non-birthday. Needless to say, there is no chance I'll be baking this cake anytime soon and the
bubbly birthday brunch is postponed for a few weeks until our house is back in order.
But back to happy thoughts that include cake, beer, burgers, fries and my honey. I have a feeling it'll be a great day.
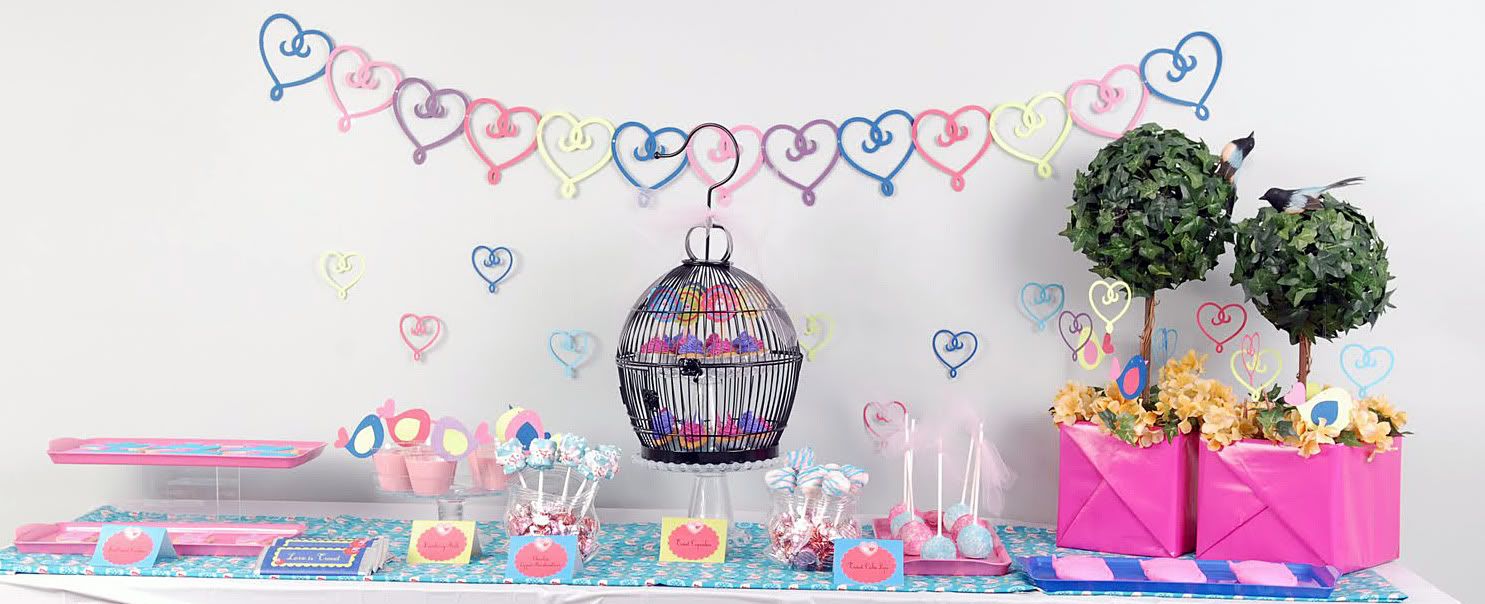 Today I am welcoming Khaliah of The Party Muse as a guest blogger. She created this adorable bird-themed dessert table full of pretty pinks and blues and yummy sweets. I'll leave it to Khaliah to describe all the lovely details.
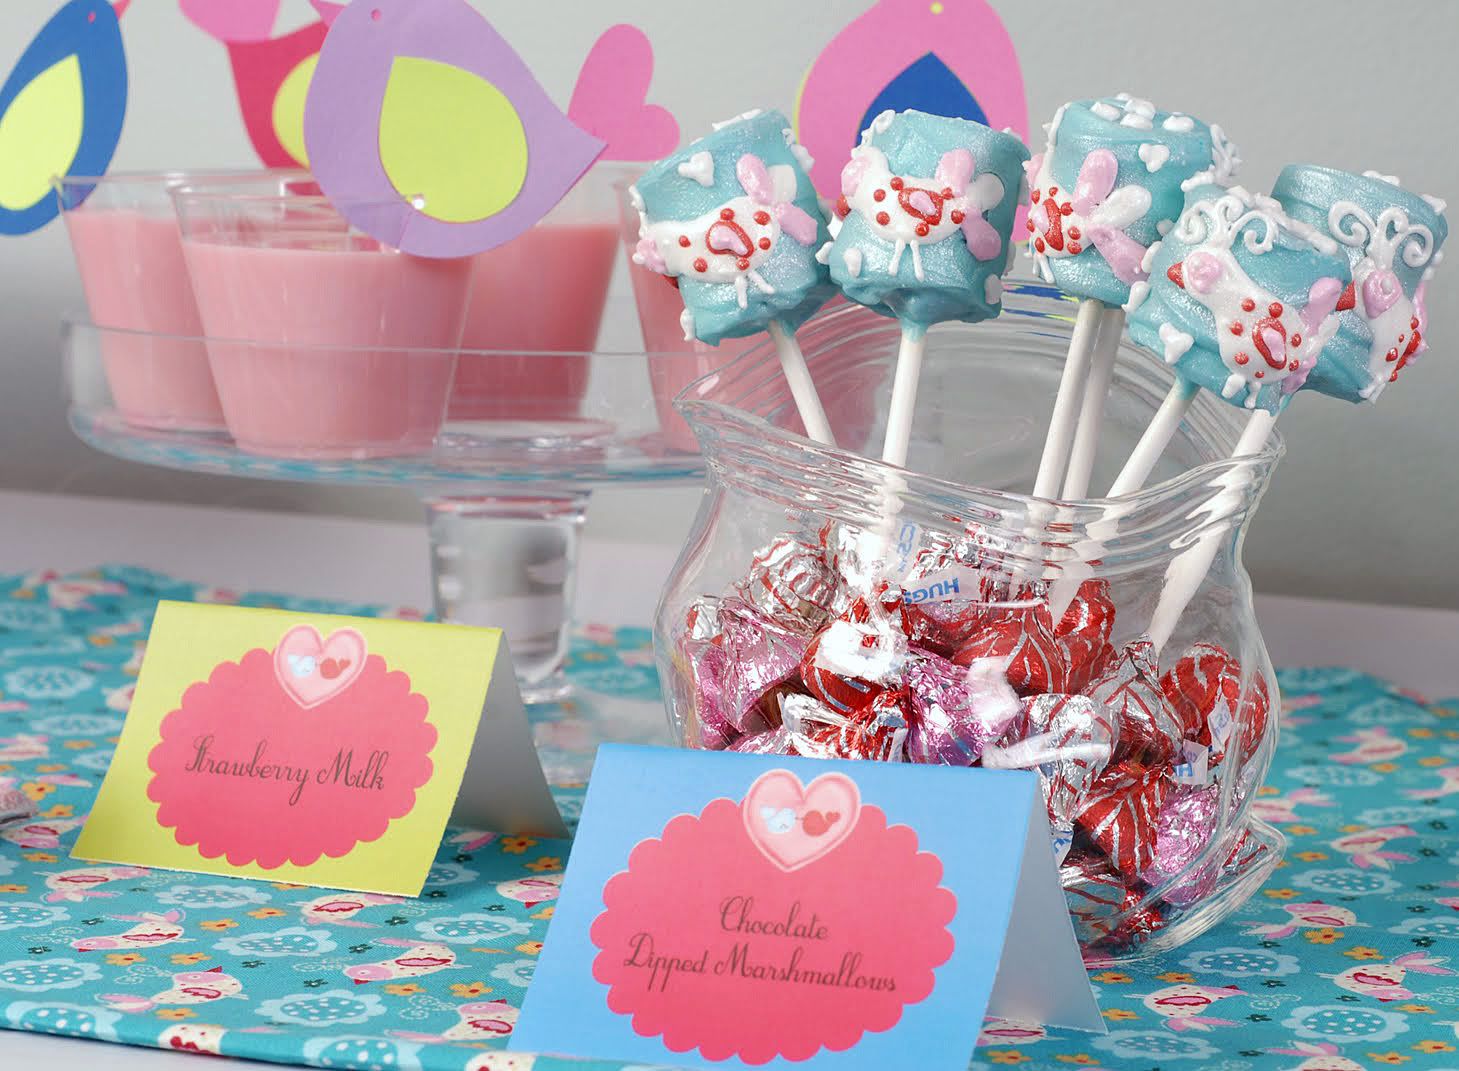

 Last but certainly not least, these bird cookies by Dandy Delights were so amazing. The picture truly doesn’t do them justice. They were beautiful and would you believe they were mojito shortbread with fresh mint…YUM!"
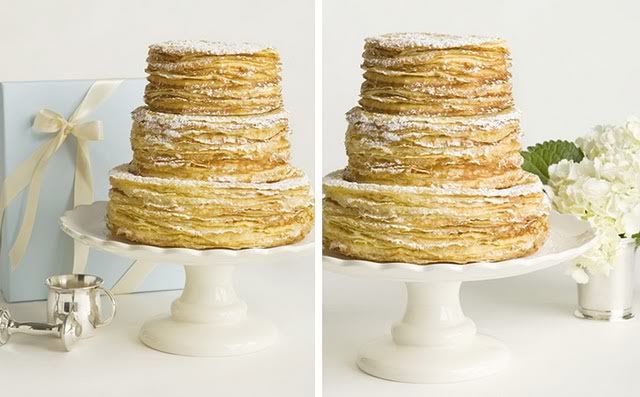 {Photo credits:
 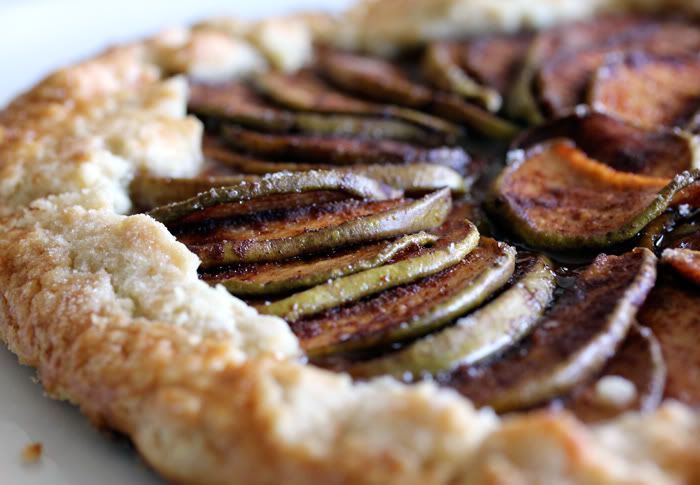 I am thrilled to have Lisa of
 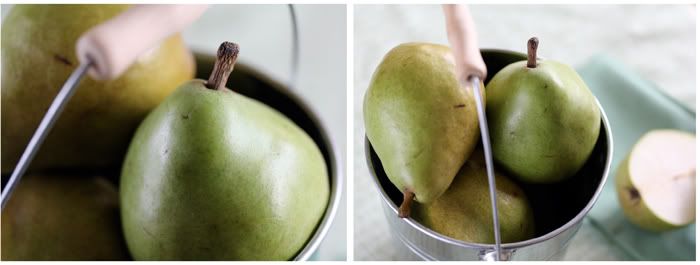 As told by Lisa:
 Pear galette (adapted from
 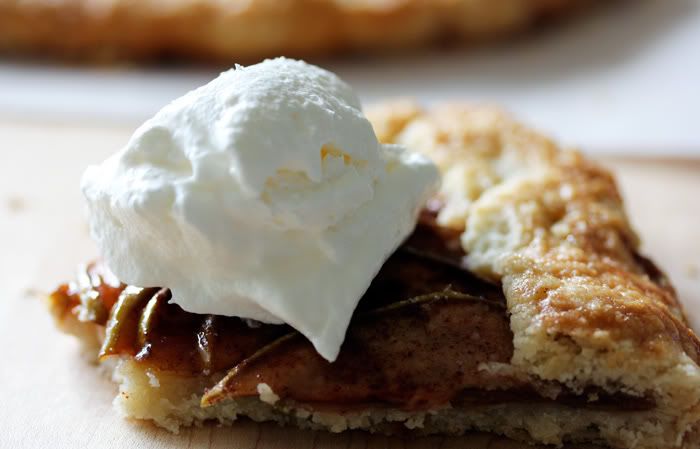 Serve with a soup of ice cream or for a lighter version, top with light cool whip. Enjoy!
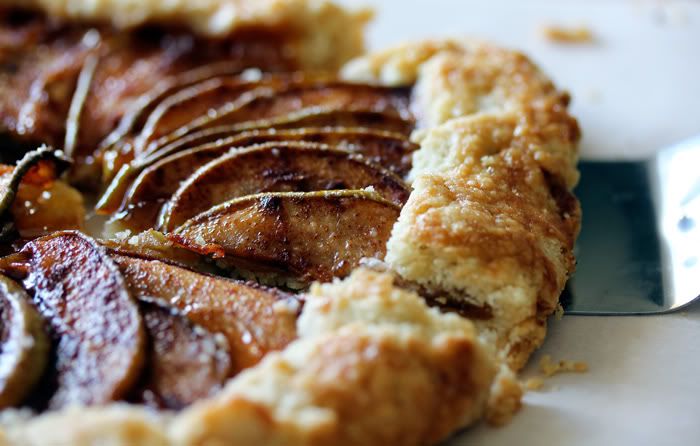 Thanks so much to Lisa of
 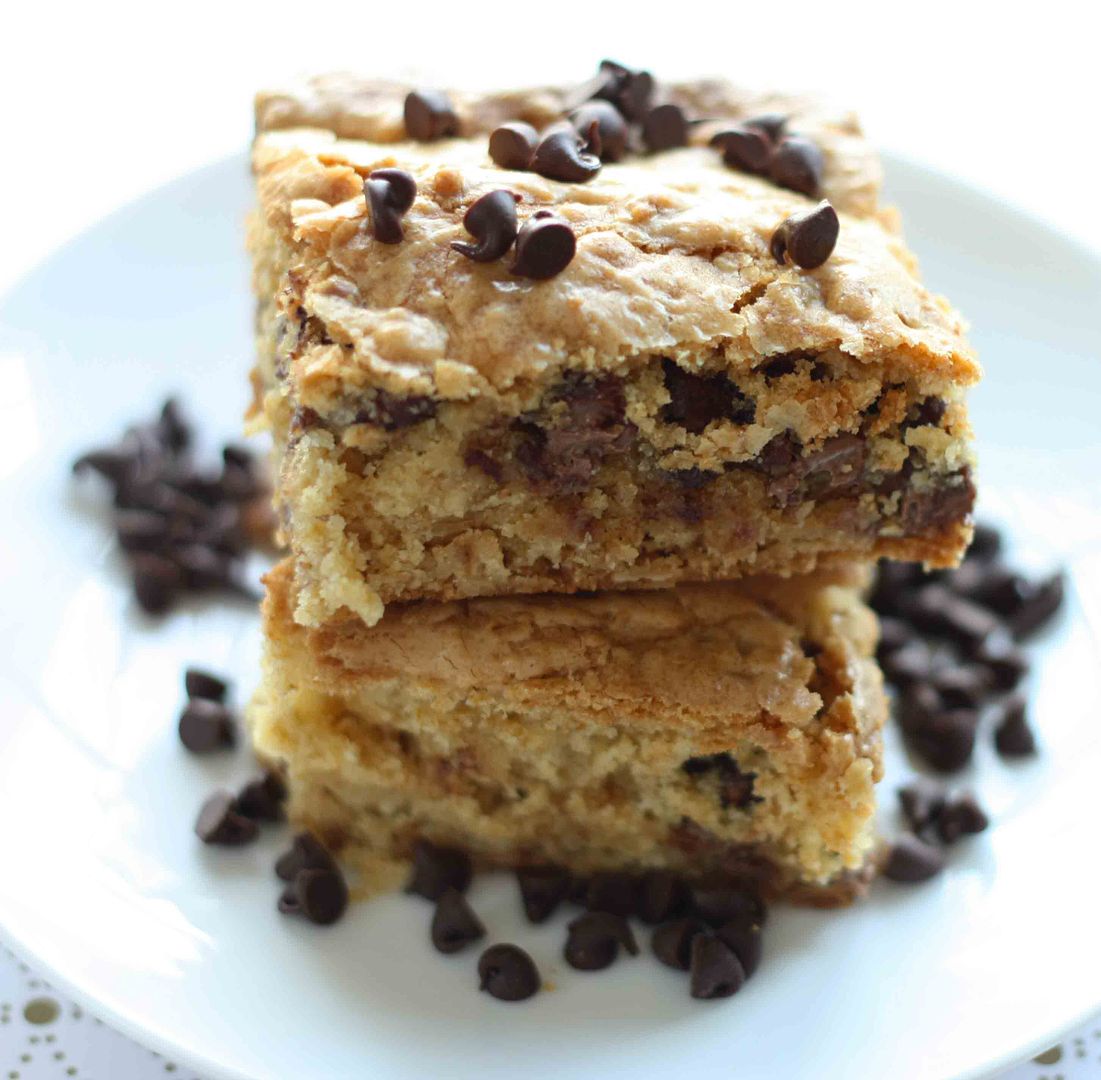 If you happen to be on Weight Watchers (or any diet) slowly back away from the computer screen. Seriously. These bars are diet-breaking delicious. I probably shouldn't admit it but I ate about 6 of them over the weekend. Yup...that's what you call going over your points.
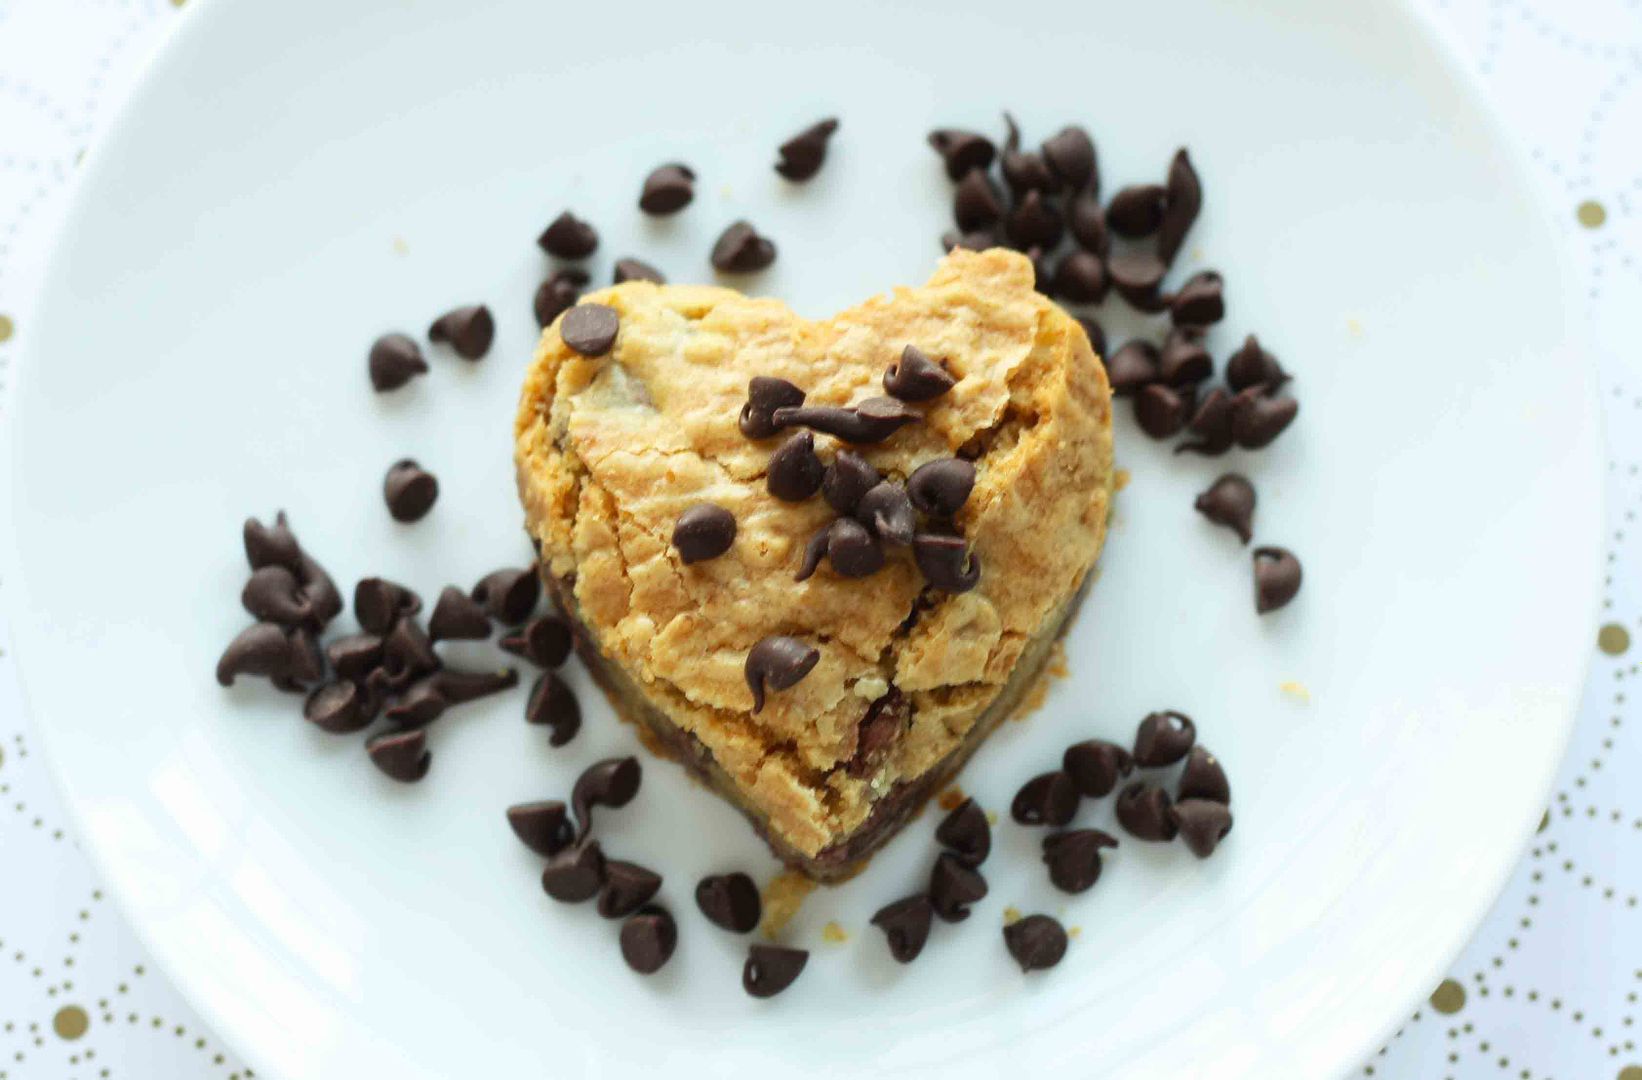
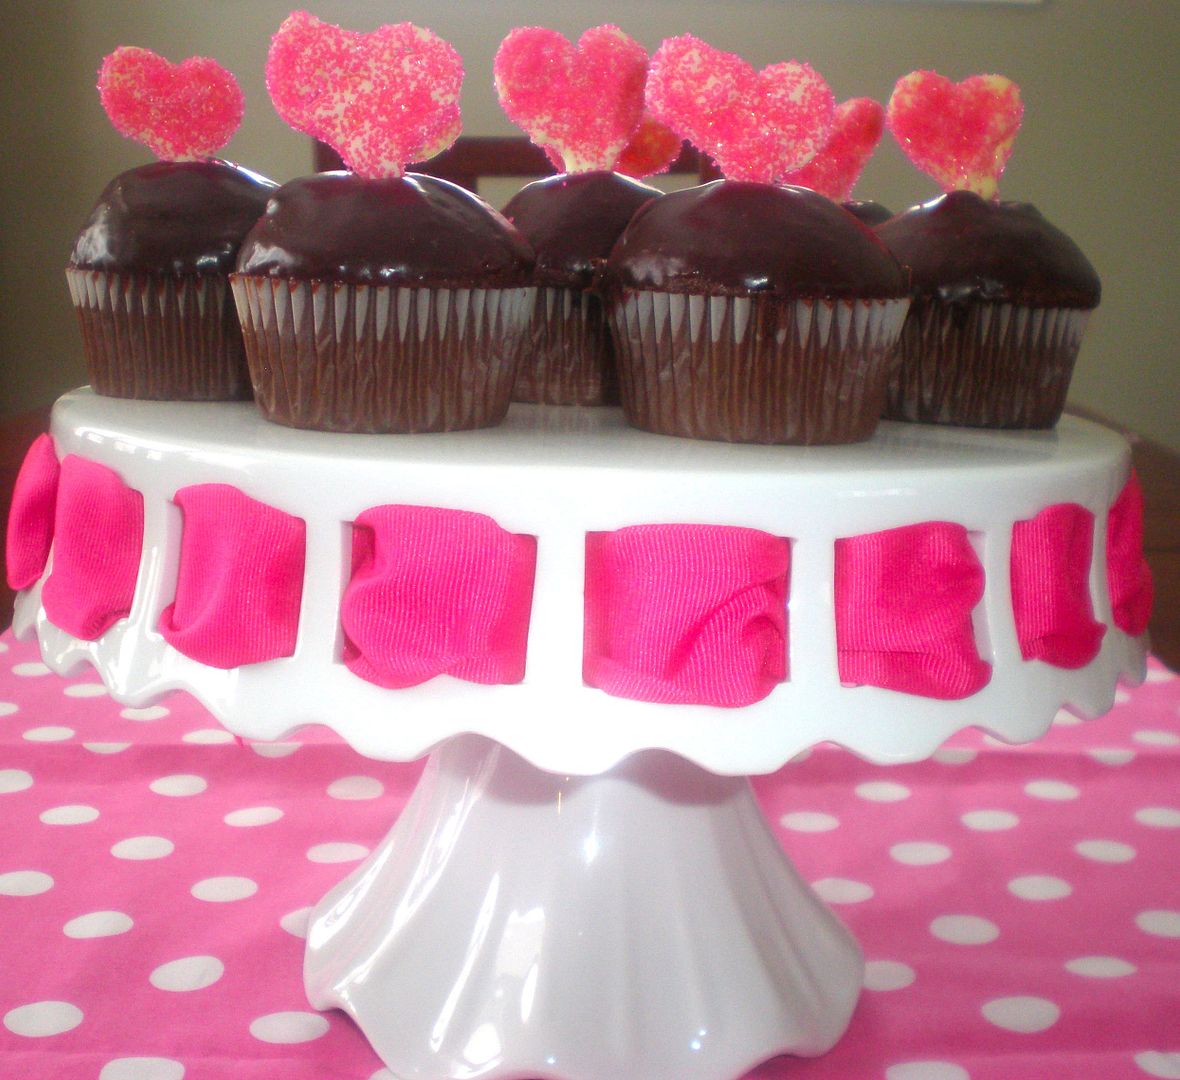 I know that Valentine's Day is over but chocolate cupcakes with handmade white chocolate heart toppers are perfect for any occasion. Today's guest post is from McKenzie of event planning company
 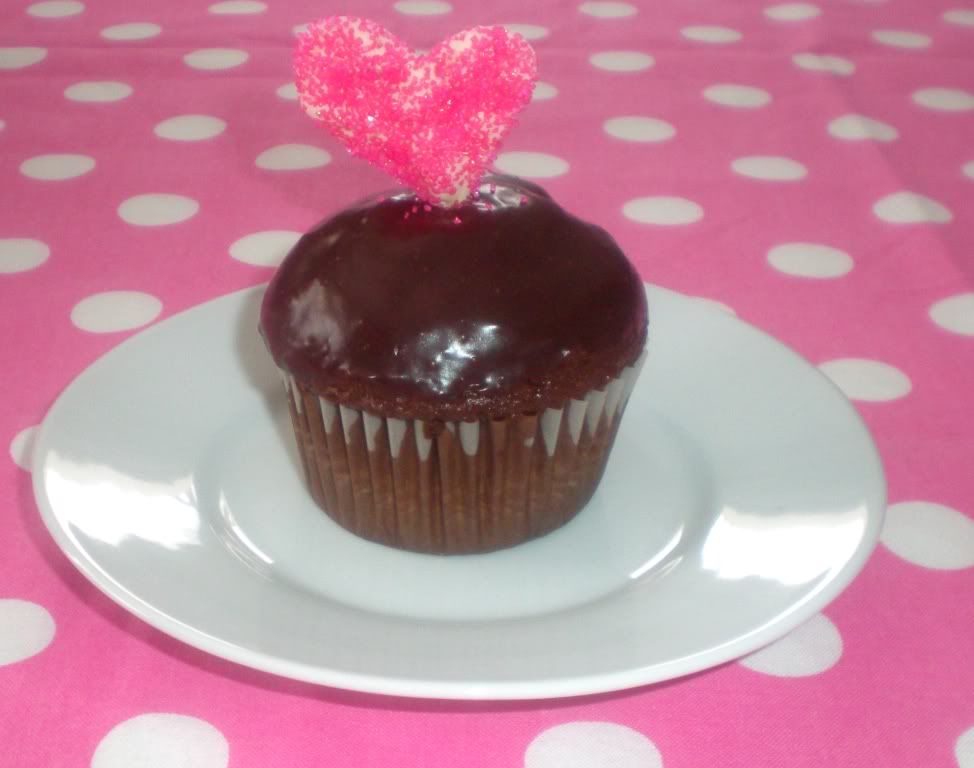 Raspberry-filled chocolate cupcakes with dark chocolate ganache (recipe by
  Happy Valentine's Day!
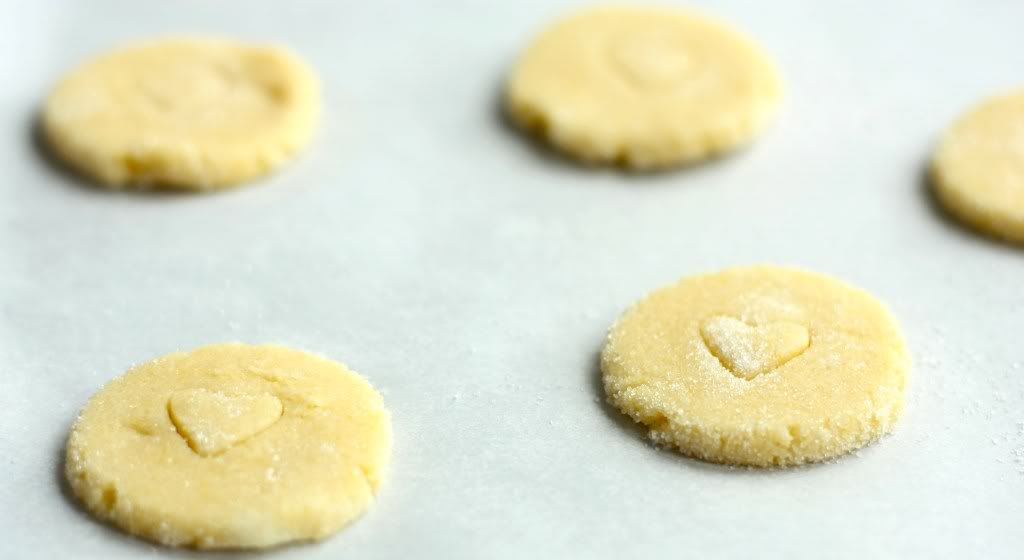
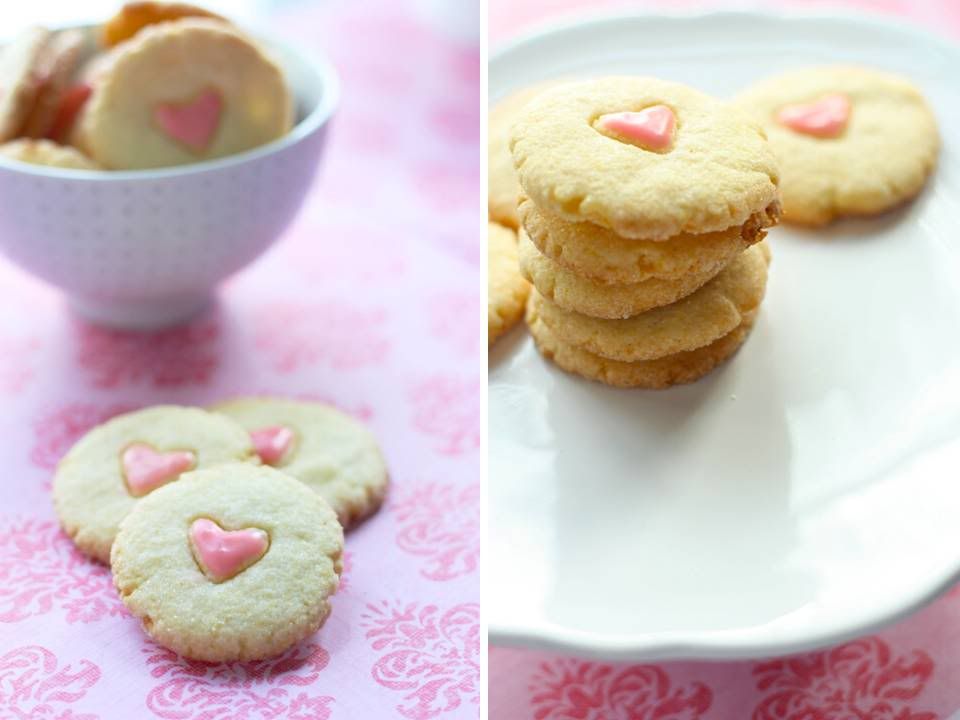 When I saw these cookies in Jan/Feb issue of Everyday Food I was intrigued because they had cornmeal in them. These taste like a crumbly, delicious sugar cookie but with a bit of a twist. I loved them.
 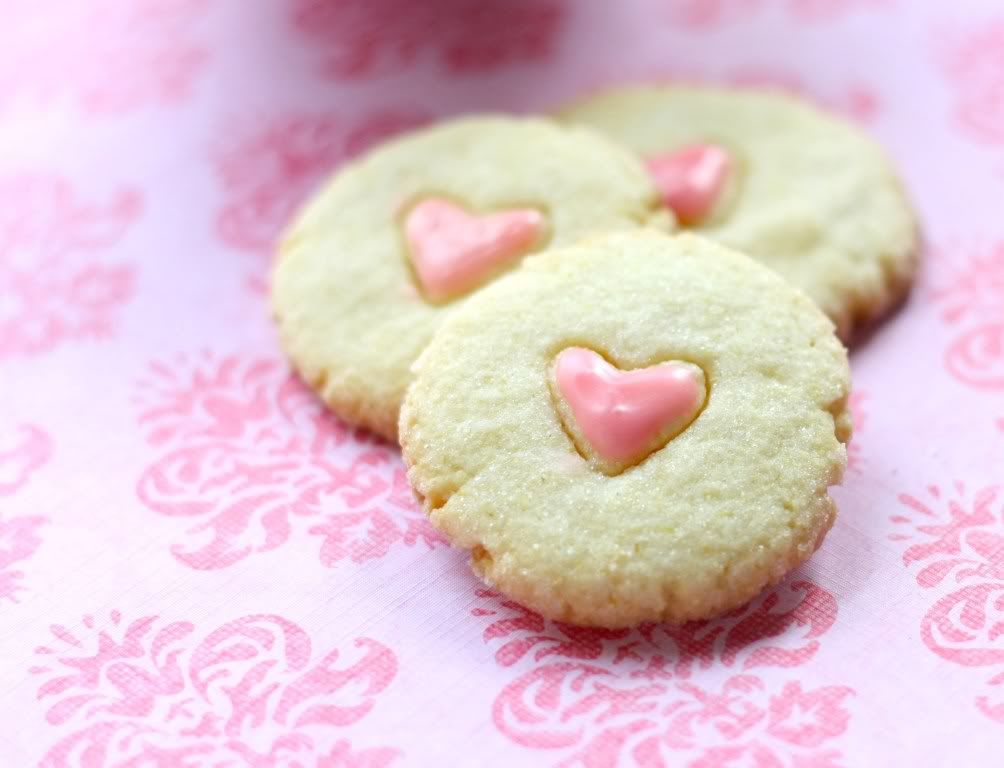 Did you celebrate Valentine's Day last weekend or are you doing something this evening? Please comment and share!
 {Photo credit:
 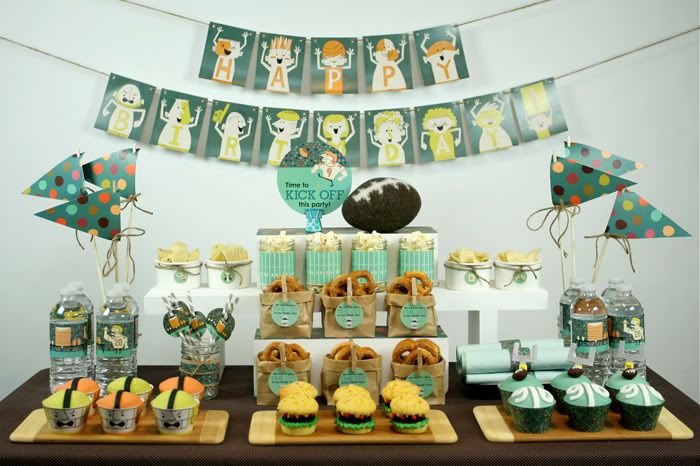 The talented team at
 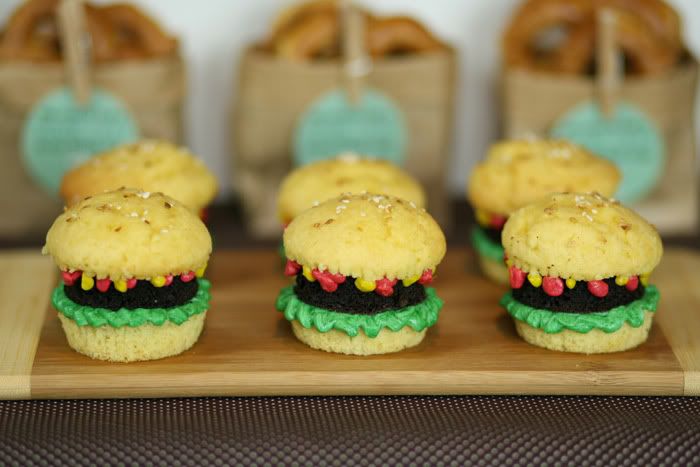 I am in love with these cupcakes that look like little burgers. CUTENESS!


 Info about
 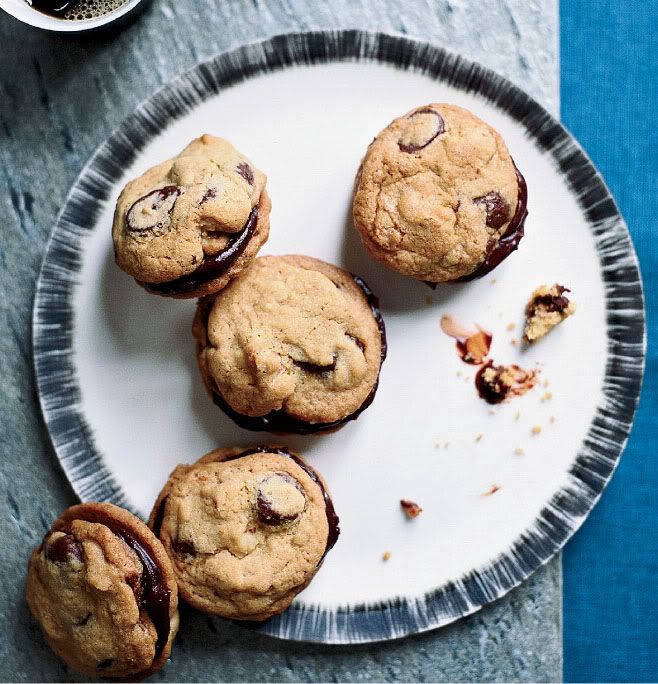 {Photo credit:
 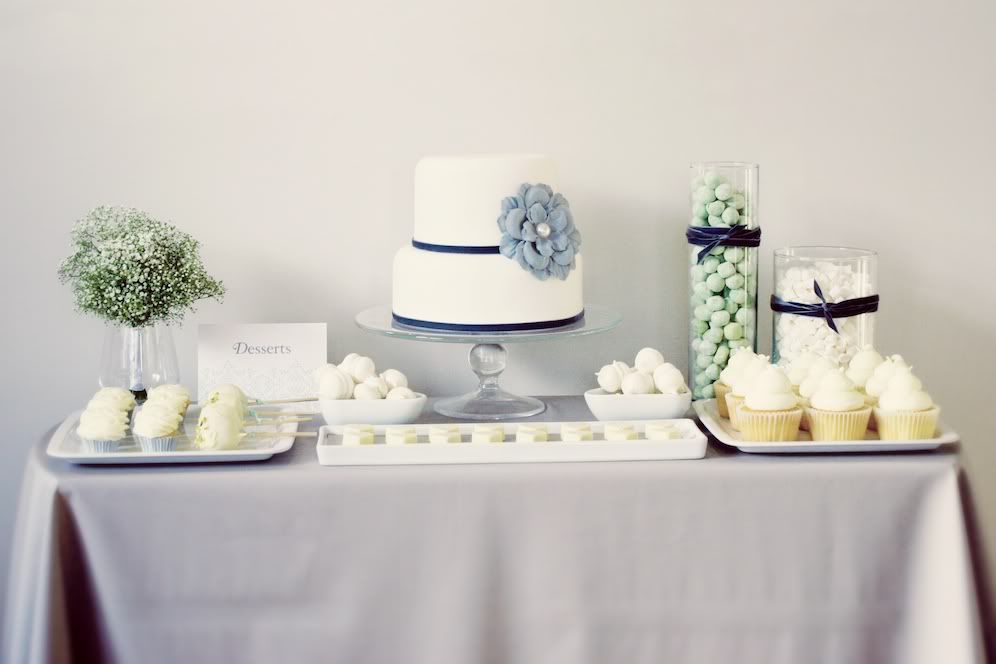 Sometimes I receive submissions from readers that hands down, belong on Eat Drink Pretty. Those submissions scream prettiness and make me want to drop everything and post immediately. This gorgeous dessert table was one of those submissions, sent by Louise of
 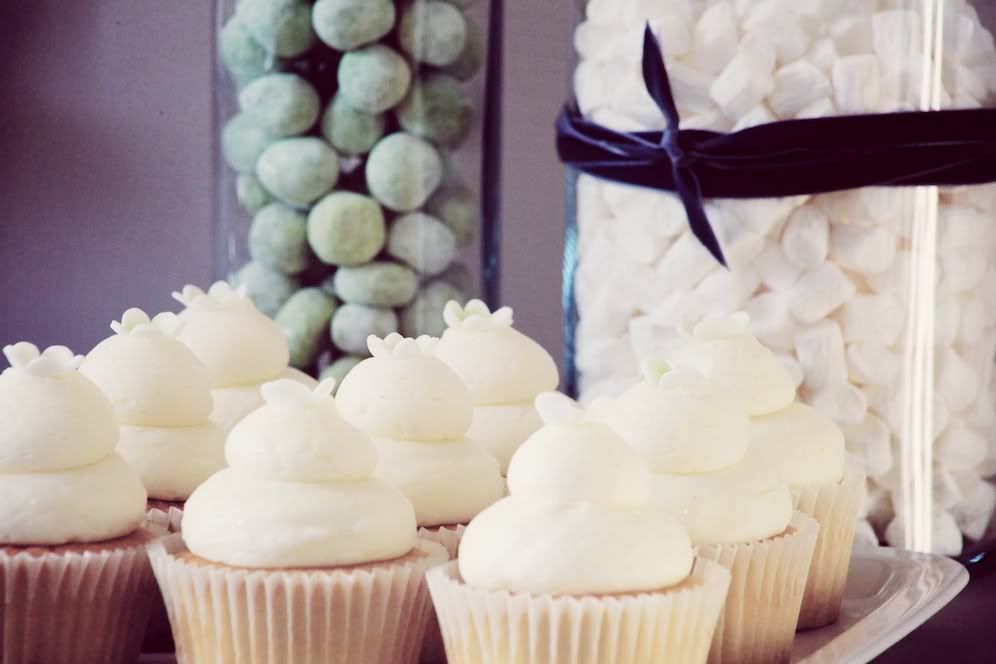 As told by Louise:
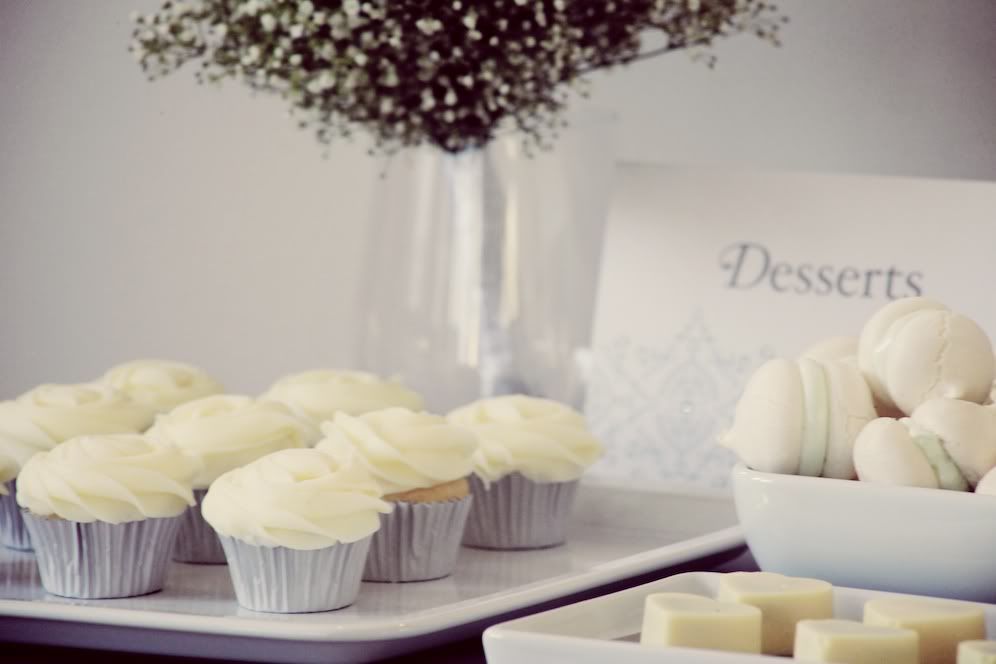
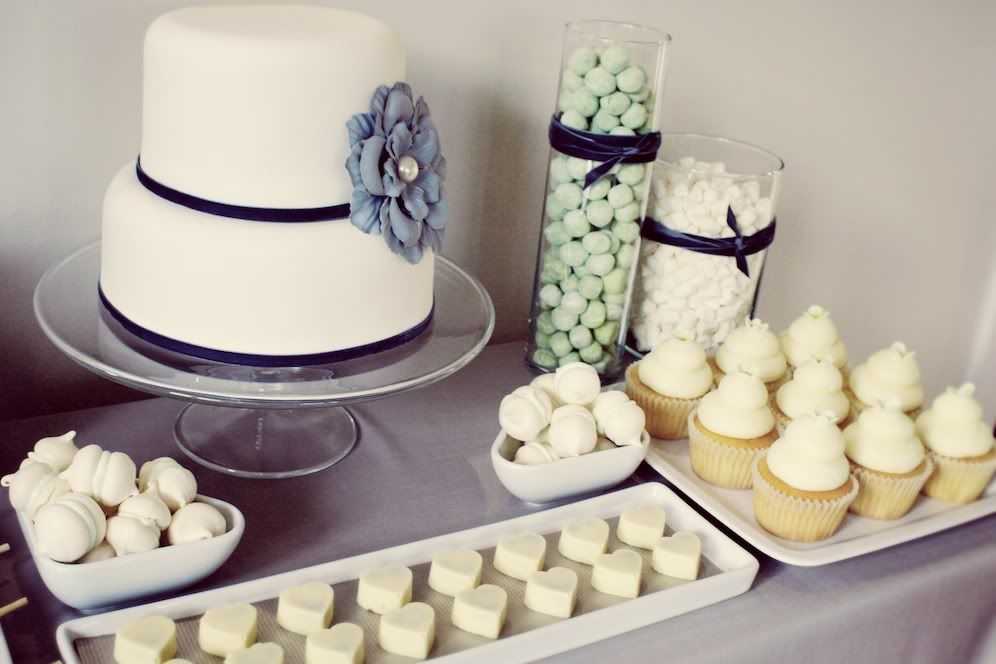
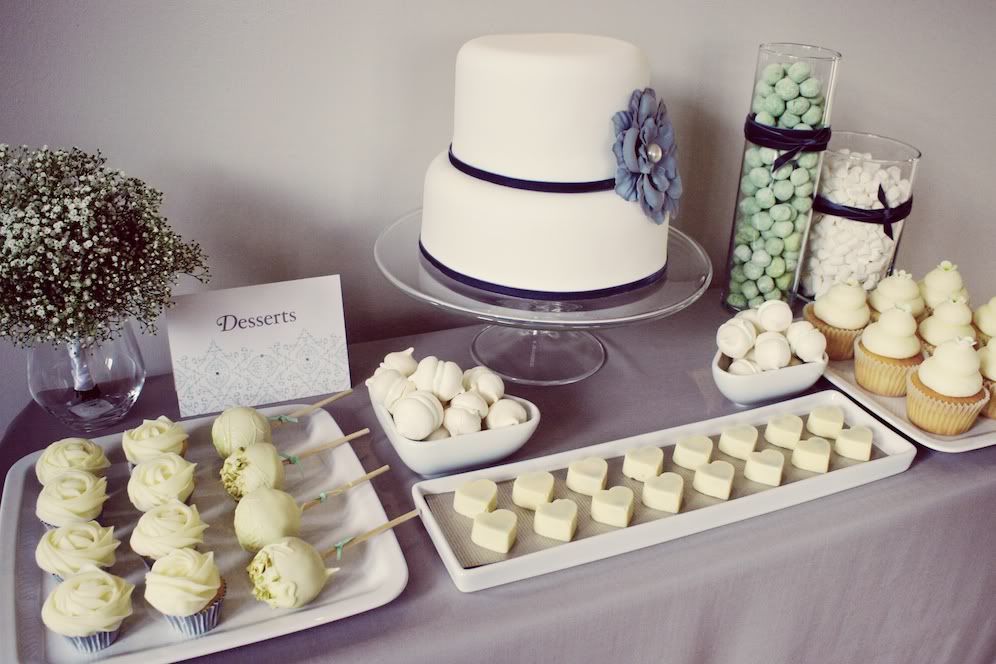

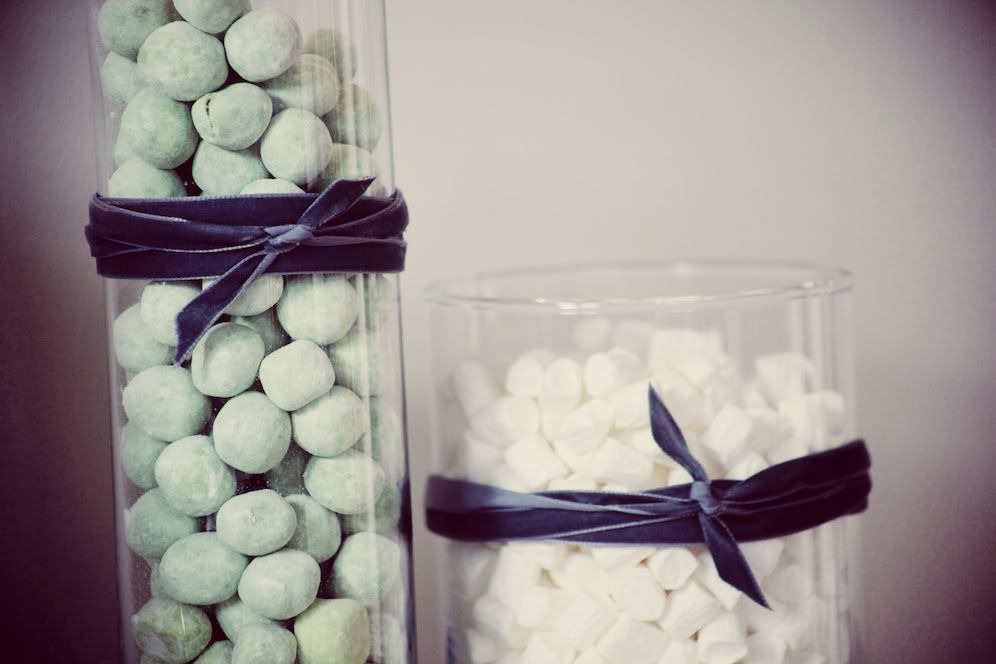
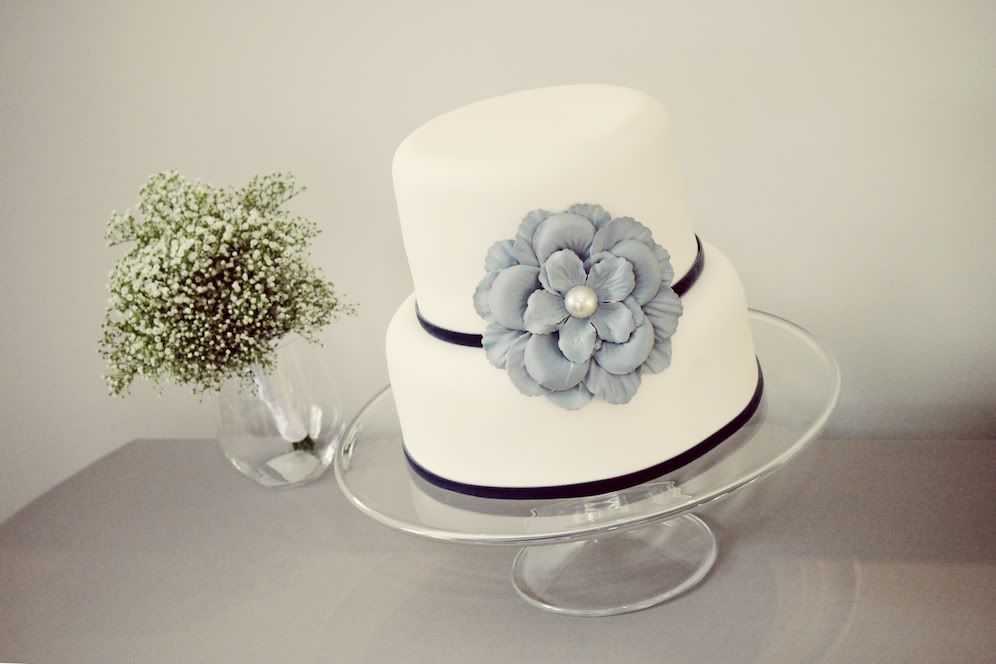 Wow, this cake is STUNNING! I can't believe Louise made it herself!
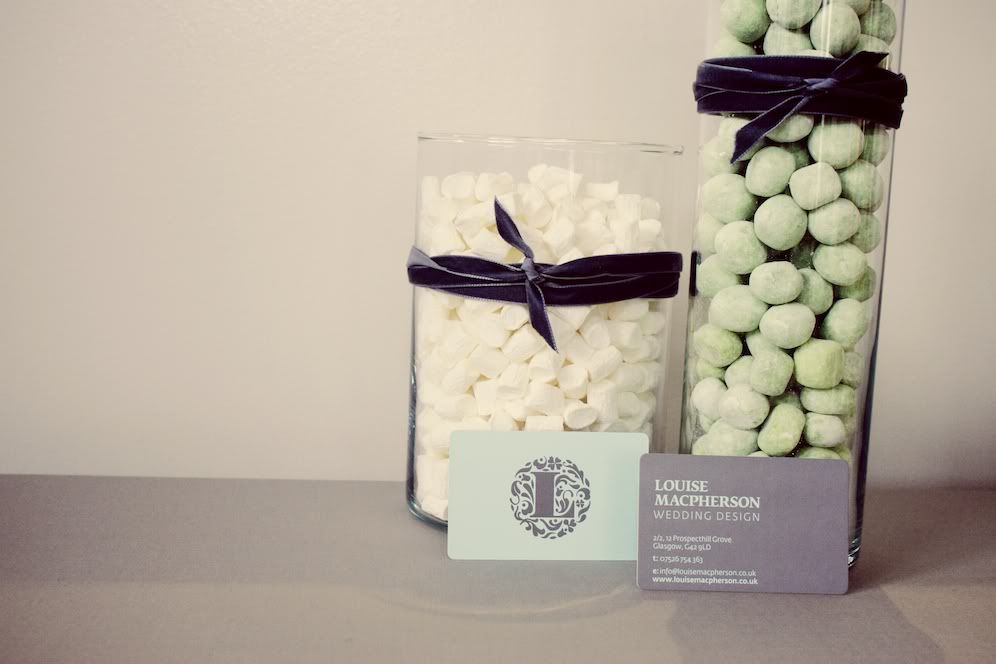 Louise's gorgeous dessert table proves you can achieve huge impact with simplicity and limited budget. Thanks so much for your submission, Louise and best of luck with your wedding planning business! Be sure to check out Louise's lovely
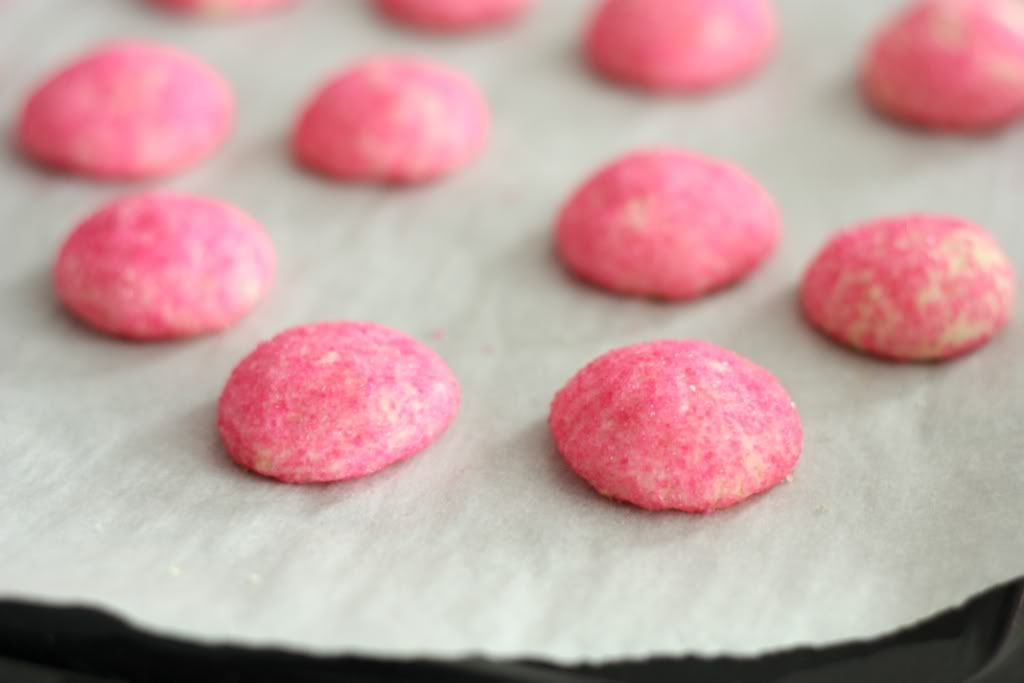
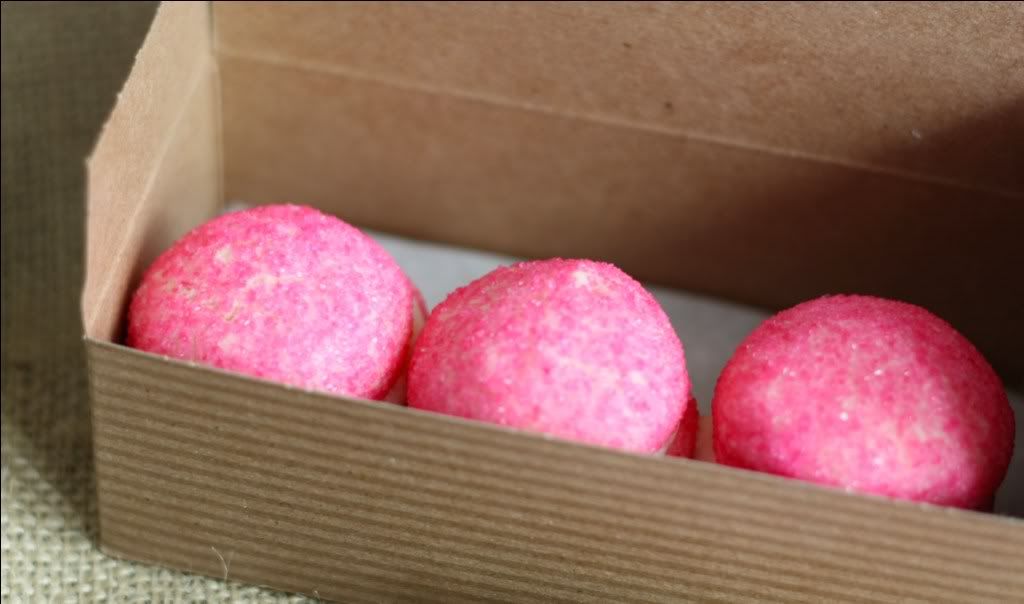
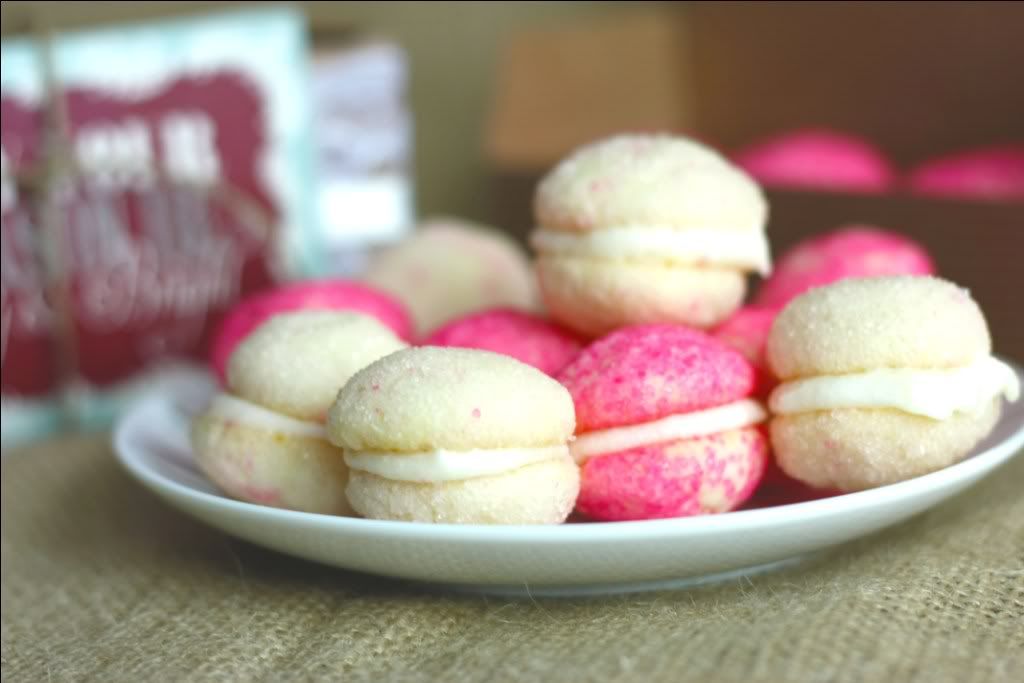
  Even though the holidays are pretty much over, the urge to bake cookies never leaves me. I made these ginger sandwich cookies on Sunday morning after browsing recipes on my iPad. These treats are really good, but super filling (they are basically two huge cookies sandwiched between a scoop of frosting). I brought them to work and received a lot of compliments.
 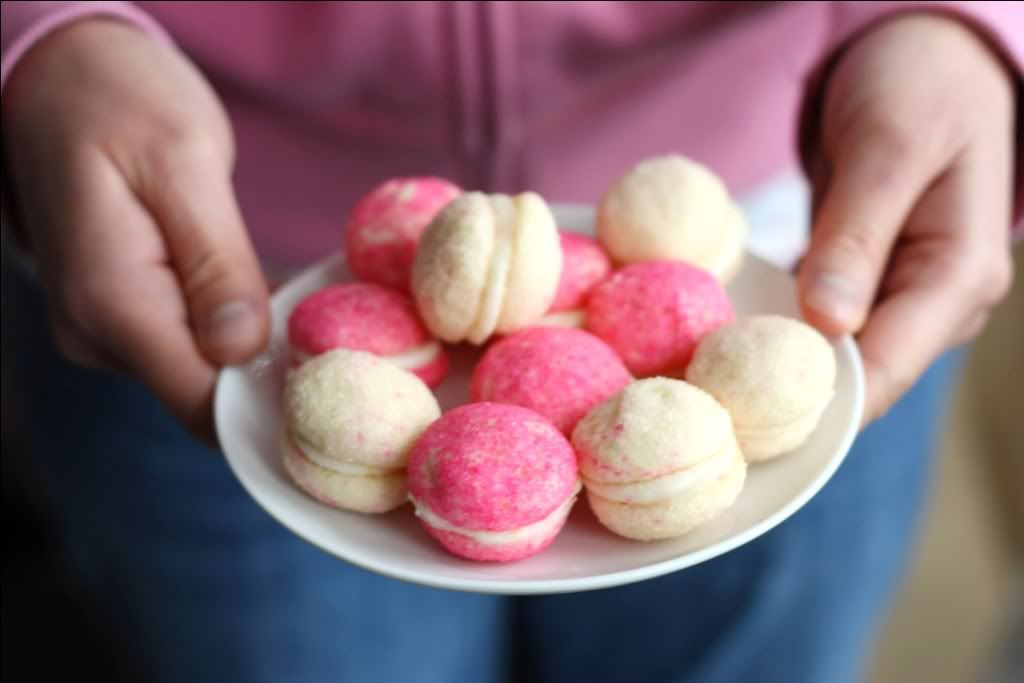 Remember these adorable
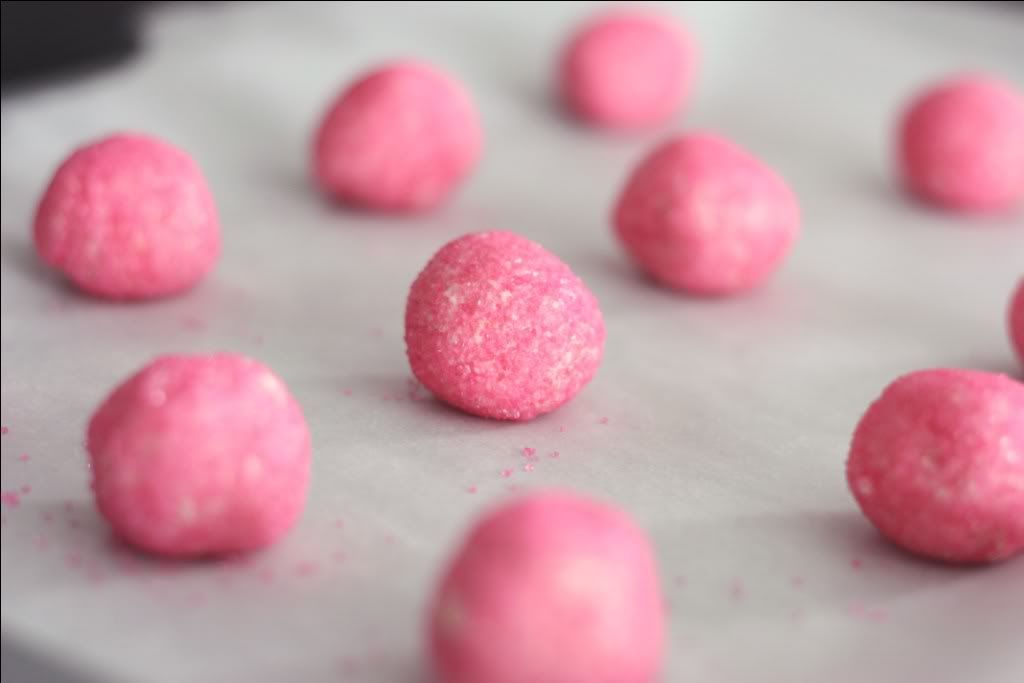
 Lindi of
 Thanks so much to