
When I saw these buns at Grace of Kitchen Corner I bookmarked it right away but only now I have the chance to try it out. This recipe is a keeper as the buns turn out to be really soft and fluffy. I did some minor changes to the topping and added garlic to it. Do go and check out her wonderful blog where she showcase all the beautiful bakes.
Ingredients for dough
150 gram bread flour
50 gram flour
15 gram sugar
¼ tsp salt
½ tsp yeast
130 ml milk
15 gram unsalted butter

Topping
2 tbsp freshly chopped parsley
1 tbsp freshly chopped garlic
2 tbsp unsalted butter
½ tsp salt
1. Mix all the ingredients for dough except butter at low speed using dough hook mixer, then turn to medium speed until it become smooth dough.
2. Add in the unsalted butter and knead with low speed until the butter combine with the dough. Turn to medium speed for the kneading process until it becomes smooth and elastic dough.
3. Place the dough into a lightly grease bowl and cover with cling wrap to proof for an hour or until double in size.
4. While waiting for the dough, mix the ingredients for herbs topping until it become a smooth paste. Put the paste into a piping bag.
5. Divide the dough into 6 portions and round them into small balls. Let them rest for 10 minutes.
6. Roll each dough out into a sausage shape and proof for 30 minutes.
7. With a sharp knife cut a line on the middle of each bun and continue proofing for another 10 minutes.
8. Egg wash the bread and squeeze some of the topping to the center of the buns. Bake at 350 degree F pre-heated oven for 18 minutes until golden brown.

I am submitting this bread to Yeastspotting
 {Photo credits:
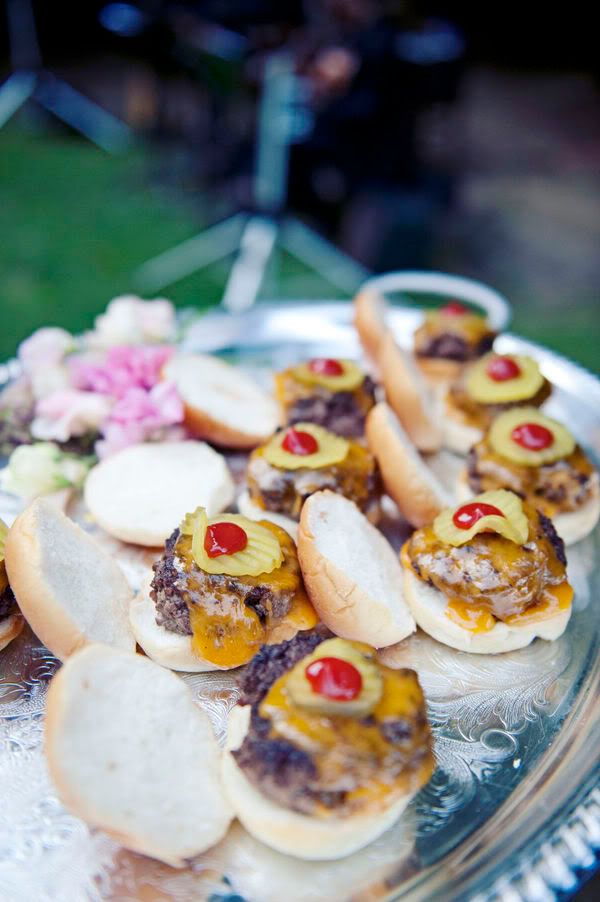


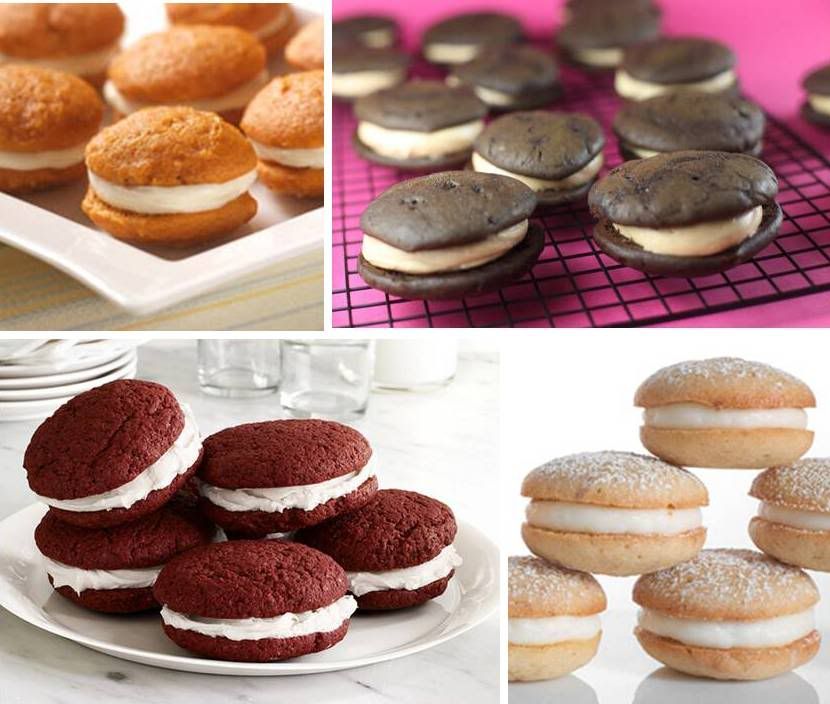
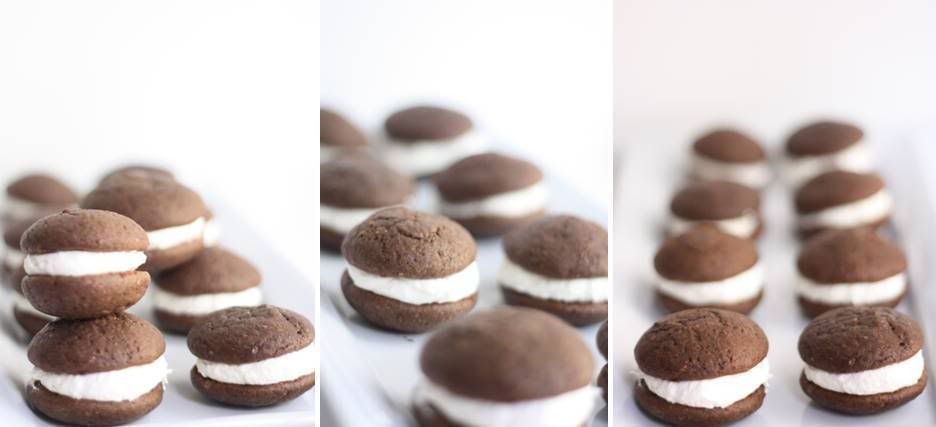 As promised, I spent Sunday morning baking up a storm. After spending time researching different recipes and reading reviews for whoopie pies, I decided on one I found on the iPhone Epicurious app (love that app, by the way).
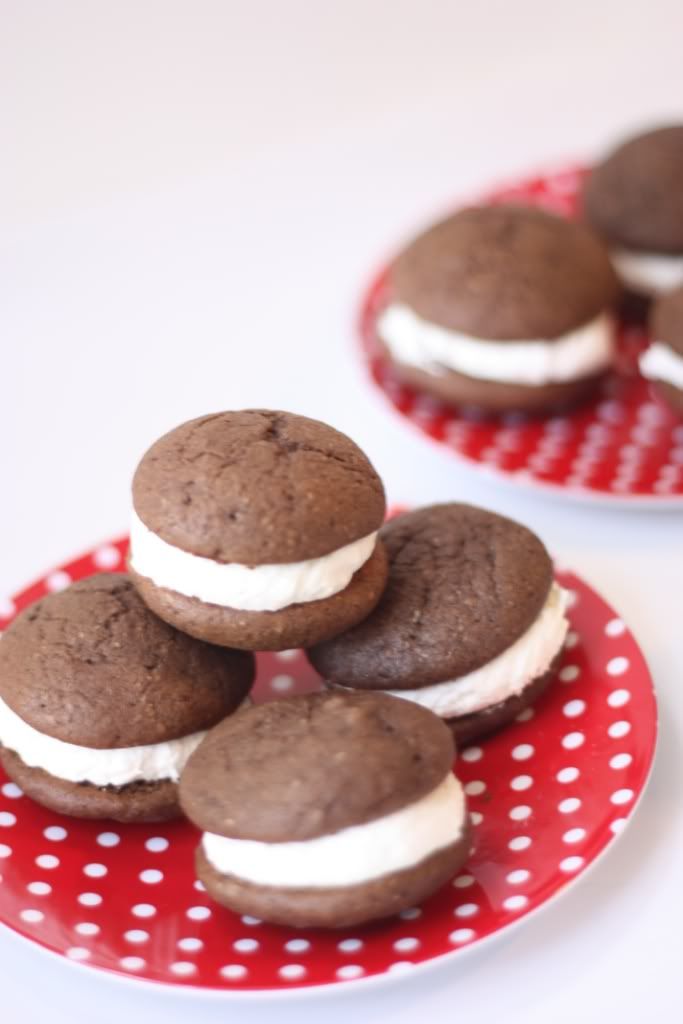 Mini chocolate whoopie pies (recipe adapted from Epicurious)
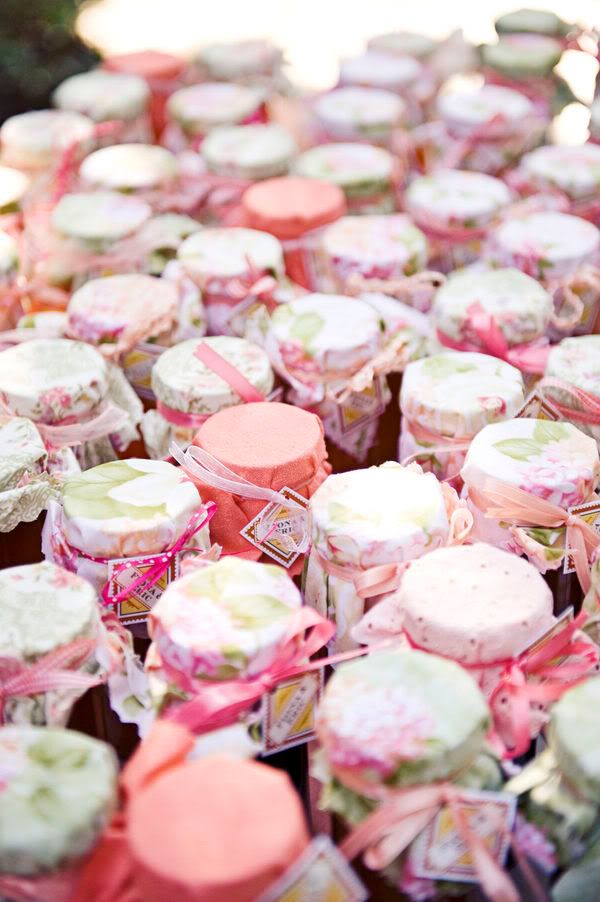
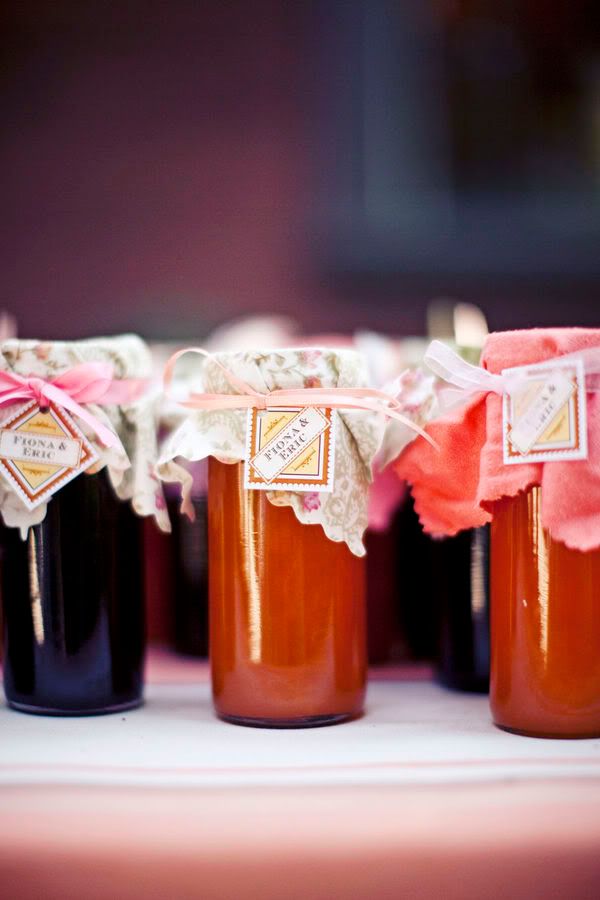
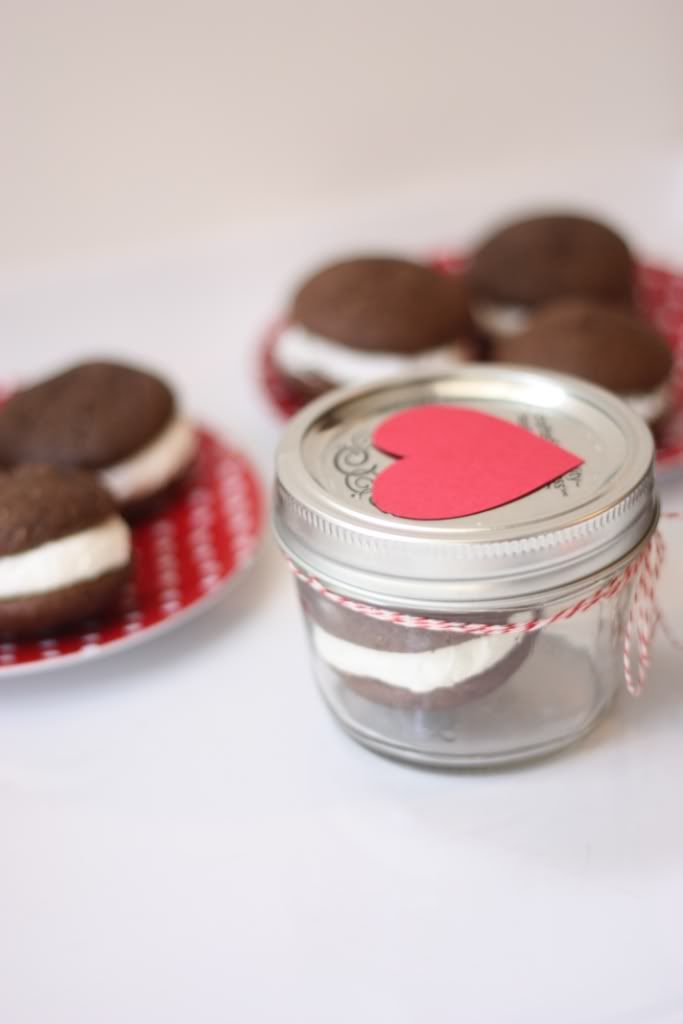 Since these guys are pretty sticky, putting them in cellophane bags wouldn't be the best. Instead, I tried to package them in short canning jars, but then you can only fit one, and that's just not enough. These are really yummy and I wanted to eat like 16 of them (but then I remembered I'm in 3 weddings in the next 6 weeks).


 {Photo credits and recipes:


 {Photo credits:
 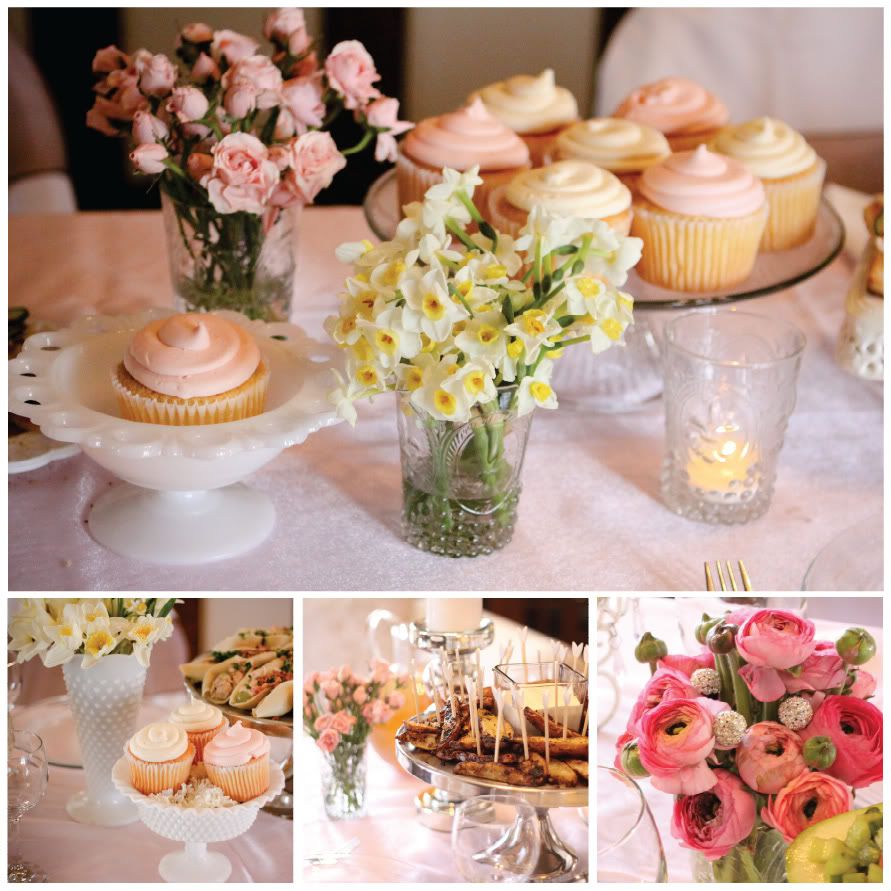 As told by Kristen:
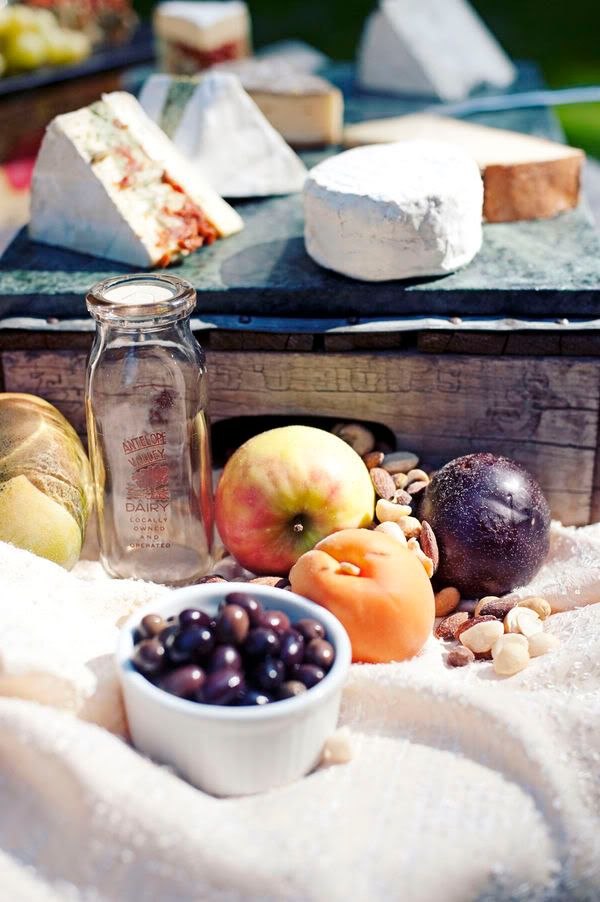
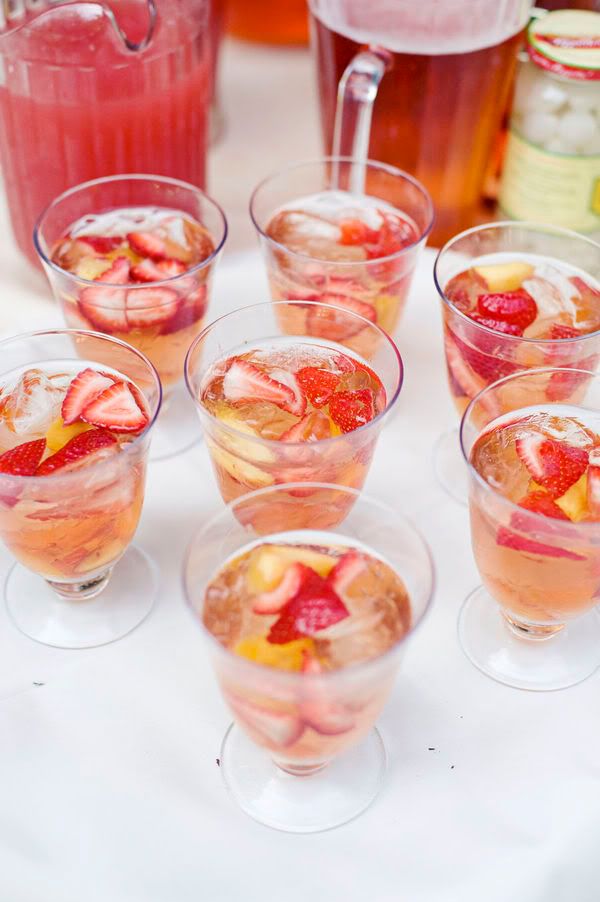
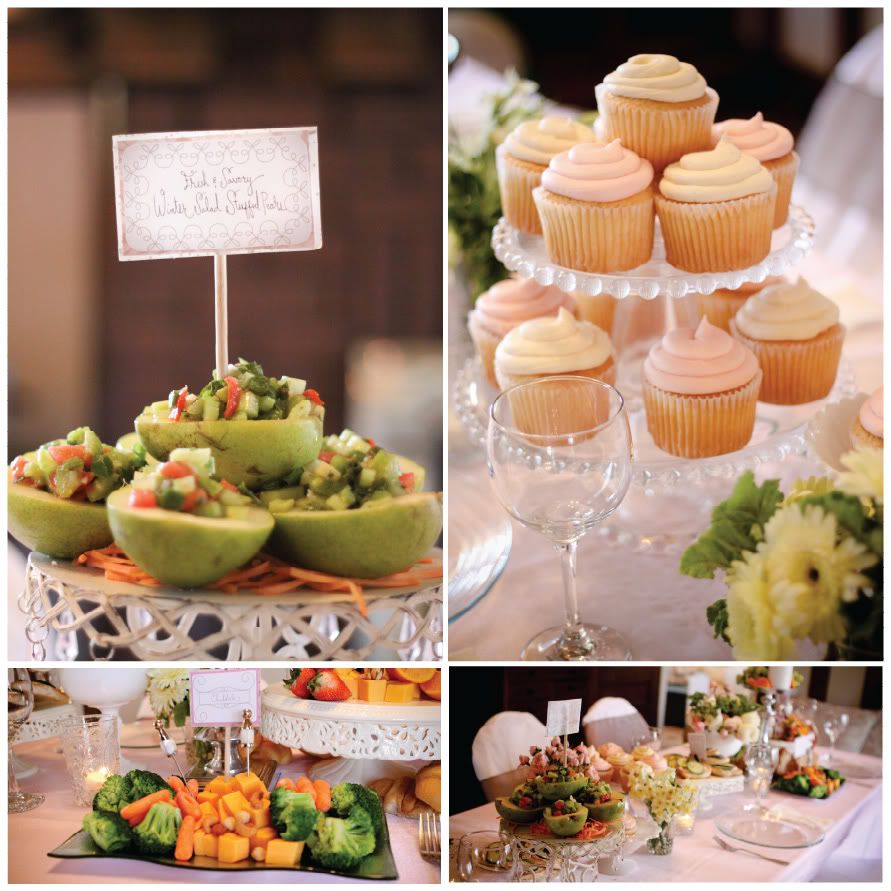 The amazing menu:
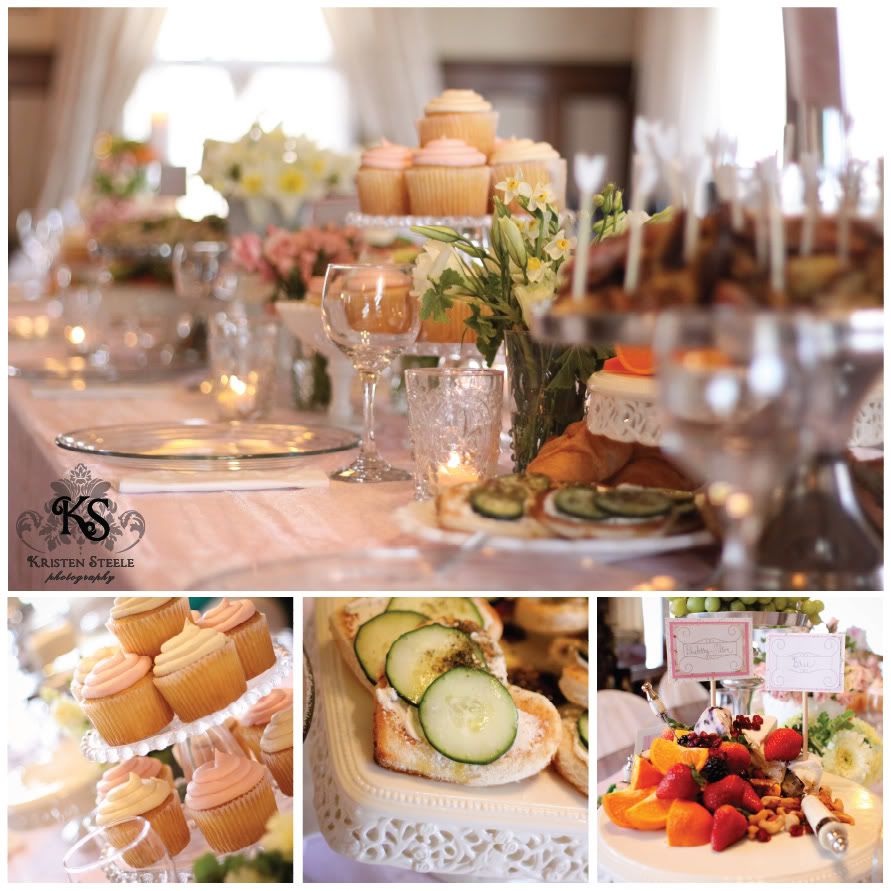
 Thanks so much for sending this amazing bridal luncheon my way, Kristen!
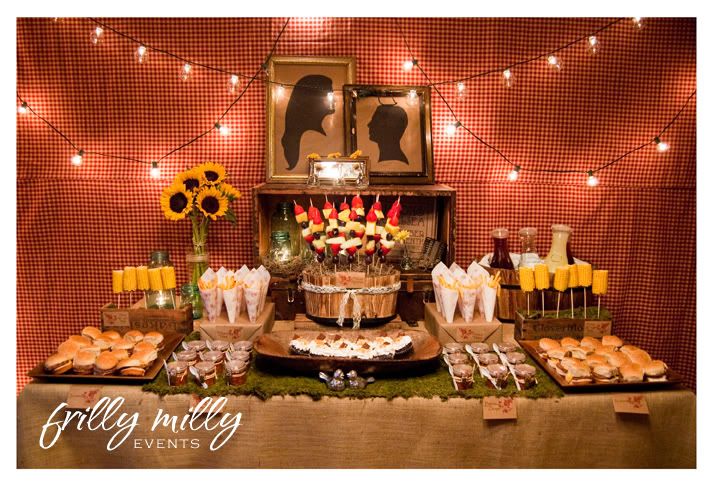
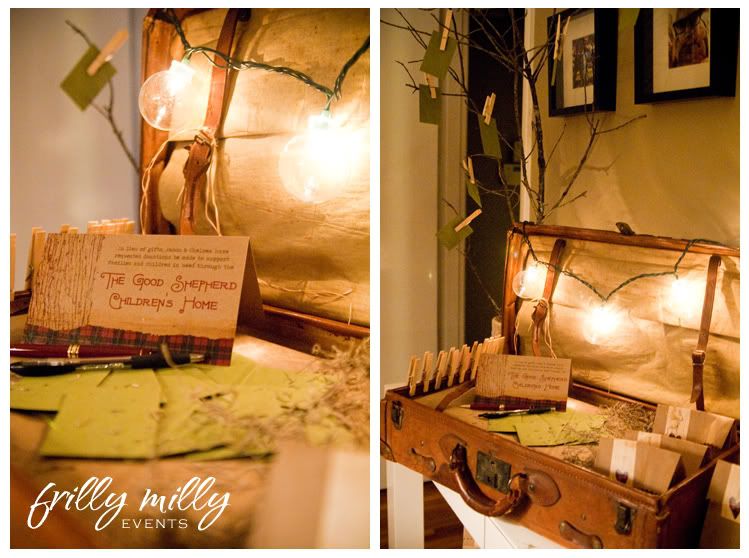
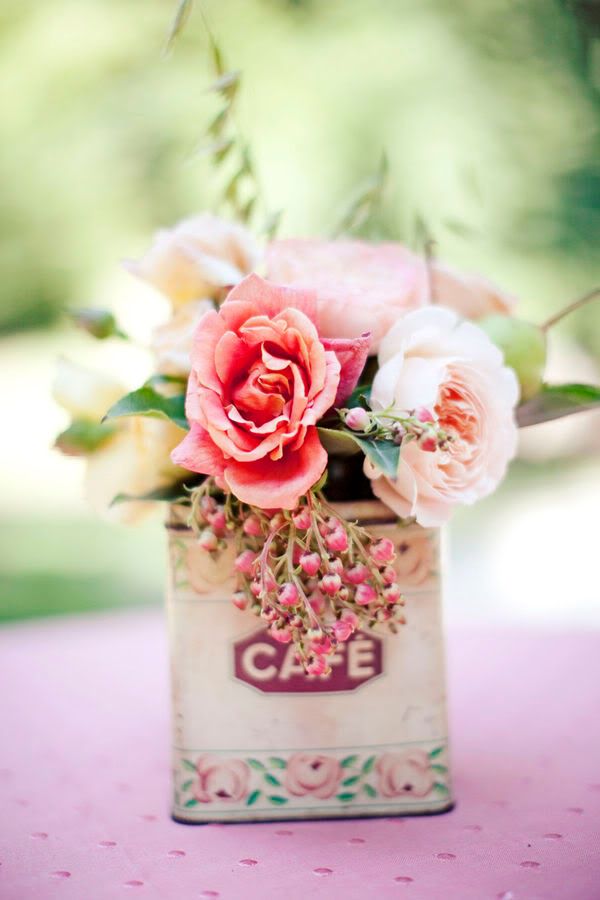
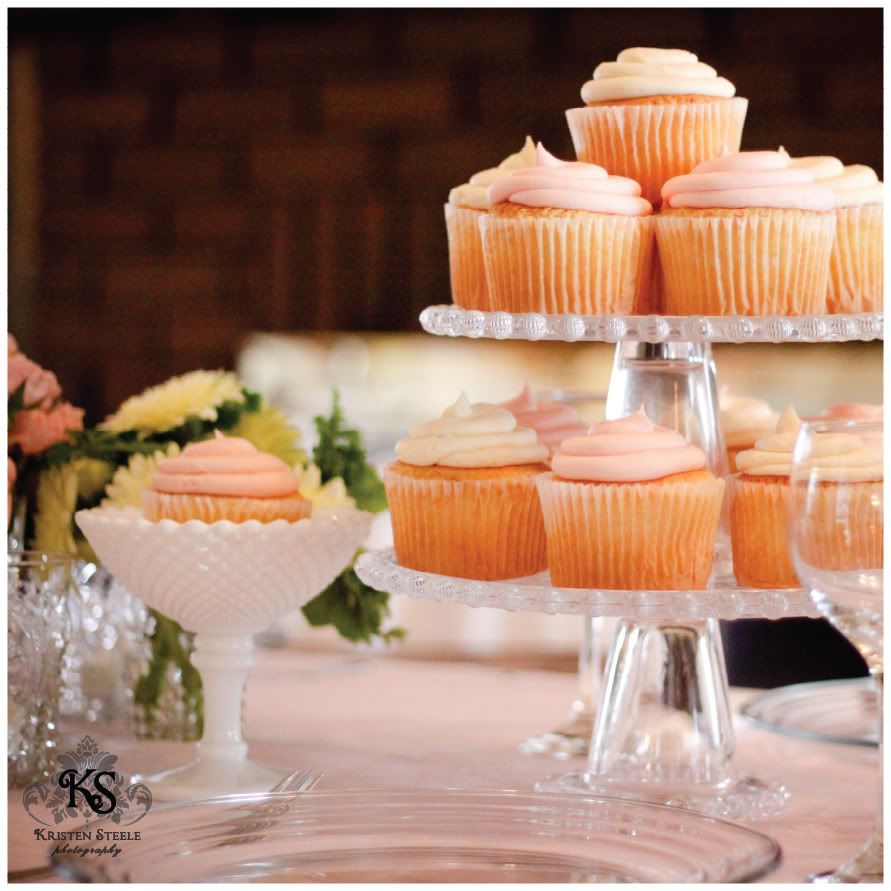
 Because it was a couples shower, Trish wanted it to not only be feminine and dainty, but have a strong masculine presence as well. In order to do that she incorporated plaids and wildflower prints.
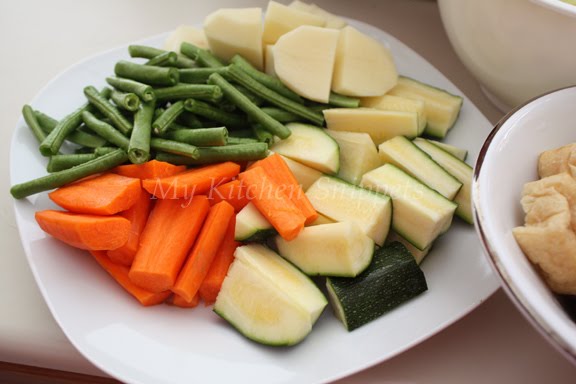
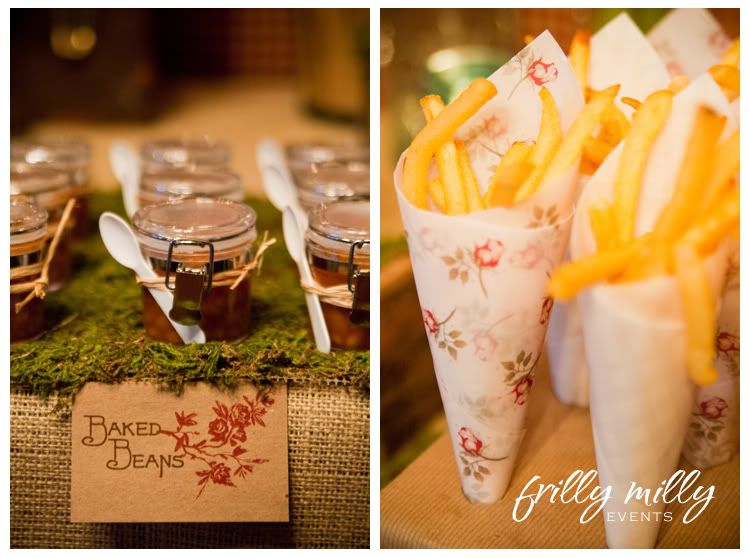 Trish served bbq foods (burgers, baked beans, corn on the cob, etc.) in small packages (sliders, tiny baked bean pots, etc.). I am in love with those baked beans in a jar and the french fry cones!!!
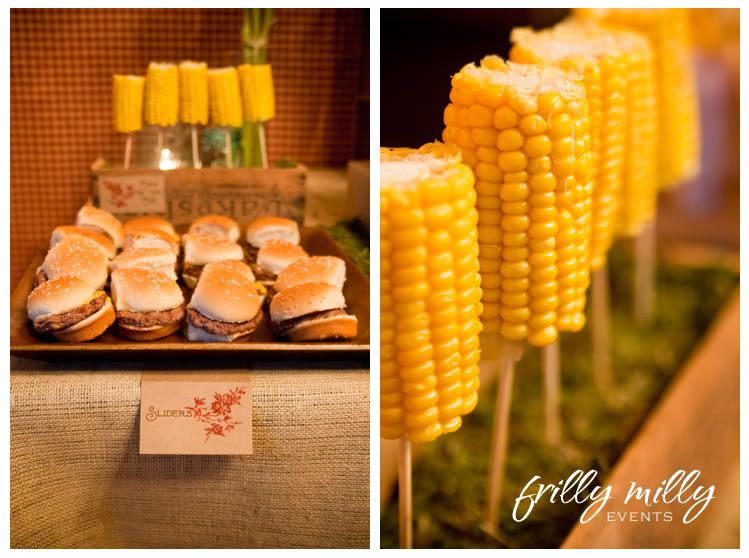
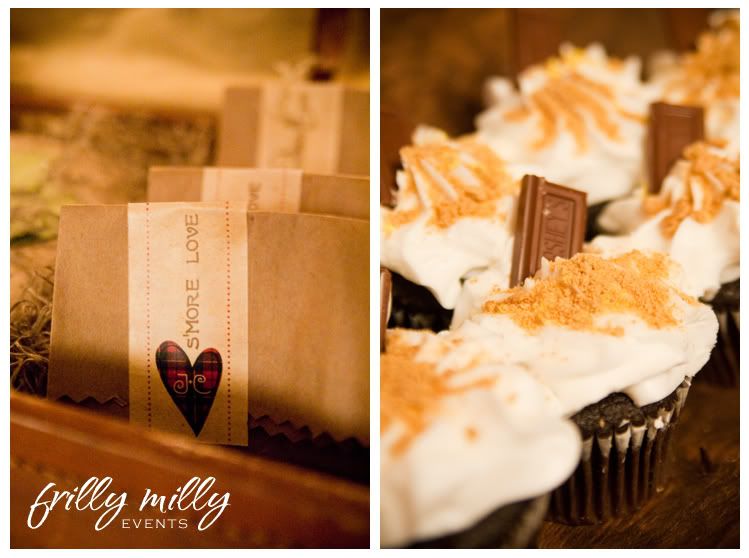 Trish put together little brown bags with all of the ingredients to create s’morea with a label that read “s’more love” and on the backside the couples’ wedding date.
 Be sure to head over to Trish's blog,