This guest post is written by my good friend, Emily. Emily and I met six years ago at the ad agency I work at and instantly bonded over our love of happy hours and good food. We no longer work together but continue our friendship over many great dinners and bottles of wine.
Emily is one heck of a cook, which is why I am so excited she wanted to provide a guest post for Eat Drink Pretty. She is a very health conscious cook and has been a loyal subscriber to Cooking Light magazine for years (she included the nutritional information at the bottom of this post).
Emily is also a passionate gardener and one of the few people I know that composts in her backyard. In the late summer months I can expect phone calls, texts and emails from her asking, "do you need any basil, green beans, squash, zuchinni?"
_______________________________________________
Guest post by Emily:
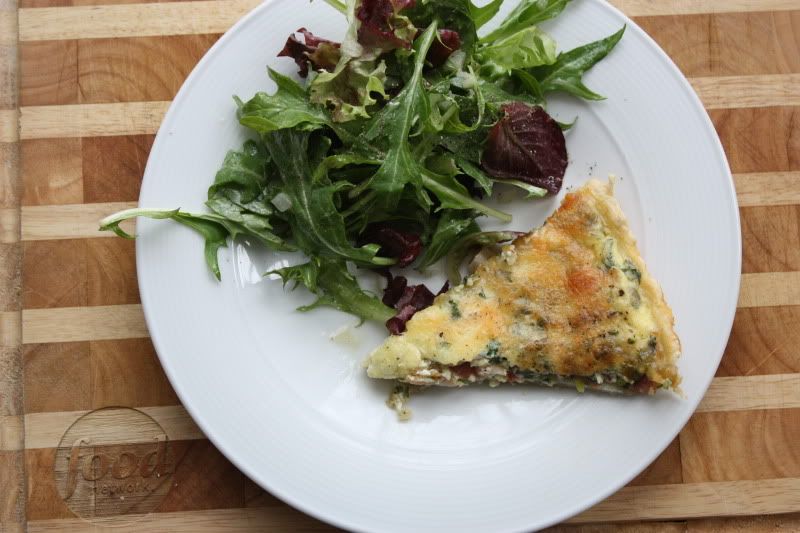
Beef Daube Provencal is a top winter favorite in my household. This Cooking Light recipe is great since the majority of the work is done up front and you can walk away and do something else while it is in the oven. This recipe makes your entire house smell fantastic – as I am typing, the Beef Daube Provencal is in the oven and almost ready to go! I’m making this for my mother’s birthday dinner tonight.
Essentially, you need about an hour to whip all the ingredients together (or less – it depends how fast you can chop or if you can recruit some help), then it slow cooks in the oven for 2 ½ hours. The end result is a succulent braised stew that you serve over egg noodles. I have made this about a dozen times and it always gets rave reviews.
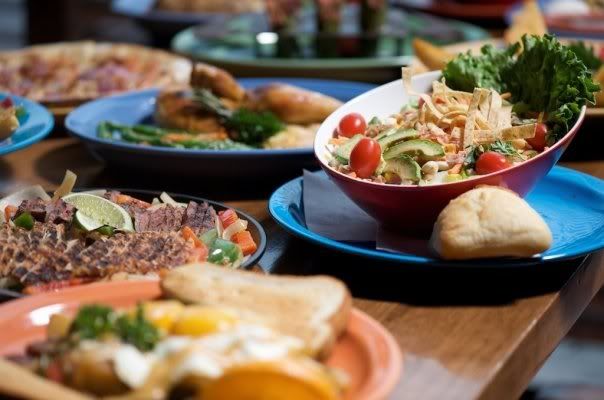
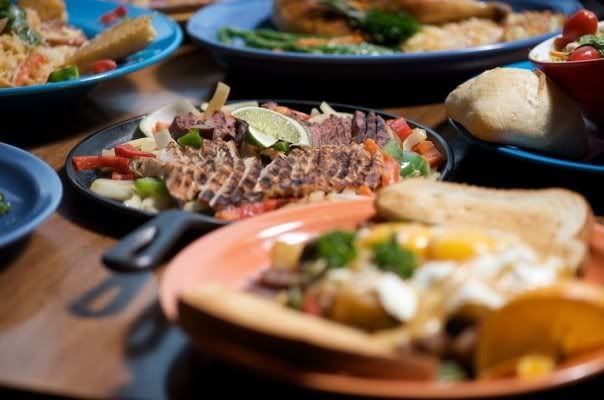
I am a firm believer that cooking with wine makes anything better and it doesn’t hurt to enjoy a glass while you are cooking either! I like to make this on Sundays so I can just reheat some on the stovetop after a long day at work. You can balance out the meal with a spinach salad and an oven-warmed whole grain baguette.
If you don’t have a Dutch oven, you can use a large stockpot for the parts on the stovetop, then you’ll have transfer it to an oven proof baking dish with a lid. Just be careful as you transfer the hot contents into the baking dish. I would recommend using a measuring cup and carefully scooping a small amount at a time so you don’t splash all over.
You can also make this recipe in a slow cooker, but I have yet to try that method.
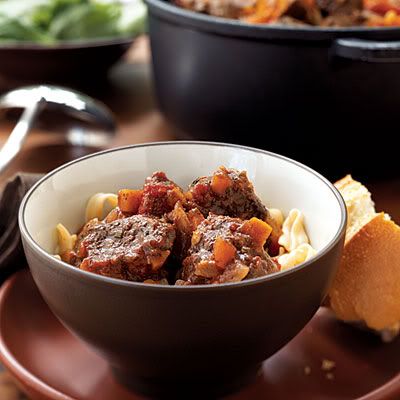
{Photo credit:
Cooking Light}
Beef Daube Provençal
Yield: 6 servings (serving size: about 3/4 cup stew and 1/2 cup noodles)
Ingredients
•2 teaspoons olive oil
•12 garlic cloves, crushed
•1 (2-pound) boneless chuck roast, trimmed and cut into 2-inch cubes
•1 1/2 teaspoons salt, divided
•1/2 teaspoon freshly ground black pepper, divided
•1 cup red wine
•2 cups chopped carrot
•1 1/2 cups chopped onion
•1/2 cup less-sodium beef broth
•1 tablespoon tomato paste
•1 teaspoon chopped fresh rosemary
•1 teaspoon chopped fresh thyme
•Dash of ground cloves
•1 (14 1/2-ounce) can diced tomatoes
•1 bay leaf
•3 cups cooked medium egg or dumpling noodles (about 4 cups uncooked noodles)
Preparation
Preheat oven to 300°.
Heat oil in a small Dutch oven over low heat. Add garlic; cook 5 minutes or until garlic is fragrant, stirring occasionally. Remove garlic with a slotted spoon, and set aside. Increase heat to medium-high.
Add beef to pan; sprinkle with 1/2 teaspoon salt and 1/4 teaspoon pepper. Cook 5 minutes, browning on all sides. Remove beef from pan.
Add wine to pan; bring to a boil, scraping pan to loosen browned bits.
Add garlic, beef, 1 teaspoon salt, 1/4 teaspoon pepper, carrot, and next 8 ingredients (through bay leaf), and bring to a boil.
Cover and bake at 300° for 2 1/2 hours or until beef is tender. Discard bay leaf. Serve over egg noodles.
Note: To make in a slow cooker, prepare through Step 2. Place beef mixture in an electric slow cooker. Cover and cook on high for 5 hours.
Nutritional Information
Calories: 367 (31% from fat)
Fat: 12.8g (sat 4.3g,mono 5.8g,poly 0.9g)
Protein: 29.1g
Carbohydrate: 33.4g
Fiber: 3.9g
Cholesterol: 105mg
Iron: 4.3mg
Sodium: 776mg
Calcium: 76mg
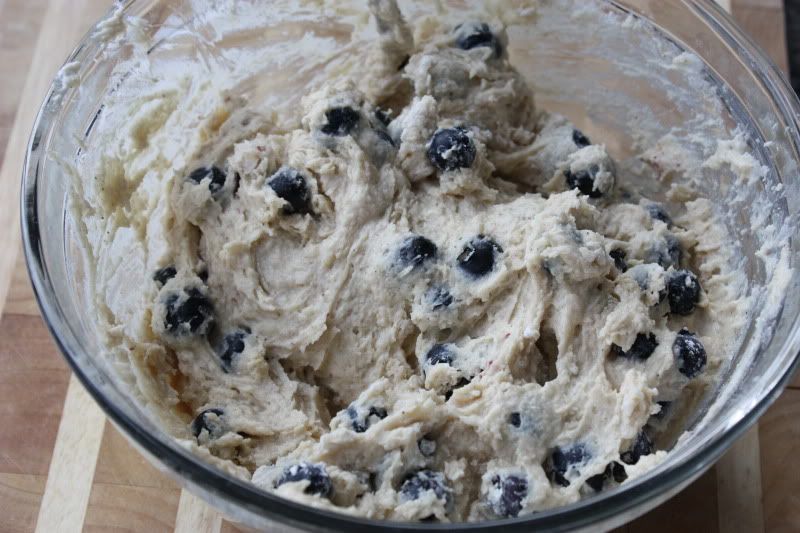
 I always have a soft spot for banana cakes as it is one of the very first cakes I learned to bake. I just love the rich banana flavor, light and moist of this cake. Banana cakes are easy and inexpensive to make. The really great thing about this cake is that you can use your over-ripe bananas. Bananas are a great source of vitamin B6, vitamin C and potassium but if you ask me the best reason to try this banana cake is just that it tastes soooo good!
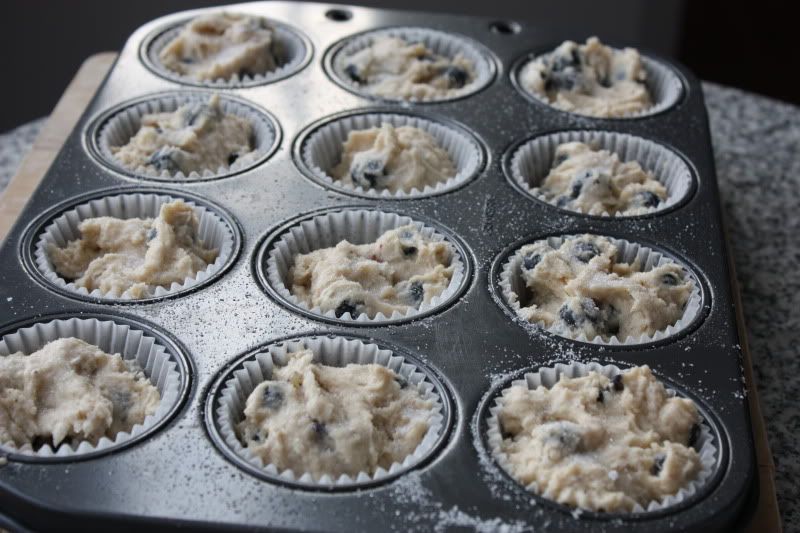
 1. Preheat the oven to 350 degree F. Greased and line an 8” round baking pan or 8” x 8” square pan. In a bowl sieve flour, baking powder, baking soda and salt. Set it aside.


.jpg)
+2.jpg)