I am thrilled to have Lisa of
With Style and Grace blog back for her second guest post (click
here for her first). Lisa's
blog is filled with beautiful/delicious photos and recipes. Be sure to head over and check out
With Style and Grace and you will be quickly become a regular reader. Lisa is a total sweetie and her photo skills are sharpening beyond the speed of light. She is definitely on the rise to something fabulous, just wait and see!
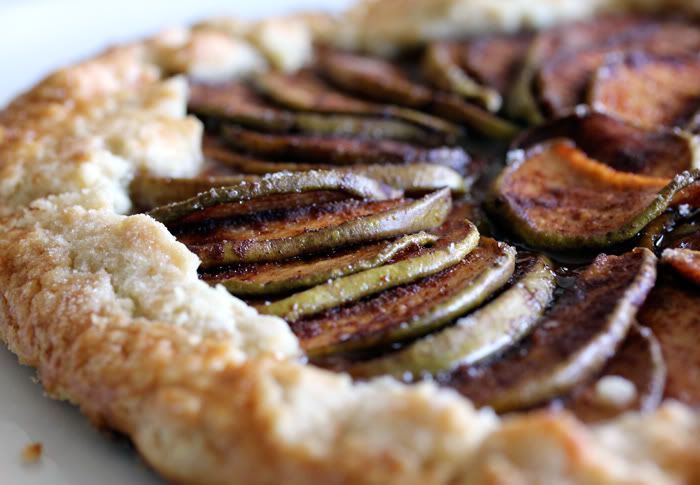
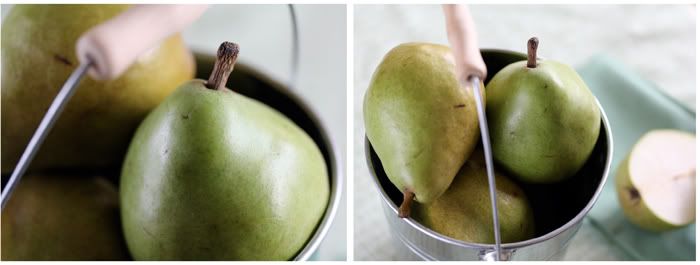
Today Lisa is sharing an amazing pear galette recipe. Who knew pears could be so beautiful?
As told by Lisa:
You know the saying, “an apple a day keeps the doctor away”? Well, you do now. Anyways, I came up a new one. “A pear a day, keeps your hair from going grey”. It’s probably just as true as the apple line, right?
My point being, I love pears, probably more than apples. I eat at least one a day and believe it or not, no grey hair. I usually eat them plain or in a salad, but had never baked with them. And I’ve been missing out. This pear galette was amazing and I’d say a new favorite around here. It’s nice and light and in my opinion, it’s the perfect dessert to satisfy any after dinner sweet tooth, that is without making you feel 5lbs heavier. It’s a
keeper for sure!
This is also a great dessert to serve if you’re entertaining or hosting a dinner. To make this even easier, you could always go with the store bought pie crust. You can find it in the freezer sections. It’s ok, I won’t tell.

Pear galette (adapted from
Epicurious)
Ingredients
1 ¾ cups all purpose flour
¼ teaspoon salt
¾ cup (1 ½ sticks) chilled unsalted butter
2 Tablespoons (or more) ice water
1 cup sugar, plus 1 teaspoon for sprinkling
2 Tablespoons cornstarch
1 Tbsp ground cinnamon
5 cups peeled, cored and thinly sliced firm pears – I kept the peel on for a refined
look/feel.
2 teaspoons vanilla extract
1/8 – ¼ cup apricot preserves
1 large egg white, lightly beaten
Directions
Preheat oven to 450 degrees. Line a baking sheet with aluminum foil; set aside. Blend flour and salt in processor. Add butter and pulse, until mixture resembles coarse meal. Add 2 tablespoons ice water & pulse, just until dough begins to clump together, adding more ice water by teaspoonfuls if dough is dry. Gather dough into ball; flatten into disk. Wrap in plastic and chill 1 hour.
Note: You can make the dough 2 days ahead, store in refrigerator. When ready, soften slightly at room temperature before rolling out.
Roll the dough out between two sheets of parchment paper to 1/8-inch-thick round and 14 inches in diameter. Remove the top sheet of parchment. Carefully, transfer the dough (use bottom parchment paper as an aid) to the prepared baking sheet. Chill for about 15 minutes.
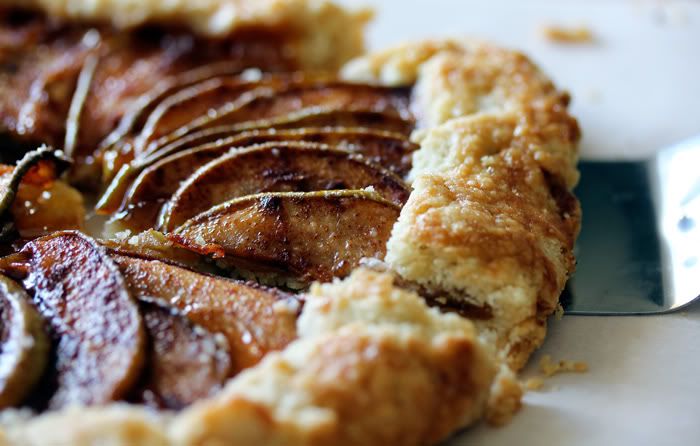
In a medium sized mixing bowl, combine 1 cup of the sugar (add more or less to suite your taste), cornstarch, and cinnamon. Add the pears and vanilla. Using a fork, toss to coat with the mixture. Spread the apricot preserves over the crust. Spoon the pears into the center of the crust (on top of preserves), spreading them to within 1-2 inches of the edge. Bring the crust up over the pears to form a border of about 1-2 inches, pleating and folding the crust as needed. To give the pie a polished look, brush the folded edge with the lightly beaten egg white and sprinkle the remaining 1 teaspoon of sugar.
Bake for 20 minutes. Reduce oven temperature to 375°F and continue baking until the crust is golden brown – approx. 30 minutes. Remove from oven. Let cool slightly on wire rack before serving.
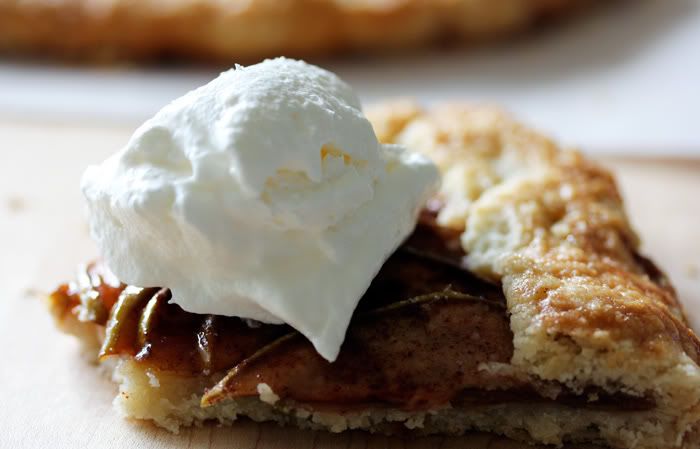
Serve with a soup of ice cream or for a lighter version, top with light cool whip. Enjoy!
Thanks so much to Lisa of
With Style and Grace for guest blogging today!
I have to give a quick shout-out to my hubby, Erik. Happy birthday honey! Can't wait to celebrate with you later this evening! Love you lots.
I hope you all have fantastic weekend plans. Happy baking!
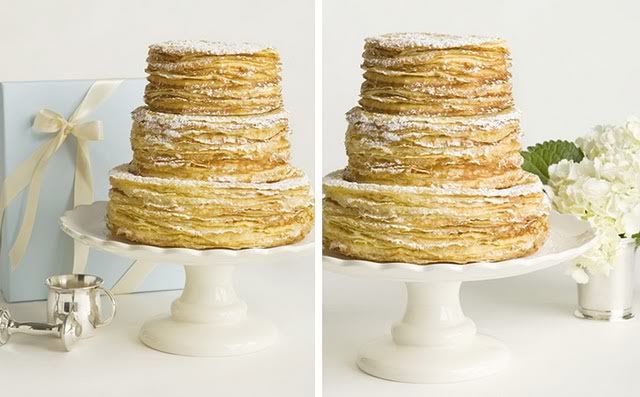 {Photo credits: Sparkle and Hay via Charleston Crepe Company}
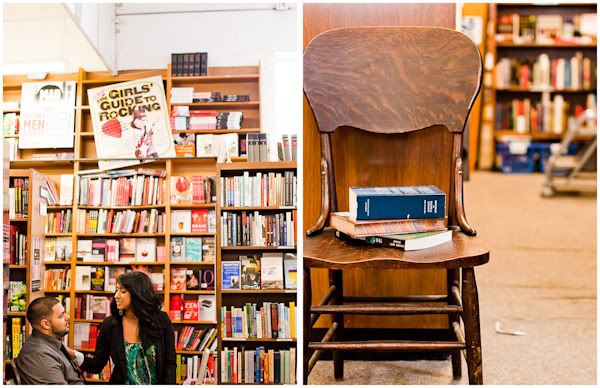 Thanks so much to all the fabulous entries for the love shoot session/package by
  It's amazing what you can create in the kitchen with just a few simple ingredients. I was off work Monday with little to do since I was snowed in from the previous day's blizzard. Nothing sounded better than the house warm with the smell of baking bread in the oven. I was inspired when I found this recipe on
 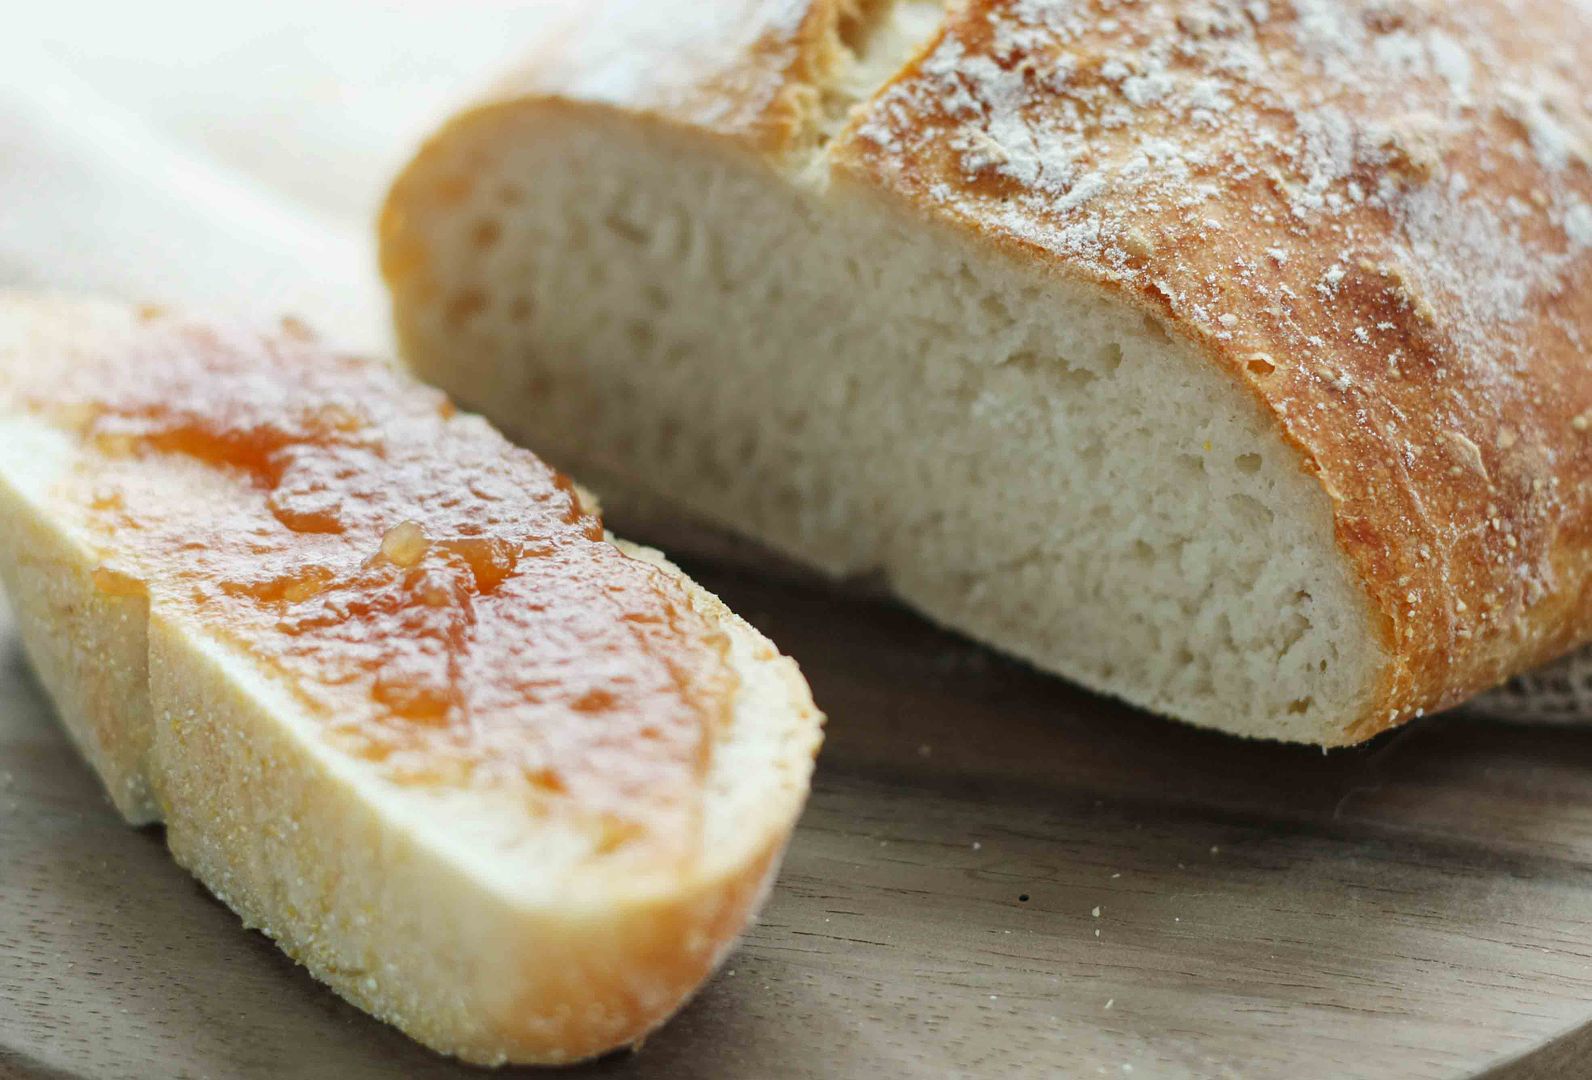 I ate this bread a few different ways. Pictured above, slathered with apple butter (homemade by my friend Libby) and also with regular butter and a pinch of sea salt. Both sinfully good.
 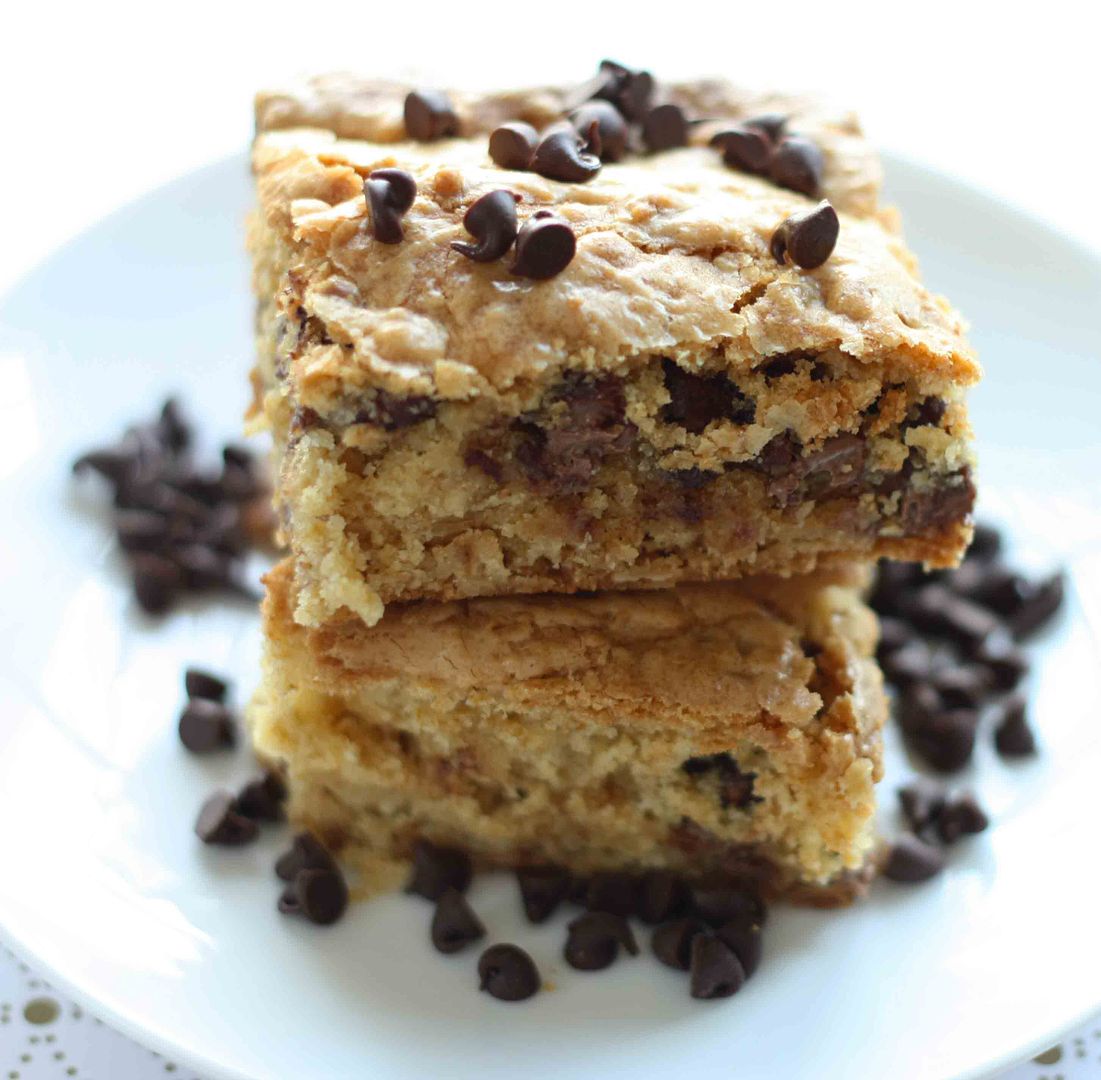 If you happen to be on Weight Watchers (or any diet) slowly back away from the computer screen. Seriously. These bars are diet-breaking delicious. I probably shouldn't admit it but I ate about 6 of them over the weekend. Yup...that's what you call going over your points.
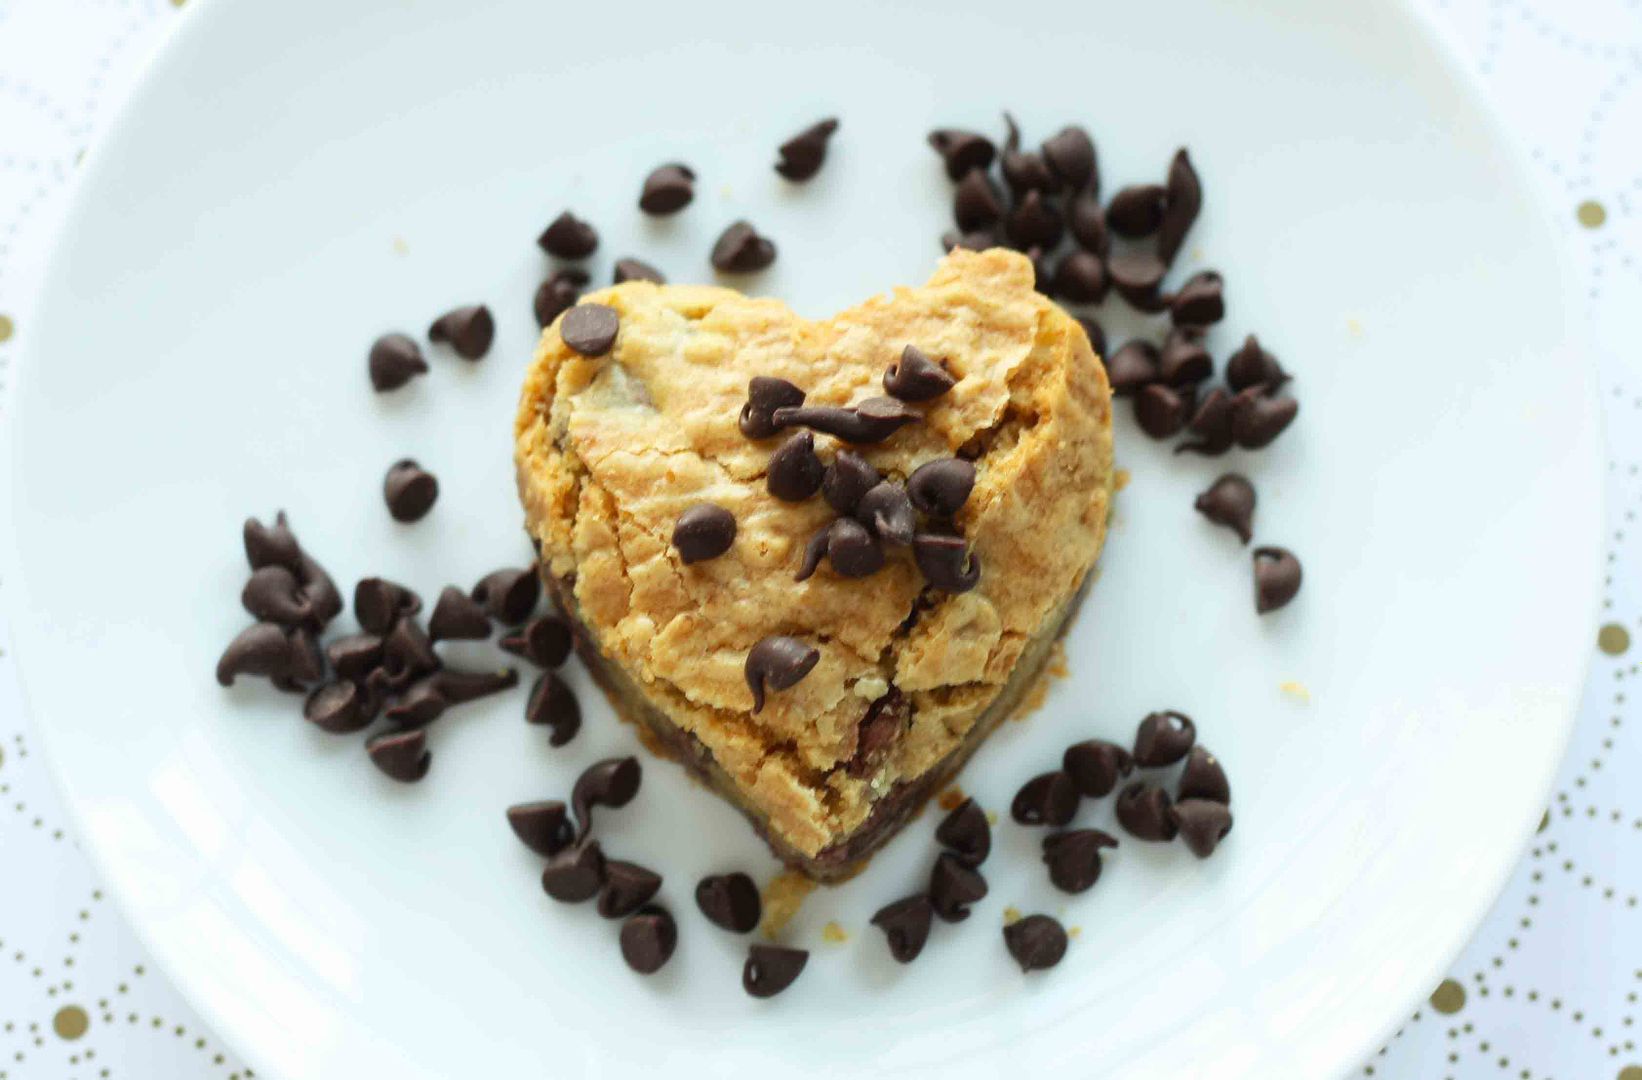


 Be sure to head over to
  I have a confession to make. I am a huge loser on Friday evenings. It is likely that by 6pm I am in my pj's and in bed by 9pm watching movies on Netflix or reruns of Diners, Drive-Ins and Dives on Food Network. I can't help it. By Friday evening I am wiped out, exhausted. The thought of putting on eye liner, brushing my hair and going out for cocktails is the furthest thing from my mind.
  This soft, pretty destination wedding inspiration board was created by guest blogger, Faith of
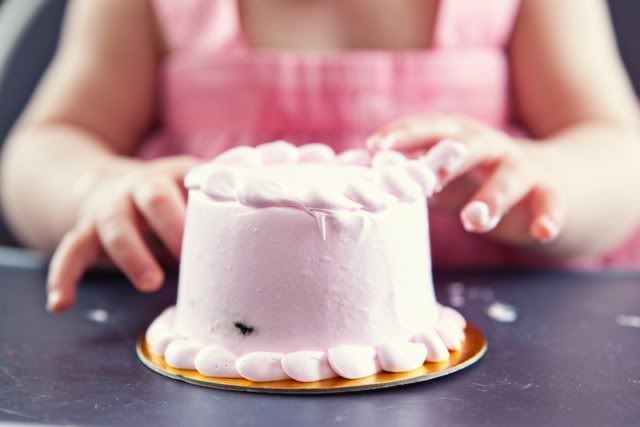
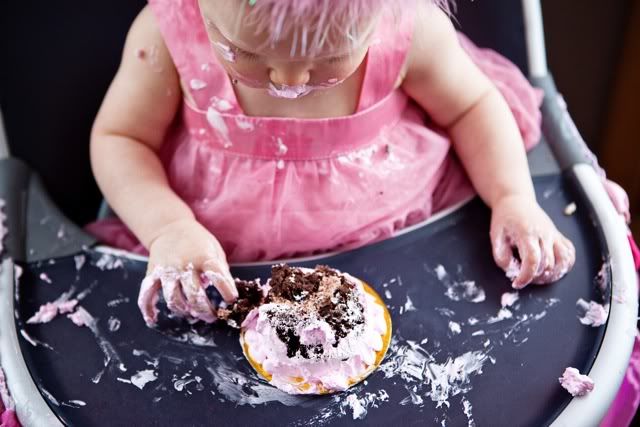
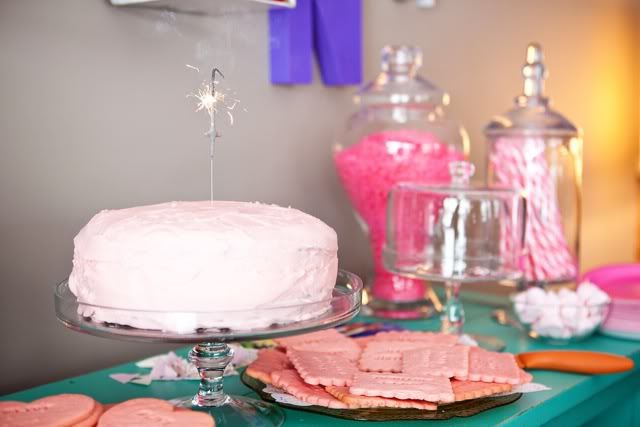
 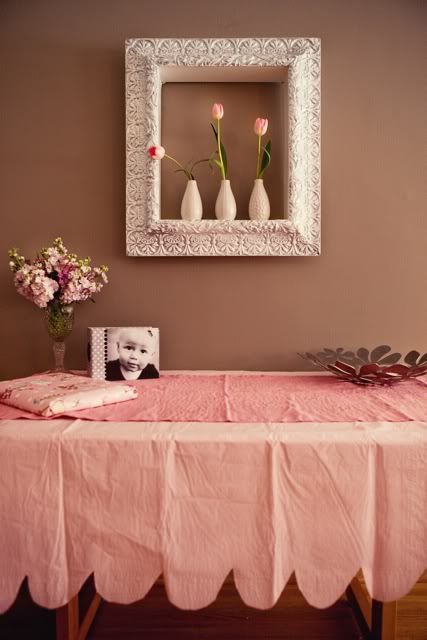 I adore this pink vintage birthday party sent to me by Megan (of
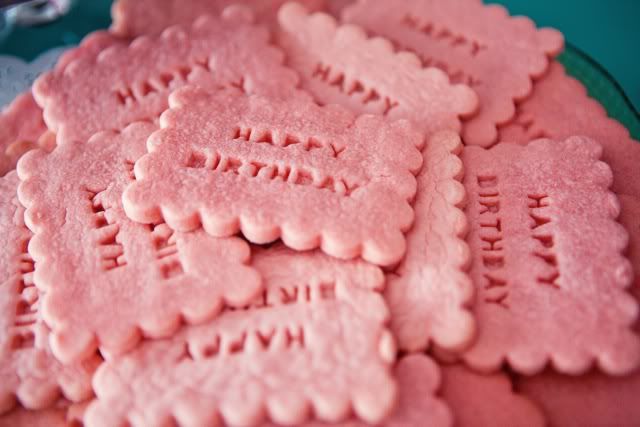
 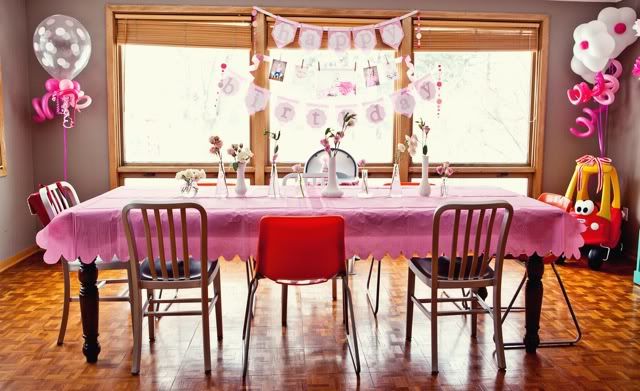 Megan found inspiration from party blogs. She used Etsy sellers for many of the details.
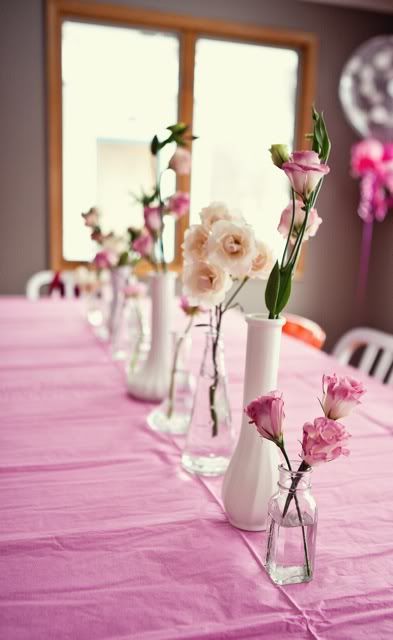 I love these flowers in bud vases, designed by
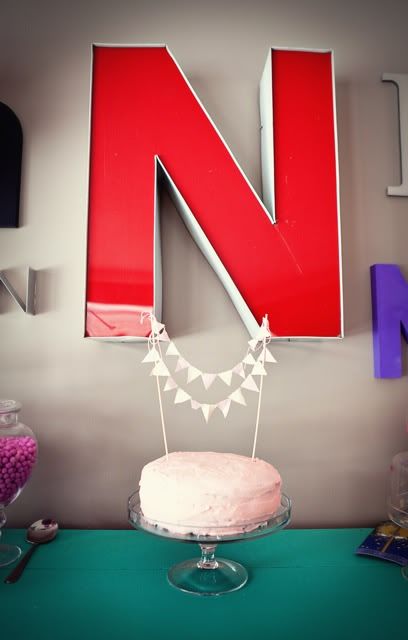 Cake bunting by
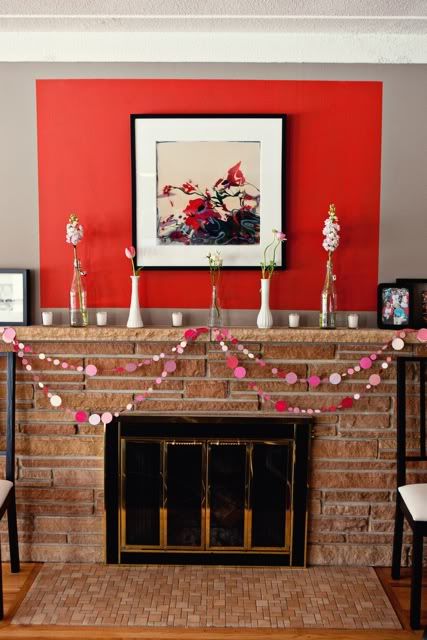 Circle garland from
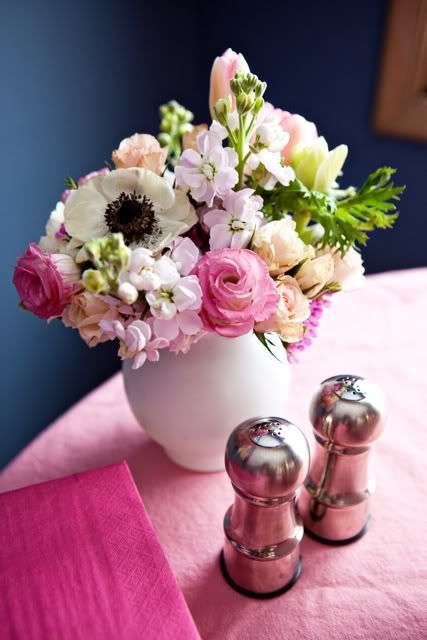
 Tissue poms by
 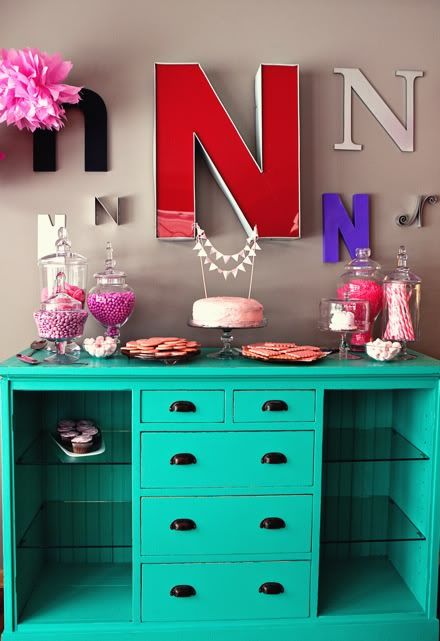 A perfect pink dessert table.
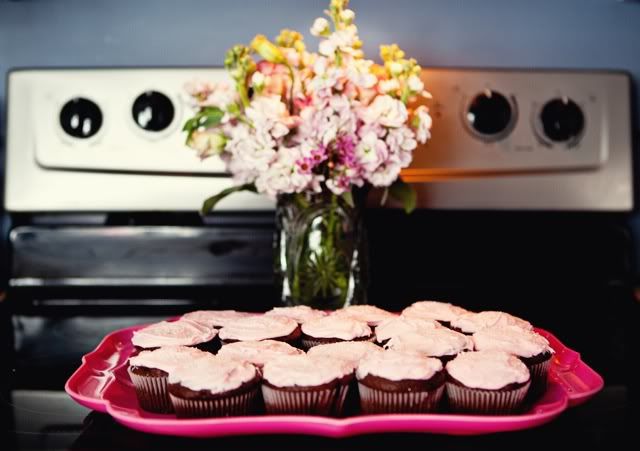


 Thanks so much to
  I know that Valentine's Day is over but chocolate cupcakes with handmade white chocolate heart toppers are perfect for any occasion. Today's guest post is from McKenzie of event planning company
 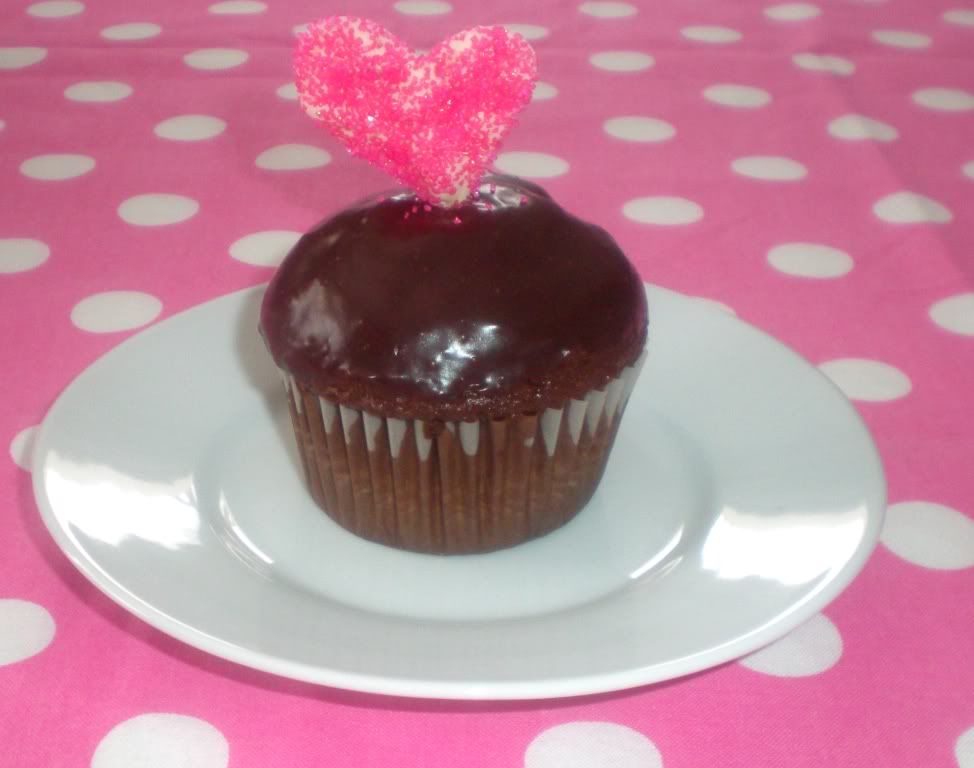 Raspberry-filled chocolate cupcakes with dark chocolate ganache (recipe by
  Happy Valentine's Day!
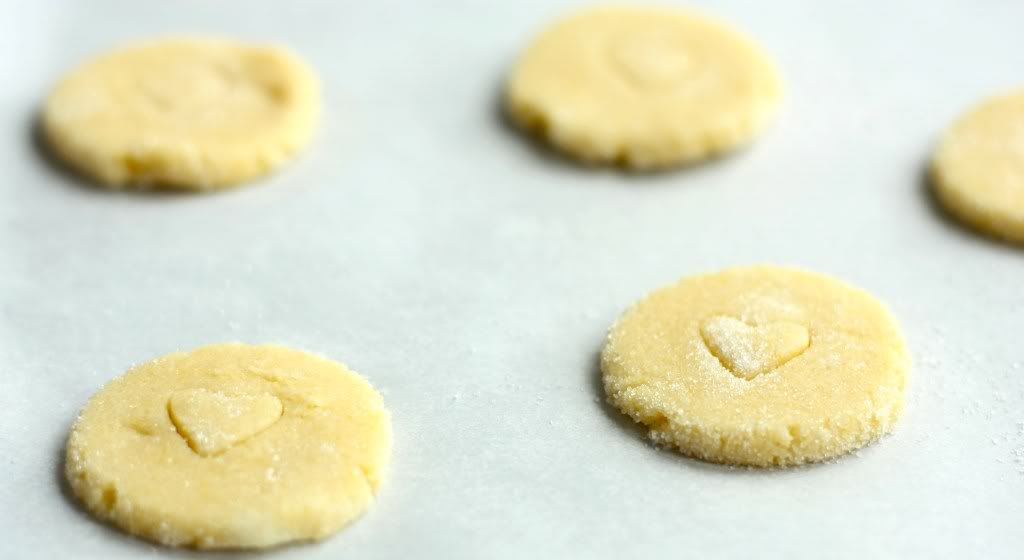
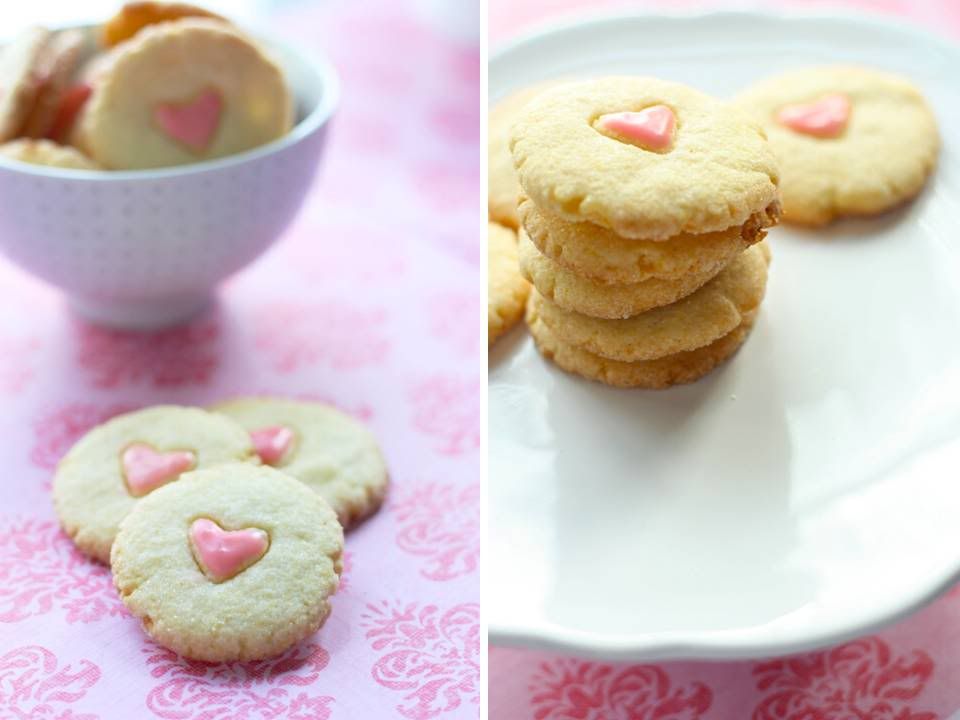 When I saw these cookies in Jan/Feb issue of Everyday Food I was intrigued because they had cornmeal in them. These taste like a crumbly, delicious sugar cookie but with a bit of a twist. I loved them.
  Did you celebrate Valentine's Day last weekend or are you doing something this evening? Please comment and share!
 {Photo credit:
 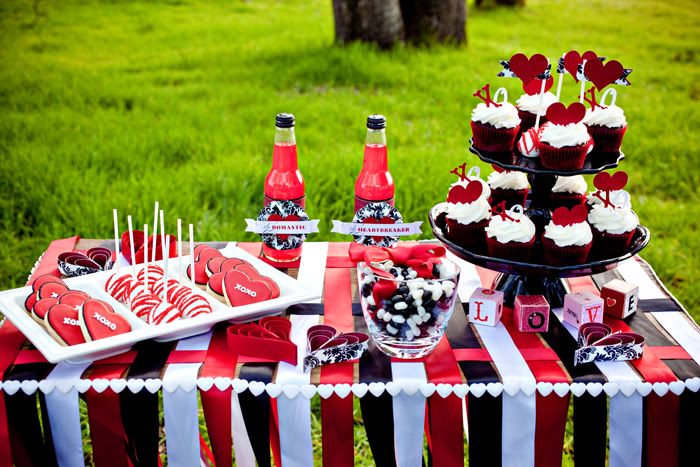 I love Valentine's Day. Sure...maybe it is the cheesiest of all holidays but for me it's been a great excuse to get a meal cooked by my honey, have fresh flowers in the house and spend some extra time snuggling.
 Red velvet cupcakes are a perfect choice for Valentines Day.
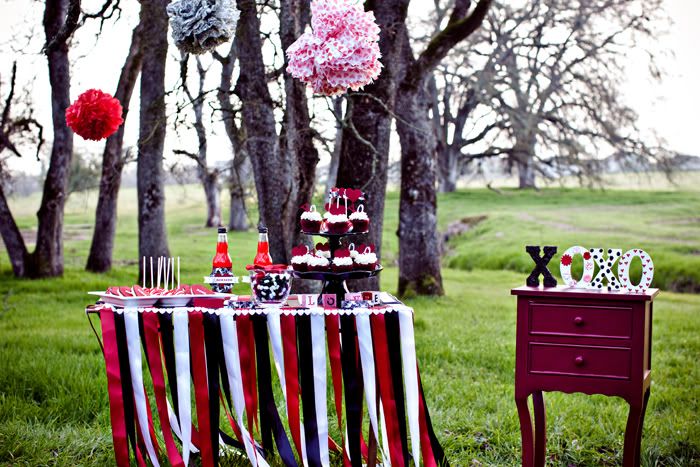 Love the ribbon tablecloth
 This little guy doesn't look so sure about what he's gotten himself into with this shoot. My husband felt the same way when he did this


 OMG. Cute little kiddie feet.

 Thanks so much to