
I have always heard people and famous chefs said that having a good knife in the kitchen is important. I have always drooled over those expensive knives but I just can’t bring myself to pay so much for it. A good knife can cost well over $300.00 each. Now I can understand why people pay so much for a knife as I finally owe one. New West KnifeWorks , a company from Wyoming recently sent me Fusionwood Knife Chopper for review. The knife has a 5’5” blade with an overall 10” length.

There is a lot of hard work that goes into making each and every piece of their knife. Highly skilled artisans and modern precision tools work together to create these pieces. The finest materials are sculpted, assembled and hand-finished to ensure every piece is perfect. You can read all about the premium high carbon stainless STEEL {which btw boast a high carbon content - 70% higher than Wusthof }, BLADES that are cut, precision ground hand finished, and the amazing gorgeous colorful HANDLES that are created from select hardwood veneers that are vacuum impregnated with penetrating dies and resins.

From the second I opened the packaging I was smitten by it. The blade was safely covered in a leather sheath. I was totally drawn to the stunning handle. I don’t think I even see a knife with that kind of colorful handle.


This knife felt solid and heavy in my hand. The blade is sharp and strong. The knife might look small but it is just perfect for slicing, mincing, and julienned, peeling and even cutting big chunks of meat. I have been using it to cut up pretty much everything for the past one week.


This company and their products have been written about in numerous magazines - Cooking Light, Bon Apettit, Wine Spectator, Sunset, Gourmet and many more, all with good reason. New West has a Non-Commercial Lifetime Guarantee on their knives - if you are not happy with your purchase they will replace it free. If you are looking to invest in good quality knife, head over to their website and check out their awesome selection.


 I am excited for today's giveaway as it is perfect for all you party planners, hosts/hostesses and anyone who loves to entertain.
 I am so excited to share part 2 of the vintage/garden bridal shower I co-hosted because today is all about the delicious brunch menu, yummy cupcakes and more fun details!
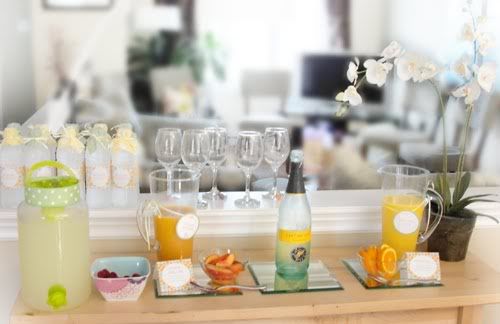
 We had a brunch cocktail table set up with build-your-own mimosas, bellinis and bloody mary's. If you haven't noticed already, I am a huge fan of alcoholic beverages at showers.
 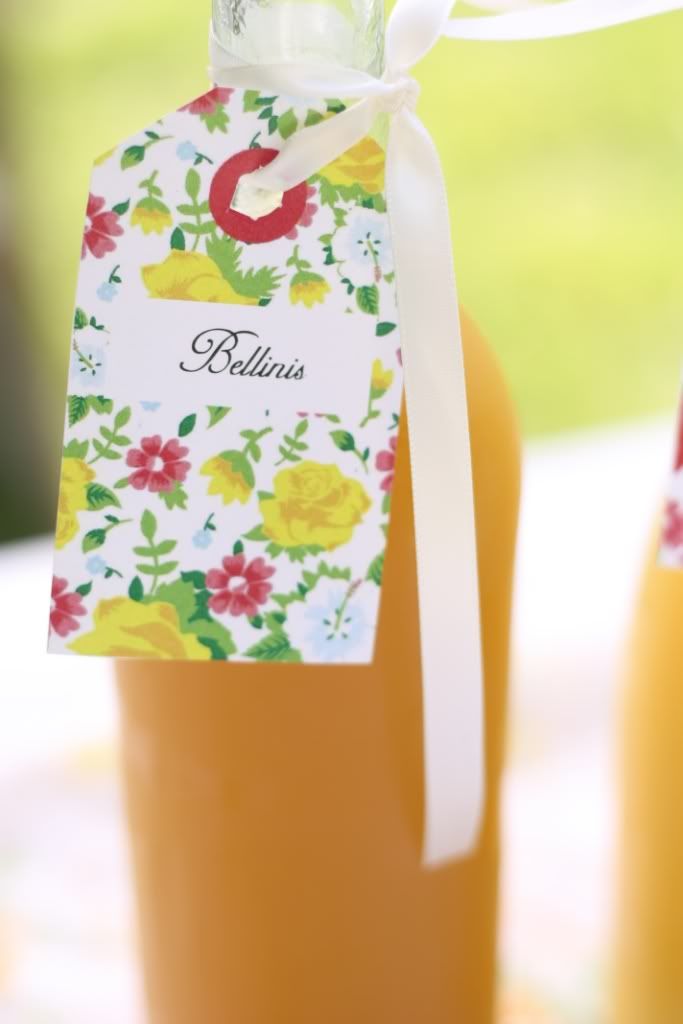 I used a free download for the drink tags via
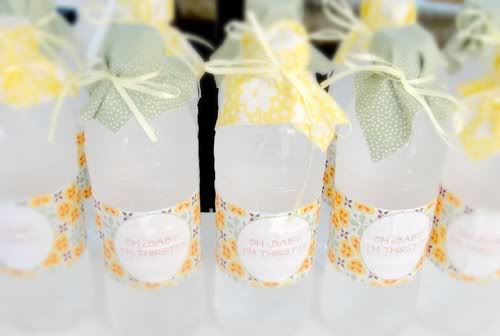
 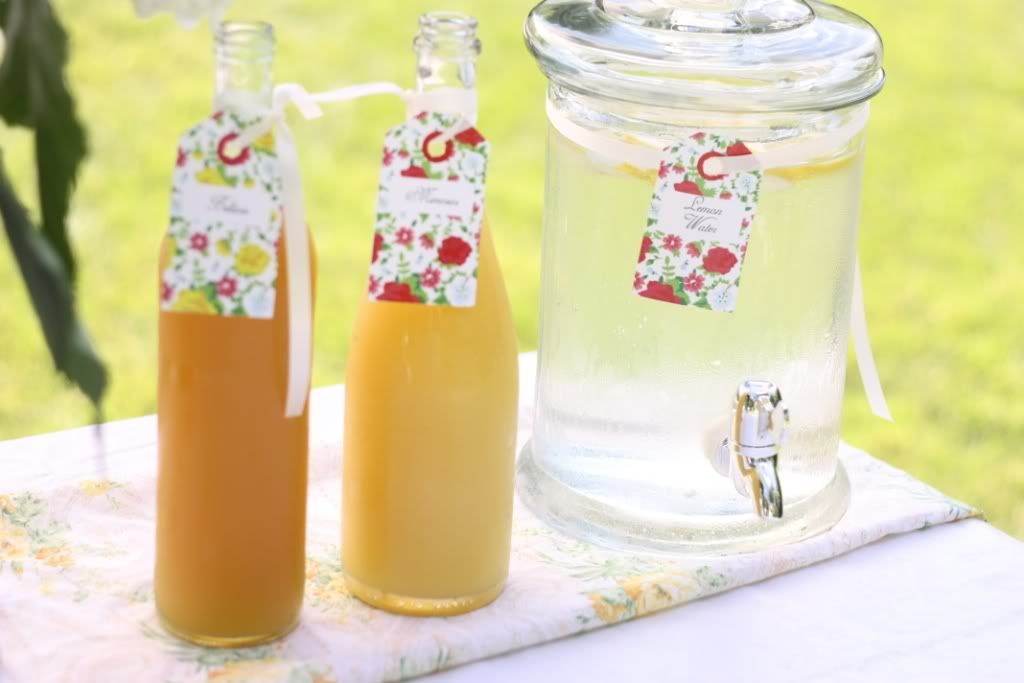 We used clear wine bottles for the peach juice and orange juice.
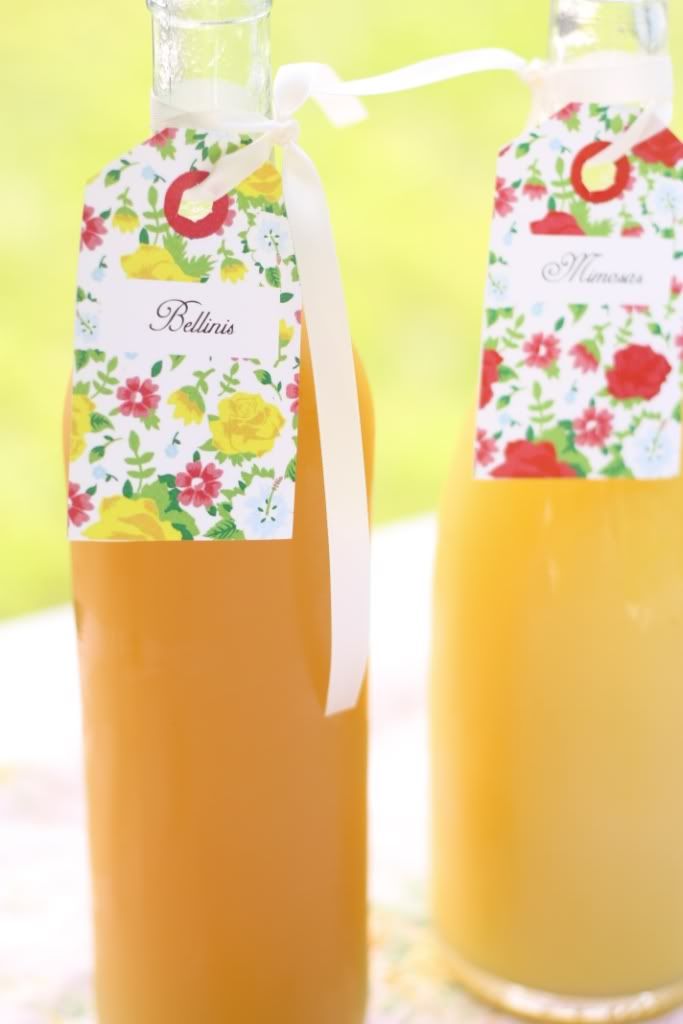
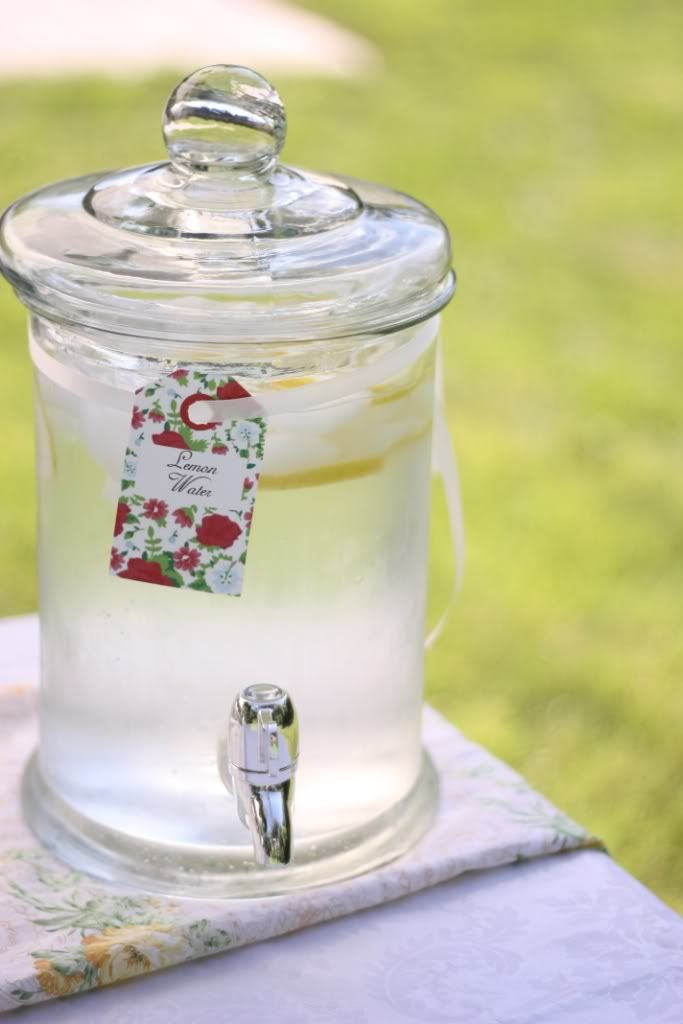 A pretty drink dispenser filled with refreshing lemon water.
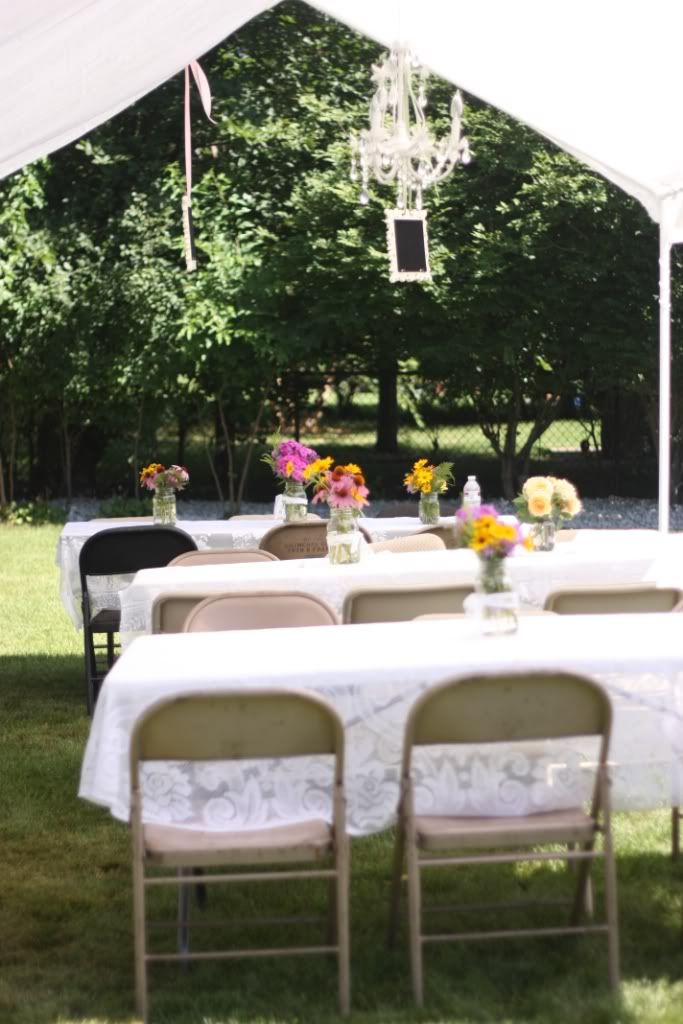
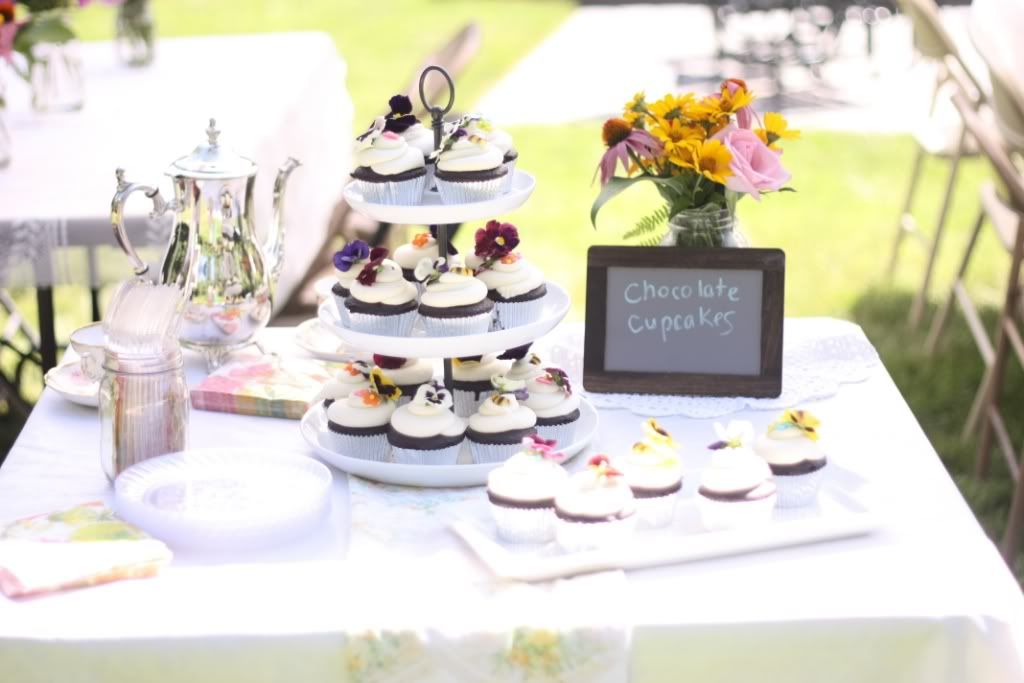
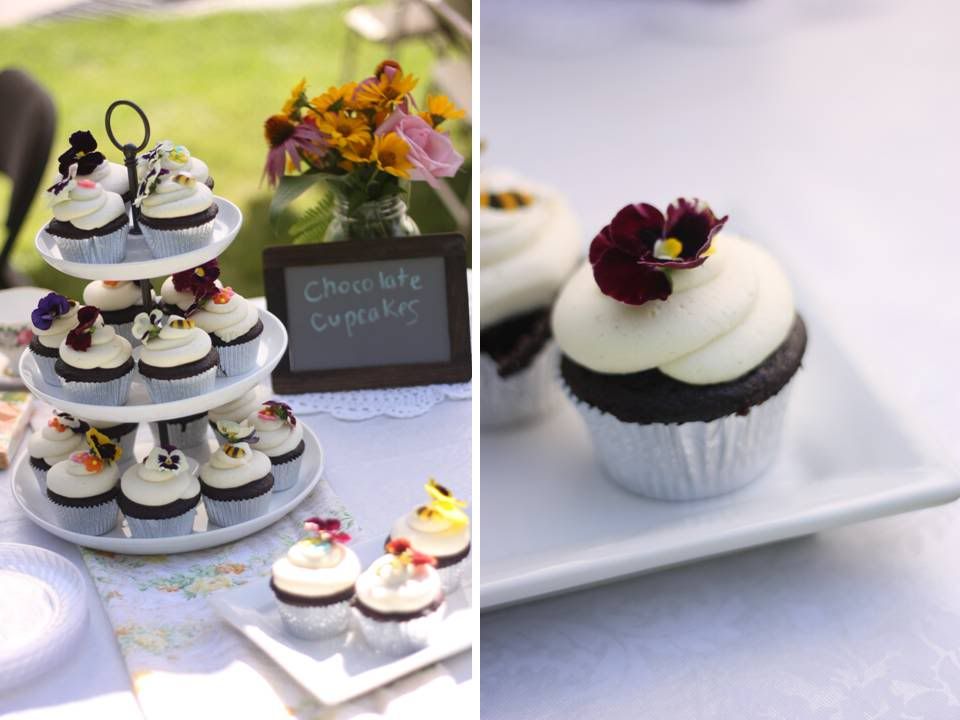 Kristin chose her favorite cupcakes from
 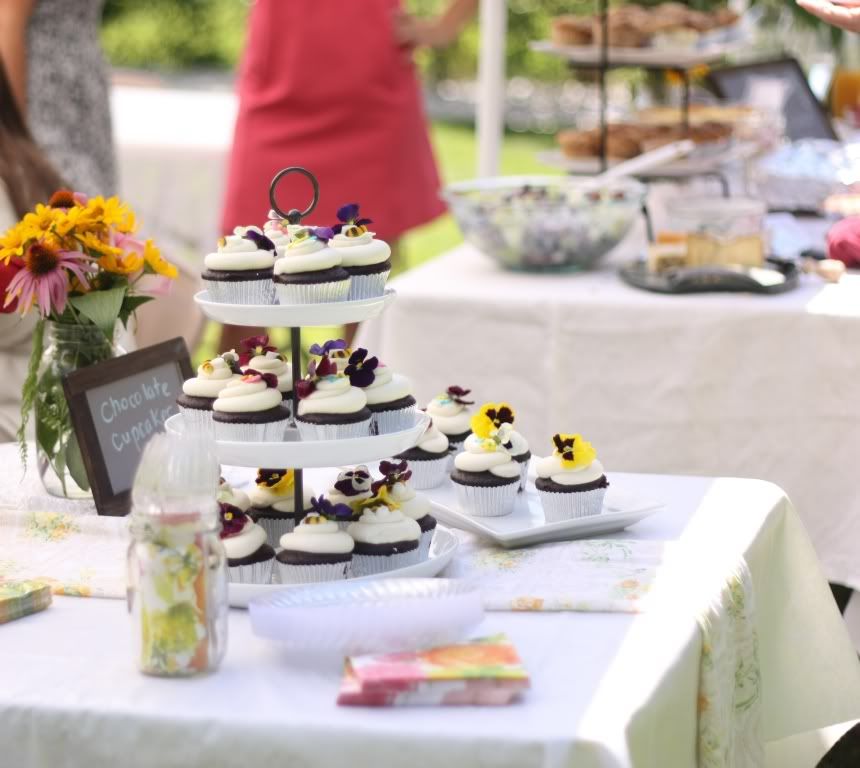 A side view of the dessert table
 I purchased mini chalkboards from JoAnn Fabrics, stained the wood frame and used them to label the dessert. I was running out of time at this point and some of the details toward the end received less attention, like my ugly handwriting, for example.
 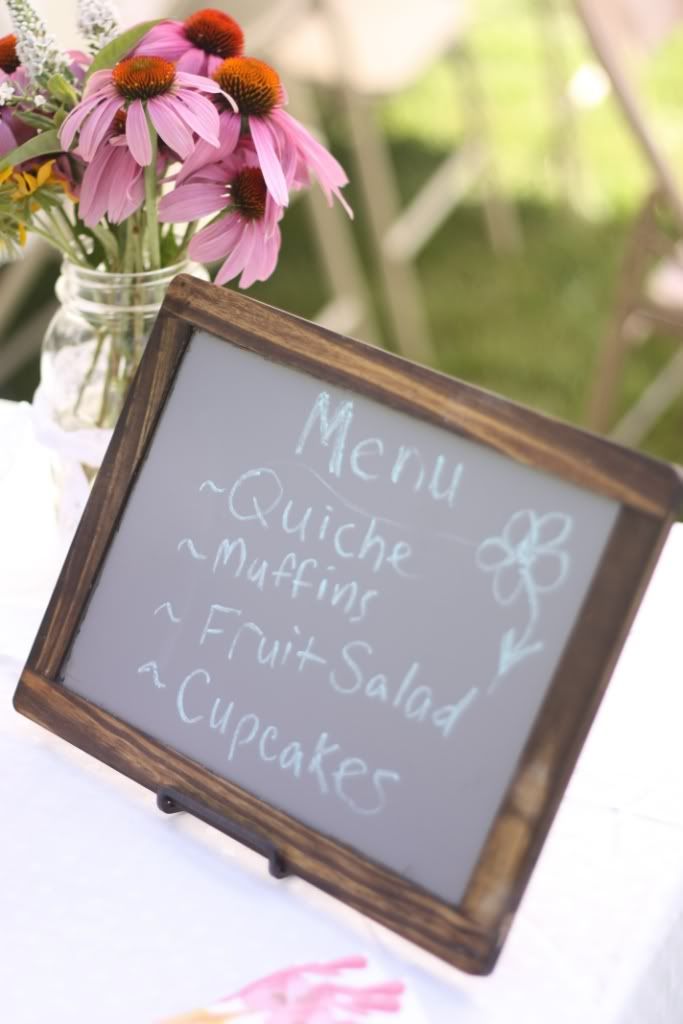 I also used a (larger) chalkboard to display the menu.
 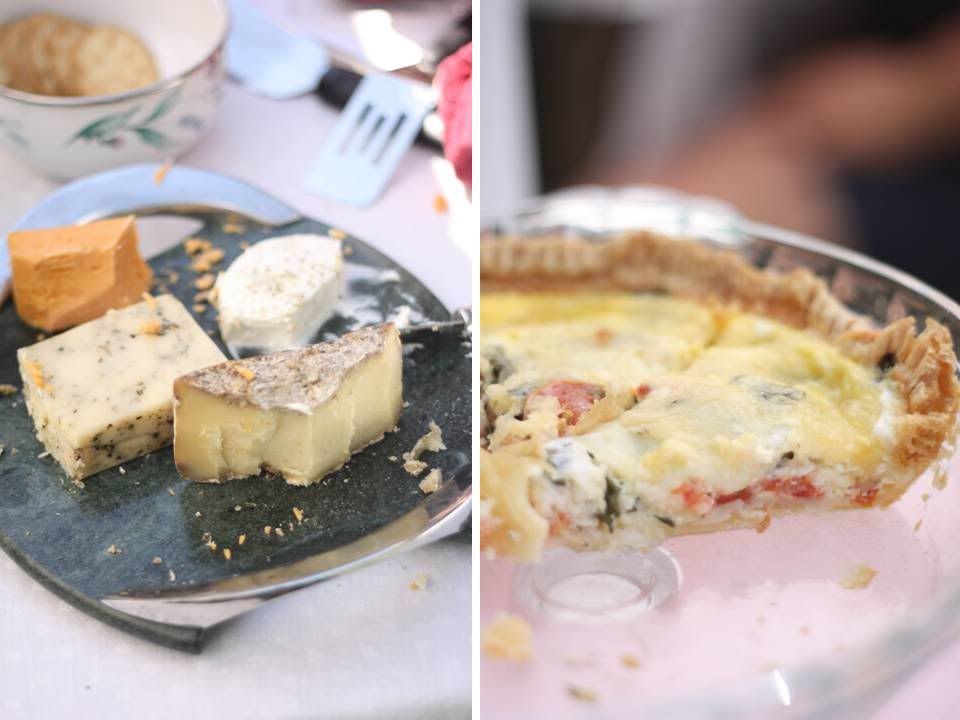 We had an awesome cheese platter as well as four different types of quiche and egg bake. The quiche pictured above was a tomato, basil, mozzarella quiche and was delicious.
 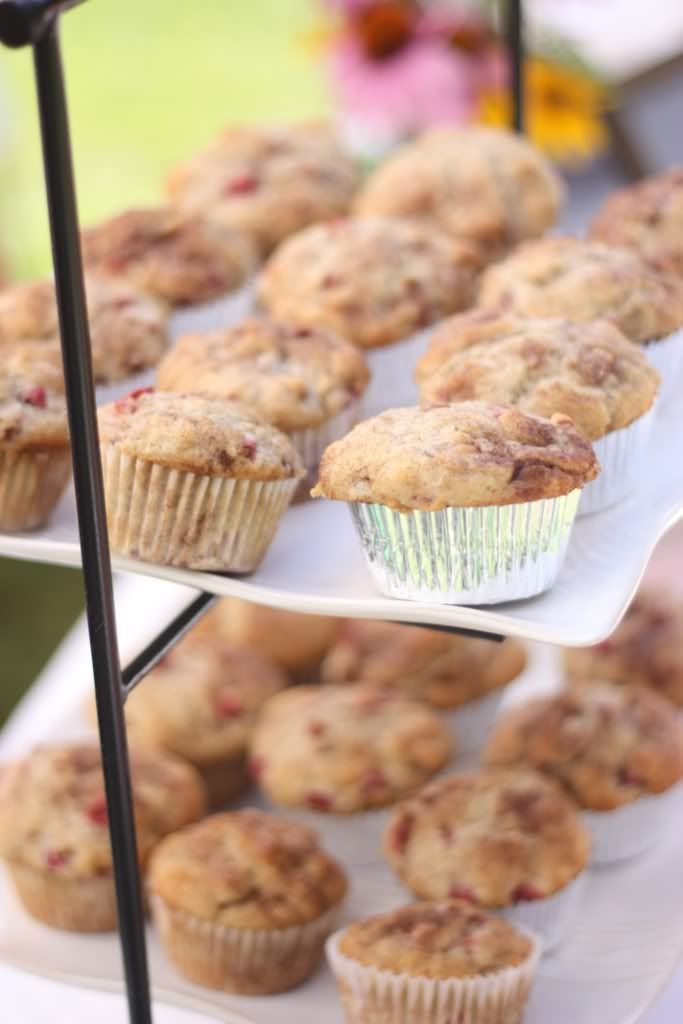 Delicious
 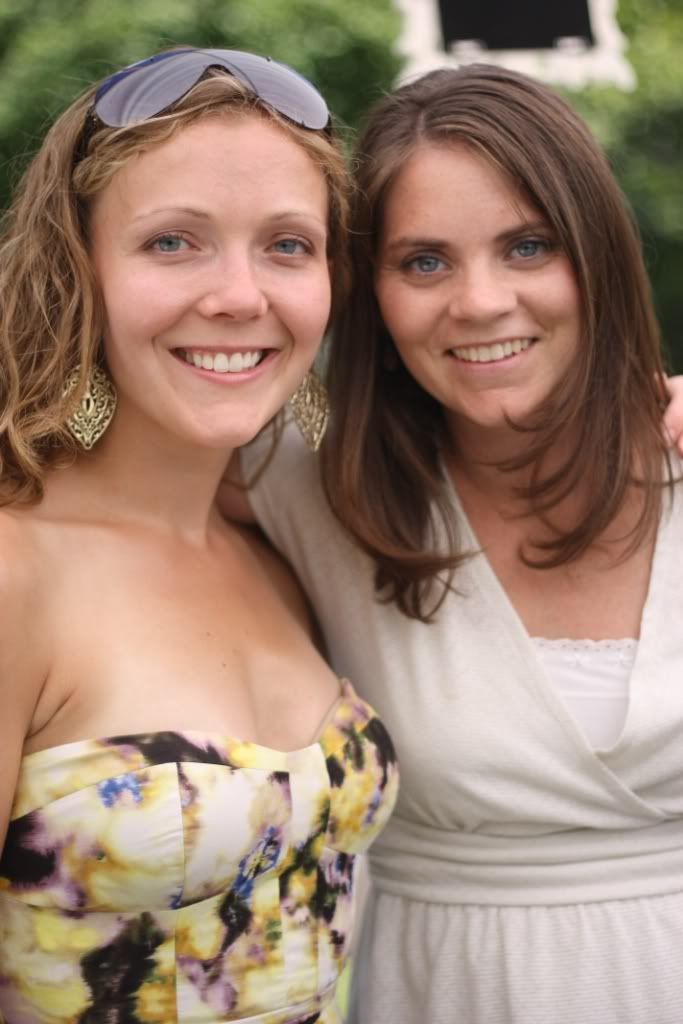 Kristin (the bride-to-be) and one of her bridesmaids, Molly.


 I co-hosted a shower for my best friend Kristin yesterday with a vintage/garden theme. It was a fun theme to execute on a hot, sunny, summer day. Check out the
 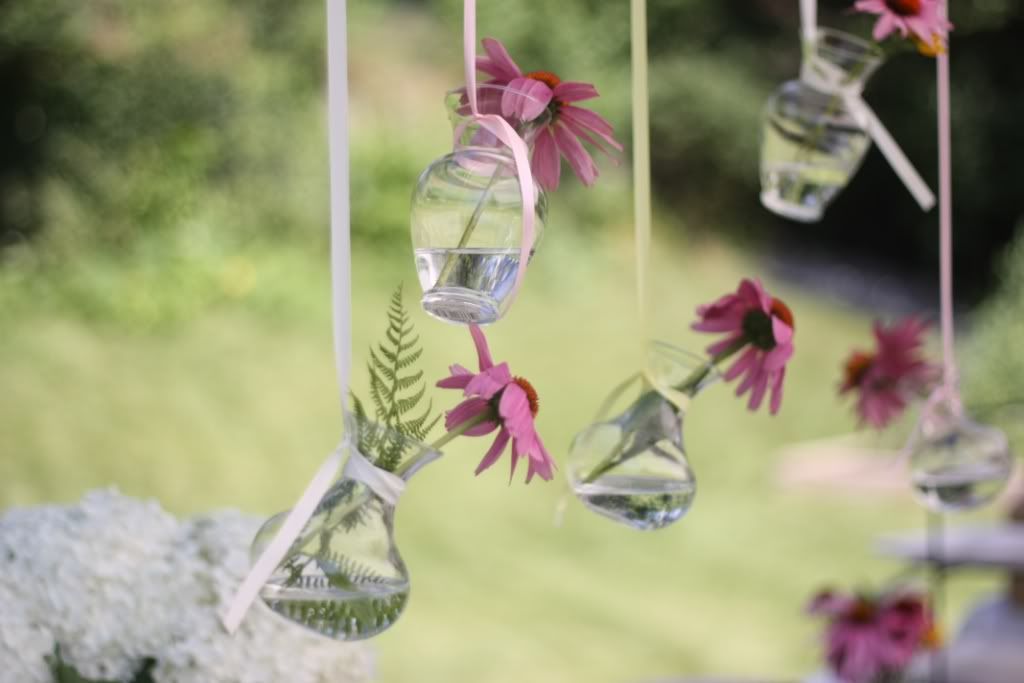 I am a huge fan of hanging decor. It's so simple yet creates major impact. Using different color ribbon, I hung bud vases from the side of the tent.
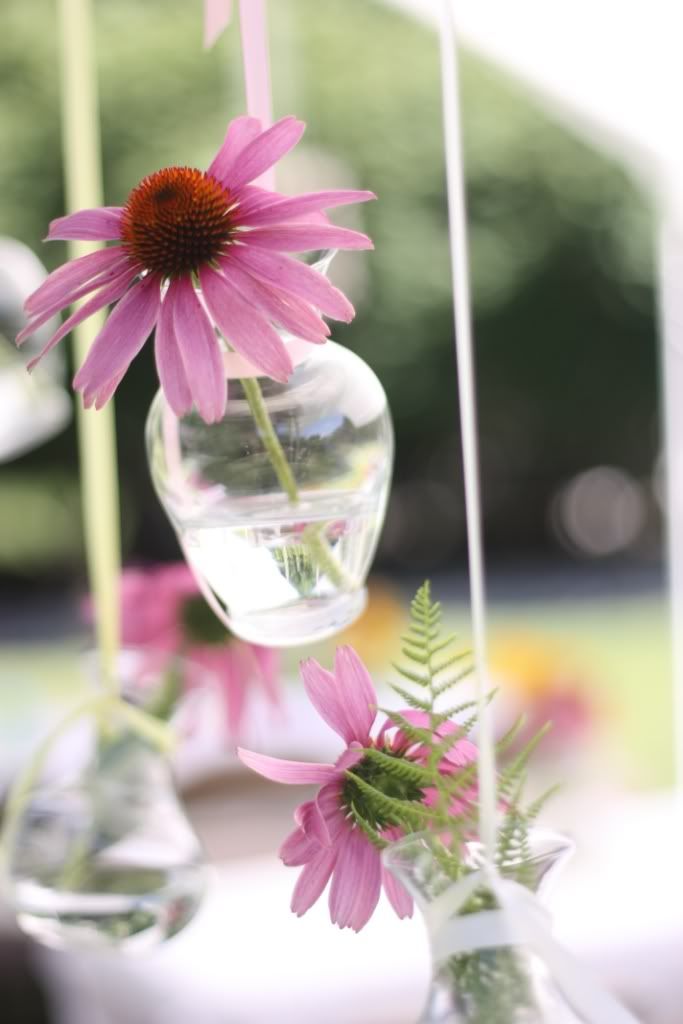
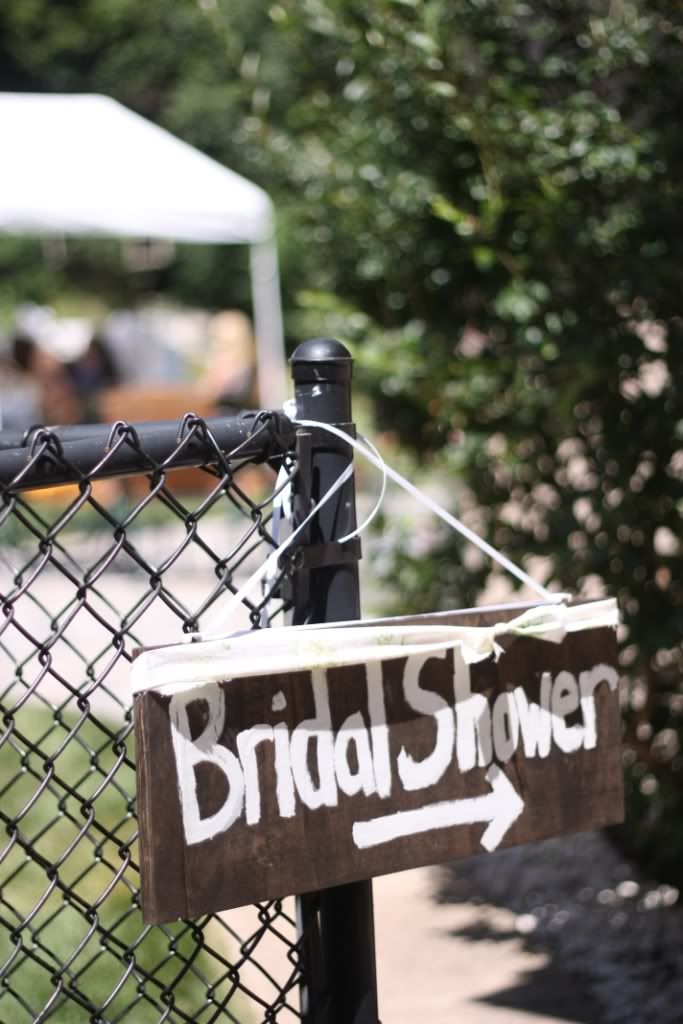 The bridal shower sign was a last minute project. Using scrap wood, my husband's friend cut down the wood and sanded it. We then stained it and I painted the letters. I wanted the sign to look rustic and simple. I then suspended it with ribbon and tied some floral fabric to it.
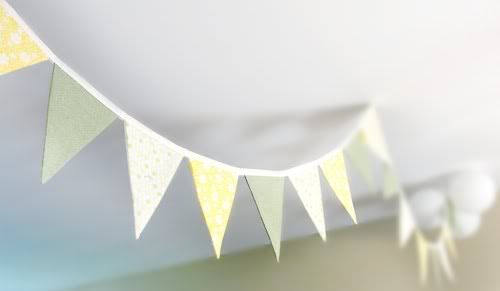
  I found cute yellow floral fabric at JoAnn Fabrics and created bunting. I took many shortcuts making this bunting. There was no sewing involved (I don't own a sewing machine and though I may seem somewhat crafty, I have no idea how to sew). Instead, I cut penants and then used fabric glue to adhere them to a pretty lace ribbon. It was so simple and I loved the results.
 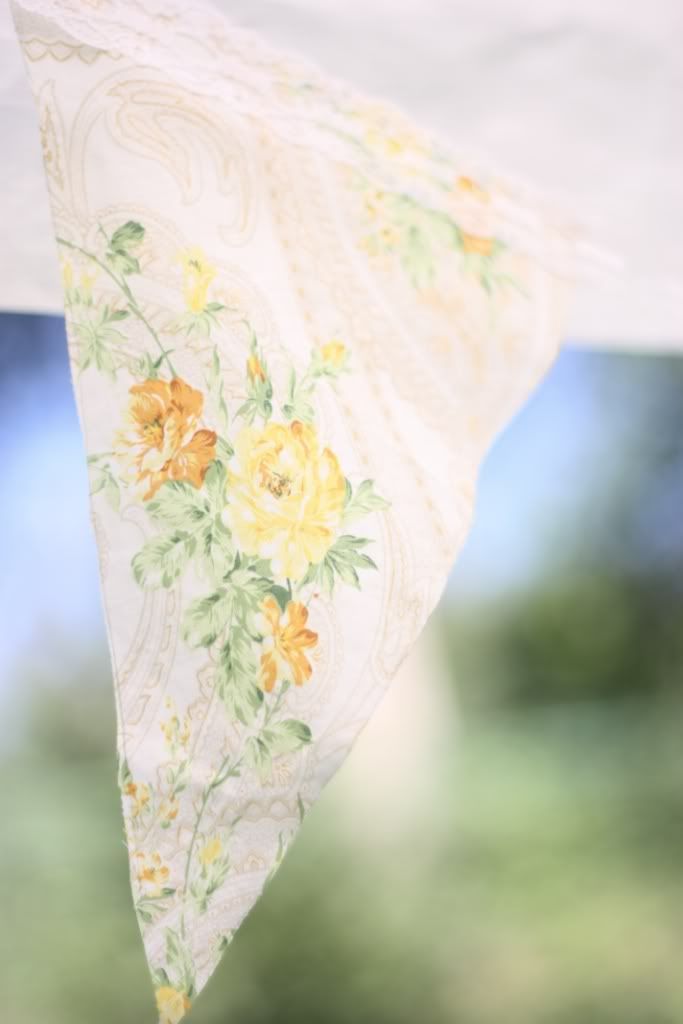 The fabric was just perfect and only about $15 for 2.5 yards. I also used it as table runners on the drink and dessert tables.
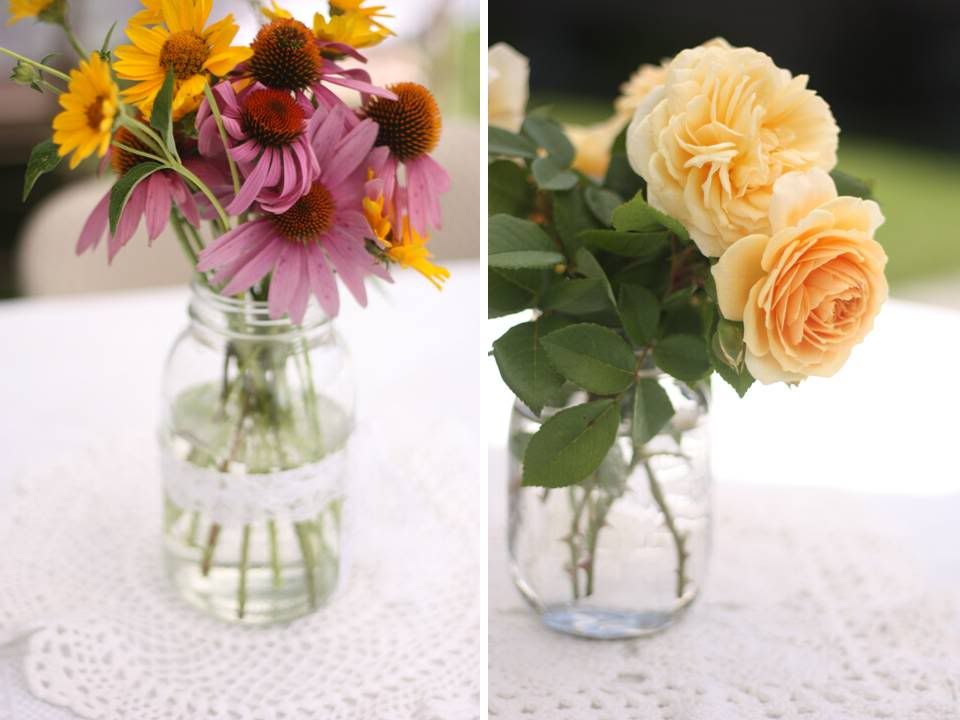
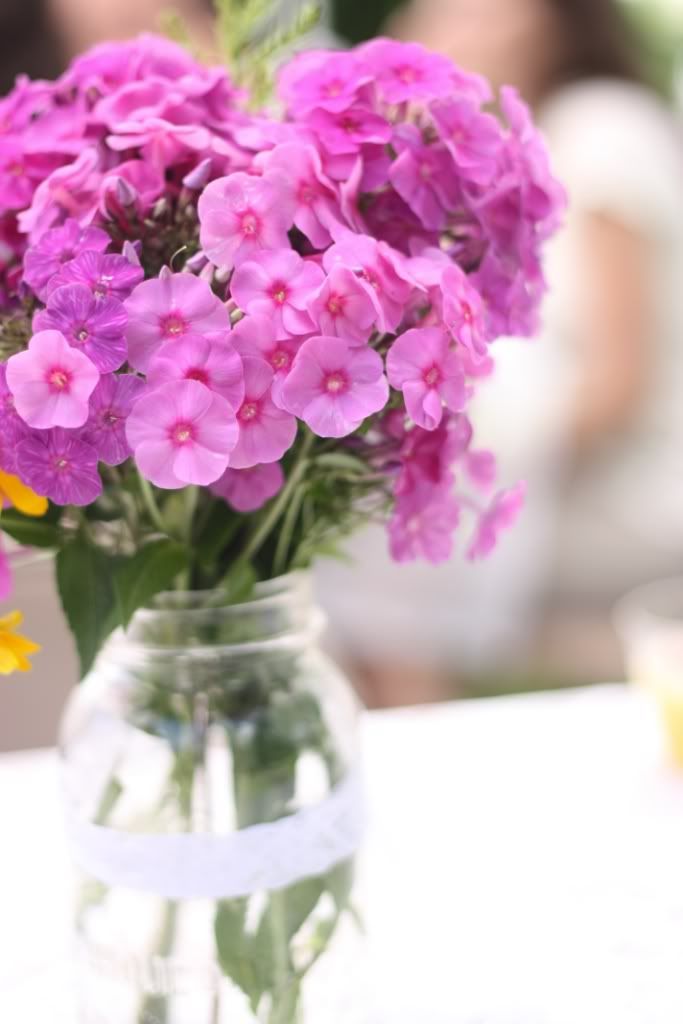 The flowers were beyond gorgeous. They were from one of the bridesmaids mom's house. They really helped bring the "garden" vibe to the shower given the flowers were truly from a garden and we had tons and tons of them. The flowers were placed in mason jars and then some were tied with lace ribbon.
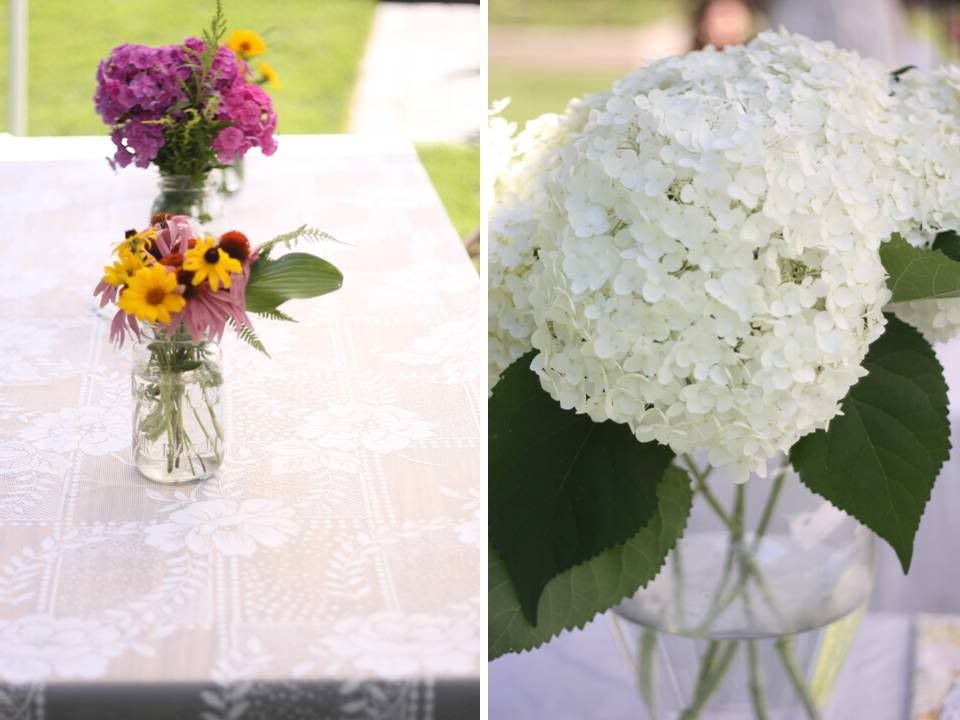
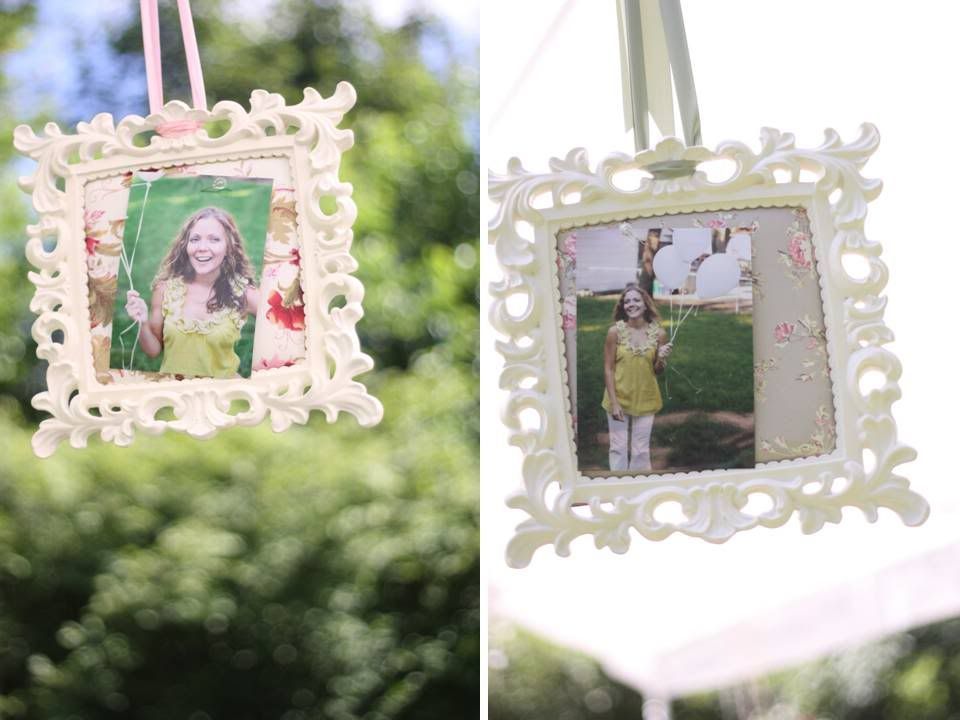 About a week ago, I took some fun photos of Kristin (the bride-to-be) on her 30th birthday. I used some vintage-looking frames and hung them from ribbon with the photos of Kristin.
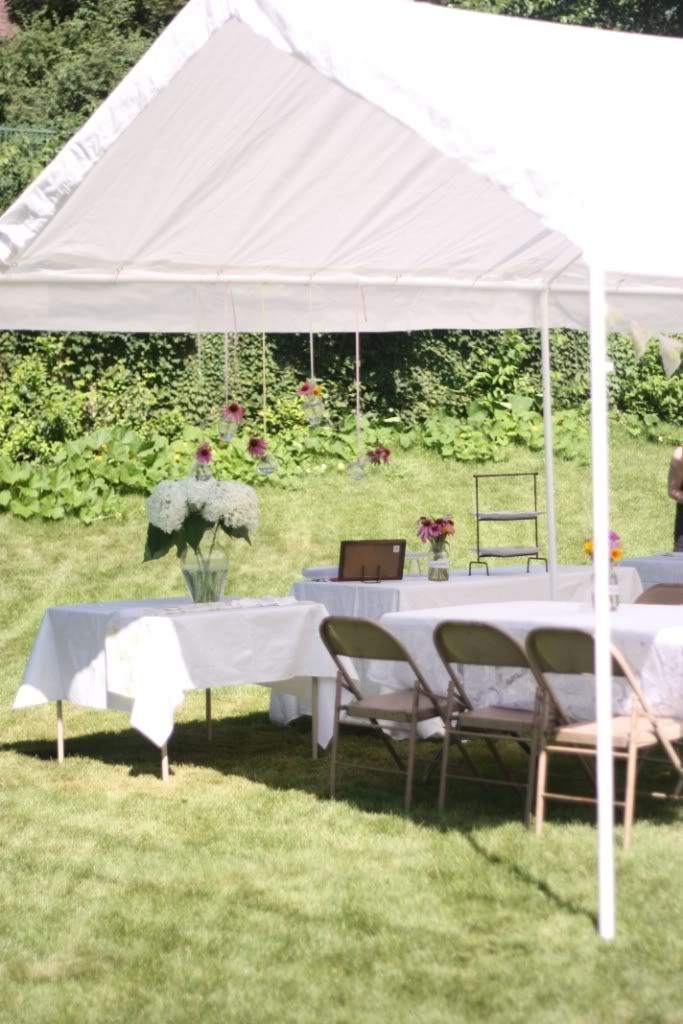 A photo of the shower before everything was set up. This 10x20 foot tent is quite possibly one of the best things I've ever purchased. It cost $70 from Menards and I have used it over and over again. It has come in handy to shade from sun on a hot day as well as provide shelter during rain.
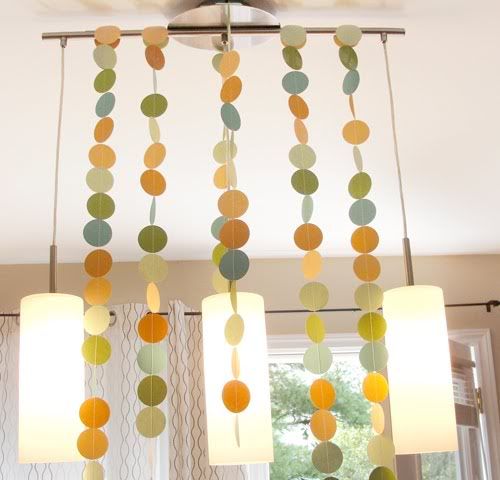
 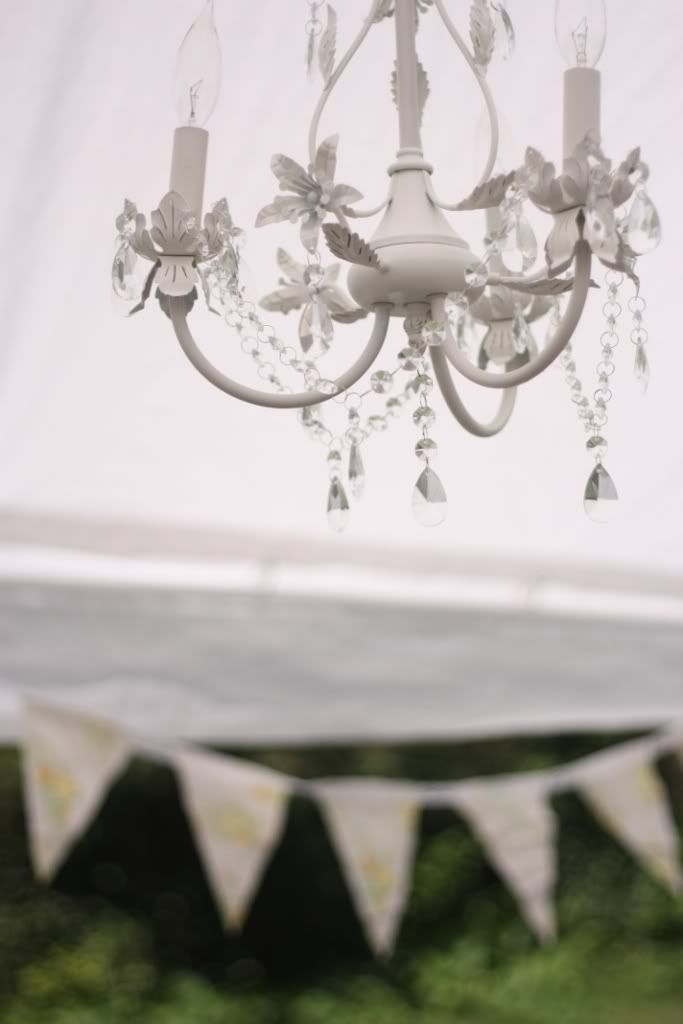 Another great purchase was this gorgous chandelier that has made an appearance a few times now (at my sister's
 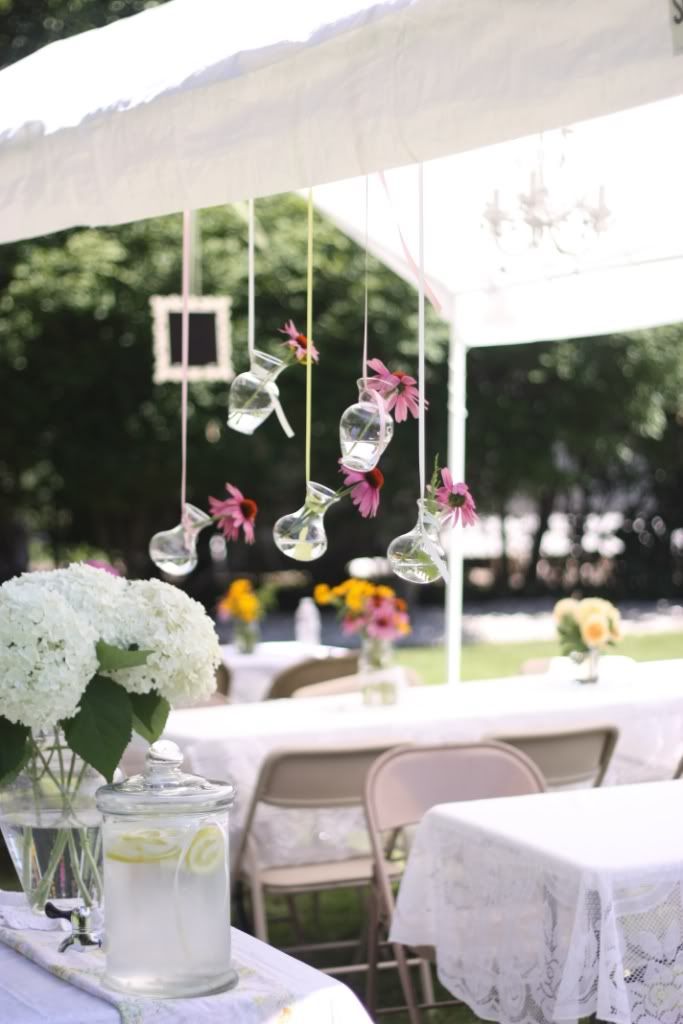 We covered all the tables with lace tablecloth for a vintage feel.
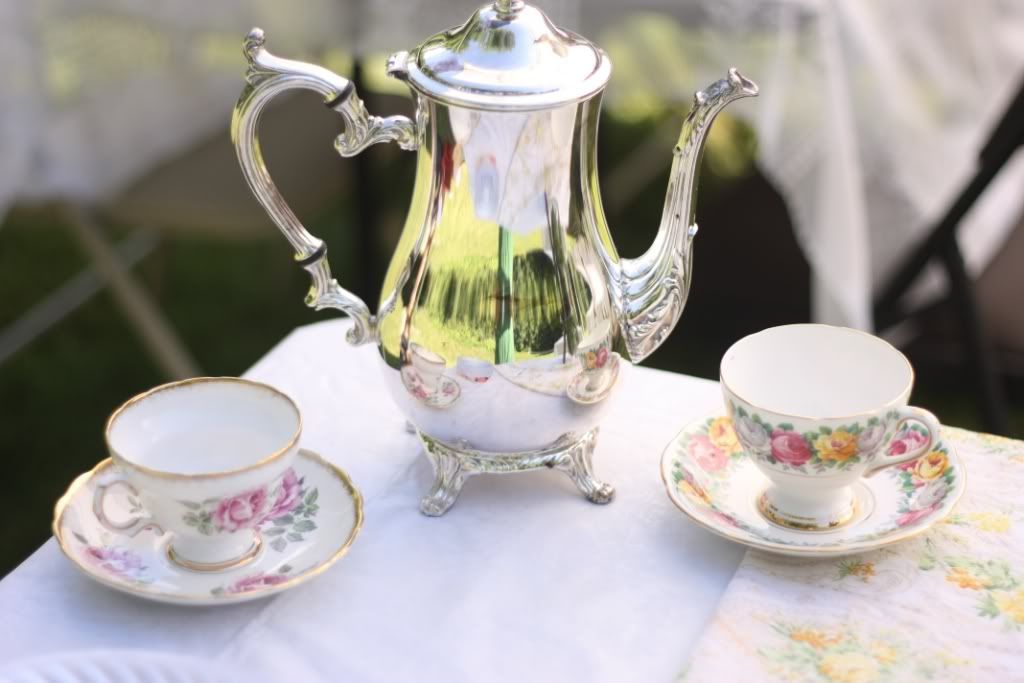 We used a tea pot and some dainty tea cups/saucers as decor. Delicate, simple and lovely.
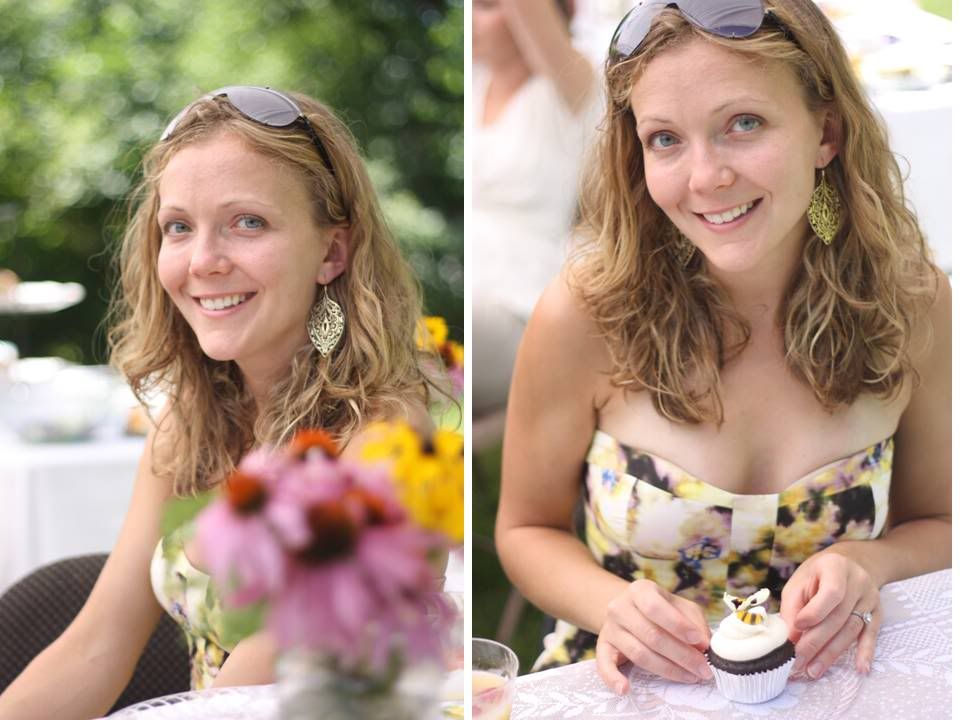 The gorgeous bride-to-be. She rocked a strapless floral dress and looked stunning.